メインコンテンツにスキップ

HP Pavilion zv5000 Screen Replacement

必要な工具と部品

  1. HP Pavilion zv5000 Screen Replacement, Battery: 手順 1、 1の画像 1
    • Make sure that your device is properly shut down and unplugged from any outlet.

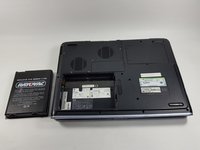
    • Flip Pavilion over so that the bottom faces up and locate the battery in the bottom left corner.

  2. HP Pavilion zv5000 Screen Replacement: 手順 2、 2の画像 1 HP Pavilion zv5000 Screen Replacement: 手順 2、 2の画像 2
    • Press and slide up the battery release tab with your thumb until the battery pops out of place.

  3. HP Pavilion zv5000 Screen Replacement: 手順 3、 2の画像 1 HP Pavilion zv5000 Screen Replacement: 手順 3、 2の画像 2
    • Using two fingers, pry the rest of the battery out of the socket.

  4. HP Pavilion zv5000 Screen Replacement, Keyboard: 手順 4、 2の画像 1 HP Pavilion zv5000 Screen Replacement, Keyboard: 手順 4、 2の画像 2
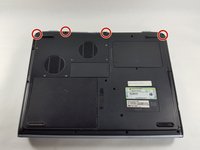
    • Using a Phillips #0 screwdriver, unscrew all four Phillips PM 2.5X13.0mm screws and place in a secure area until the end of the project.

  5. HP Pavilion zv5000 Screen Replacement: 手順 5、 1の画像 1
    • Flip laptop back over and open as far as it can go.

  6. HP Pavilion zv5000 Screen Replacement: 手順 6、 1の画像 1
    • Use the flat edge of the plastic spudger inserted under the bottom of the strip cover and pry upwards to un-clip the cover, starting at the right and moving to the left.

    • If the plastic spudger is not doing the trick, try using the metal spudger careful to not pop any keys out.

  7. HP Pavilion zv5000 Screen Replacement: 手順 7、 2の画像 1 HP Pavilion zv5000 Screen Replacement: 手順 7、 2の画像 2
    • Use hands to completely lift off the strip cover and remove.

  8. HP Pavilion zv5000 Screen Replacement: 手順 8、 1の画像 1
    • Use the Phillips #0 screwdriver again, unscrew all four Phillips PM 2.5X13.0mm screws from the top of the keyboard and set aside.

  9. HP Pavilion zv5000 Screen Replacement: 手順 9、 2の画像 1 HP Pavilion zv5000 Screen Replacement: 手順 9、 2の画像 2
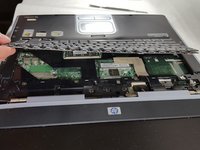
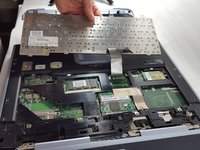
    • Using your hands, lift the keyboard up from the top towards yourself until the keyboard is resting in your hand.

    • Do not aggressively pull at the keyboard for risk of ripping the connector cable.

  10. HP Pavilion zv5000 Screen Replacement: 手順 10、 2の画像 1 HP Pavilion zv5000 Screen Replacement: 手順 10、 2の画像 2
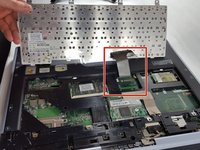
    • Gently slide out the connecting cable from the laptop to the keyboard.

    • Do not aggressively pull at the connecting cable.

  11. HP Pavilion zv5000 Screen Replacement: 手順 11、 1の画像 1
    • Completely remove the keyboard from the rest of the laptop.

  12. HP Pavilion zv5000 Screen Replacement, Screen: 手順 12、 1の画像 1
    • Flip the Pavilion back over on its backside.

  13. HP Pavilion zv5000 Screen Replacement: 手順 13、 3の画像 1 HP Pavilion zv5000 Screen Replacement: 手順 13、 3の画像 2 HP Pavilion zv5000 Screen Replacement: 手順 13、 3の画像 3
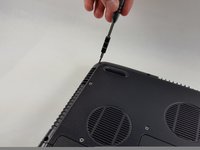
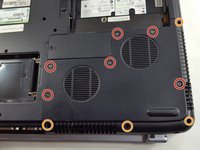
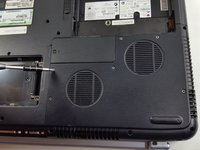
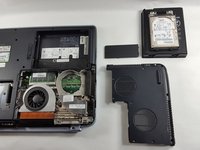
    • Using the same Phillips #0 screwdriver, unscrew the six Phillips PM 2.5X6.0mm screws.

    • Also remove the four Phillips PM 2.5X13.0mm screws to remove the thermal plate with the same screwdriver.

  14. HP Pavilion zv5000 Screen Replacement: 手順 14、 2の画像 1 HP Pavilion zv5000 Screen Replacement: 手順 14、 2の画像 2
    • Flip the laptop back over and open the lid all the way.

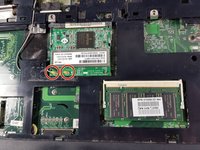
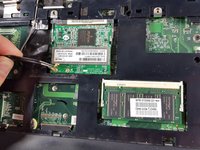
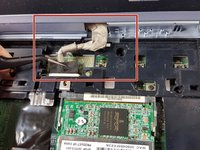
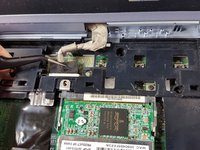
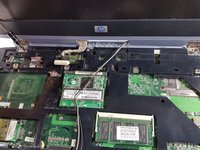
    • Using the flat edge of the plastic spudger, pry straight up to remove the Mini PCI Connector Cables from the board.

    • Tweezers can also be used to gently squeeze and pull up on the Mini PCI Cable Connectors to remove from the board.

    • When reinstalling, place the Mini PCI Connector Cables back in place and gently press straight down until they snap into place.

  15. HP Pavilion zv5000 Screen Replacement: 手順 15、 3の画像 1 HP Pavilion zv5000 Screen Replacement: 手順 15、 3の画像 2 HP Pavilion zv5000 Screen Replacement: 手順 15、 3の画像 3
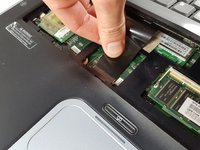
    • Using the tweezers, gently squeeze and pull backwards on the display cable until it is disconnected.

    • To reinsert, simply align the display cable to its proper spot and gently push into place.

  16. HP Pavilion zv5000 Screen Replacement: 手順 16、 2の画像 1 HP Pavilion zv5000 Screen Replacement: 手順 16、 2の画像 2
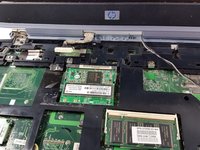
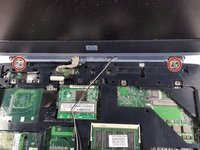
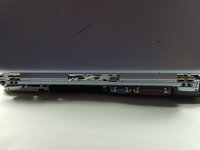
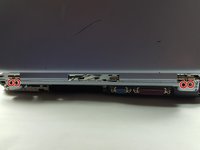
    • Use the Phillips #0 screwdriver again to remove the four Phillips 2.5X13.0mm screws that hold the clips for the screen into place.

  17. HP Pavilion zv5000 Screen Replacement: 手順 17、 2の画像 1 HP Pavilion zv5000 Screen Replacement: 手順 17、 2の画像 2
    • Turn the laptop around until the top cover is facing you. Keep the laptop in an open position.

    • Unscrew the four Phillips PM 2.5X6.0mm screws using the Phillips #0 that hold the clips of the screen on to the base.

  18. HP Pavilion zv5000 Screen Replacement: 手順 18、 1の画像 1
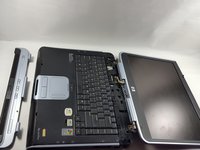
    • Firmly grasp the top of the screen with your hands and pull towards you and upwards to remove the screen from the base.

終わりに

To reassemble your device, follow these instructions in reverse order.

2 の人々がこのガイドを完成させました。

作成者

3人の作成者と共同で作成されました。
Eliza Marks

メンバー登録日: 10/18/16

649 ポイント

5のガイドは作成済み

チーム

UMass Dartmouth, Team 4-6, Catania Fall 2016 UMass Dartmouth, Team 4-6, Catania Fall 2016人のメンバー

UMASSD-CATANIA-F16S4G6

3 メンバー

5のガイドは作成済み

0 件のコメント

コメントを追加

統計データ:

過去 24時間: 1

過去 7 日: 2

過去 30 日: 3

今までの合計 1,143