このバージョンは誤った内容を含んでいる可能性があります。最新の承認済みスナップショットに切り替えてください。
必要な工具と部品
-
この手順は未翻訳です。 翻訳を手伝う。
-
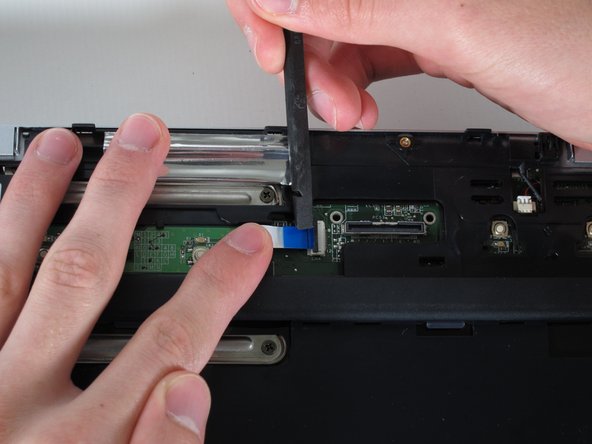
Rotate it so the display is on your right and the keyboard is on your left.
-
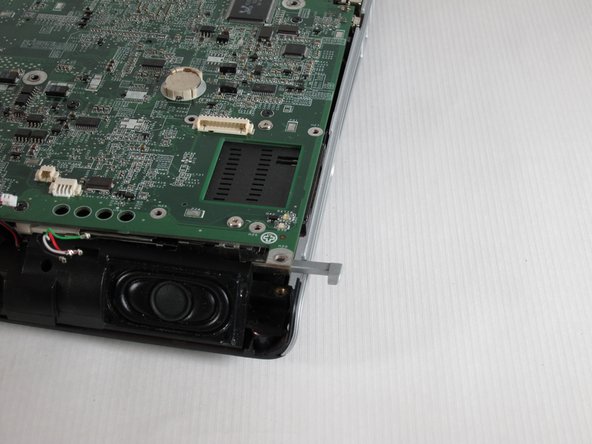
Lift the switch cover carefully from one end while sliding the spudger between the switch cover and the laptop to separate them.
-
The switch cover should easily separate from the laptop as you run the spudger through.
-
-
-
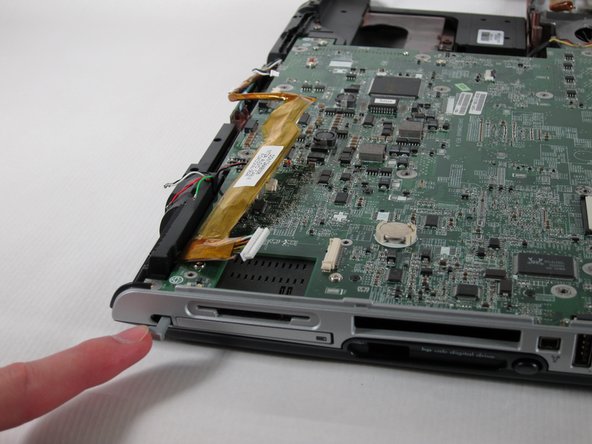
この手順は未翻訳です。 翻訳を手伝う。
-
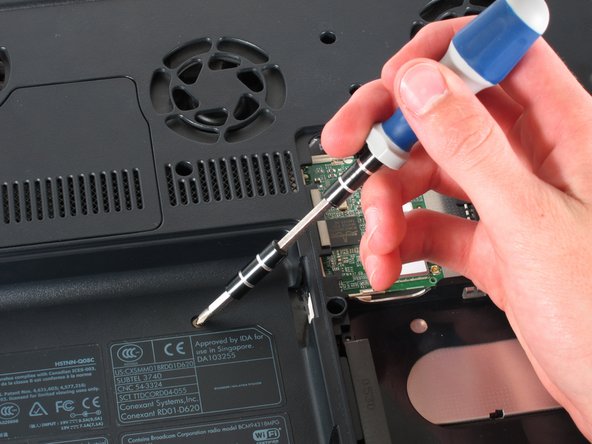
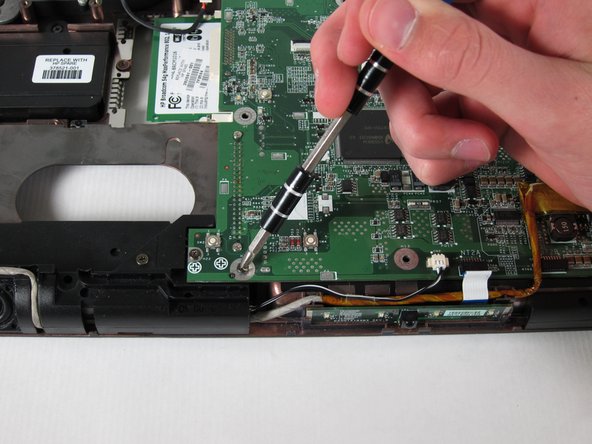
Find the ribbon cable on the LED board located at the top of the laptop.
-
You will notice that the ribbon cable is connected to two levels - you will be dealing with the one on the lower level.
-
Find the black latch at the end of the ribbon cable and unlatch it with a spudger to release it.
-
-
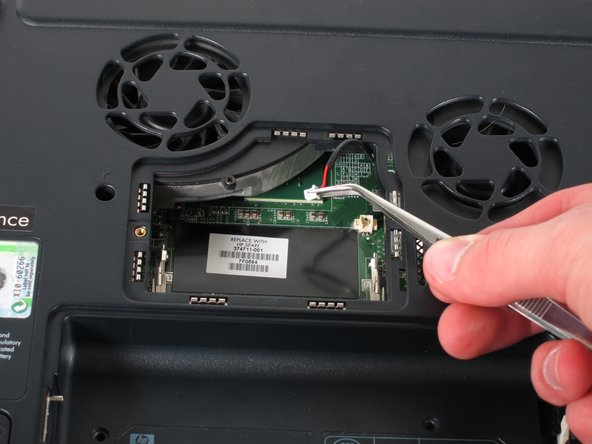
この手順は未翻訳です。 翻訳を手伝う。
-
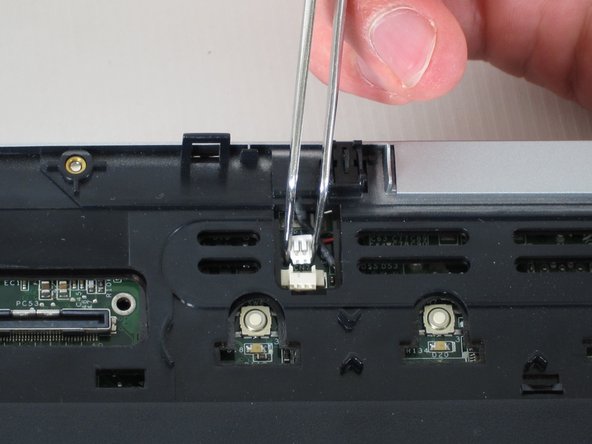
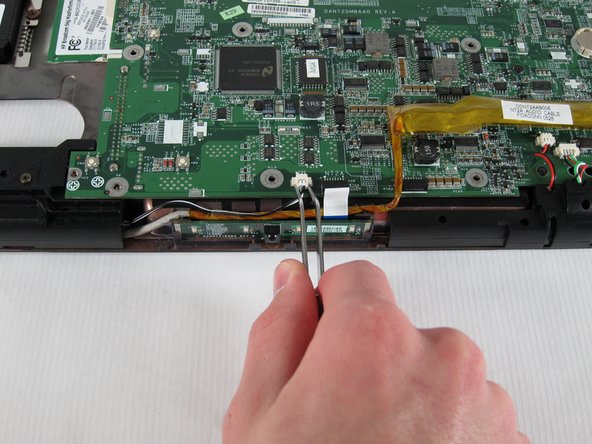
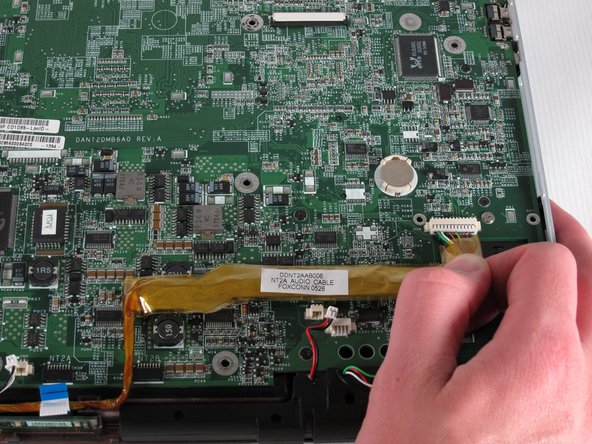
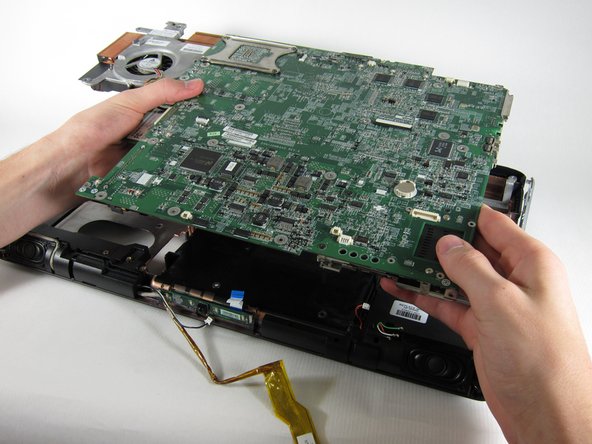
Using tweezers, remove the digital drive board cable - the cable set on the right with black, red, green, and white wires.
-
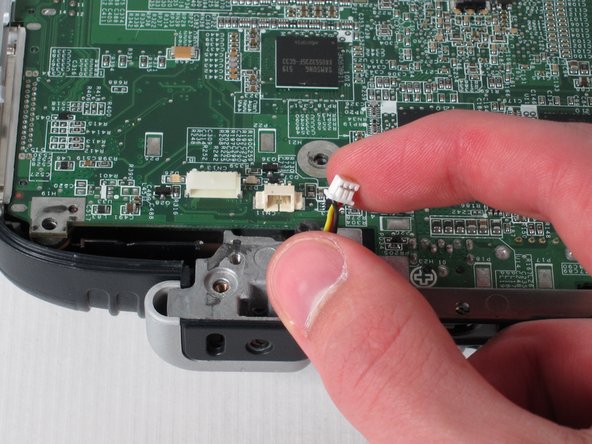
Using tweezers, remove the the rigth speaker cable - the cable set on the left with red and black wires - by pulling the white connector towards you.
-


9 の人々がこのガイドを完成させました。
チーム

Cal Poly, Team 24-56, Amido Spring 2011 Cal Poly, Team 24-56, Amido Spring 2011人のメンバー
CPSU-AMIDO-S11S24G56
4 メンバー
13のガイドは作成済み