はじめに
If your laptop is unusually loud or warm, the fan may need to be replaced. To replace the fan, you will need to know how to use a screwdriver. Small parts (screws) may be a swallowing hazard for young children; keep all parts in a secure location.
必要な工具と部品
-
-
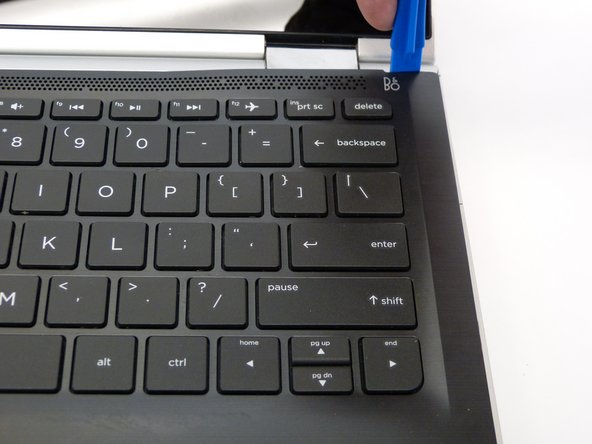
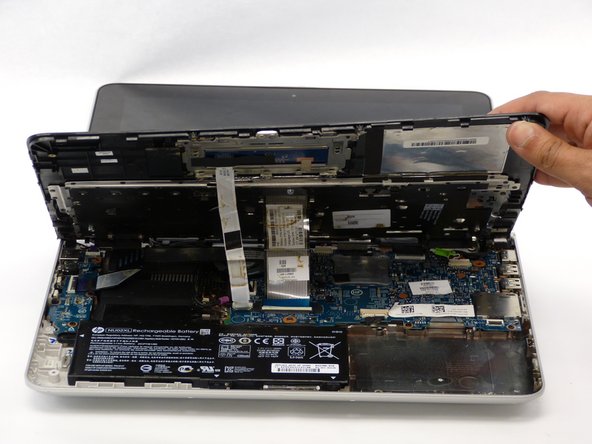
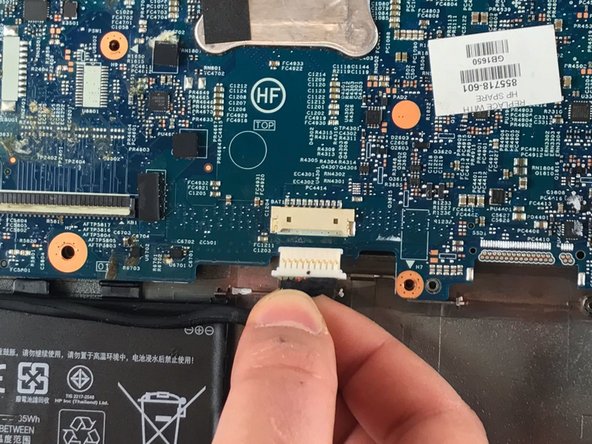
Raising the keyboard, disconnect the first of two cable ribbons with the Heavy-Duty Spudger.
-
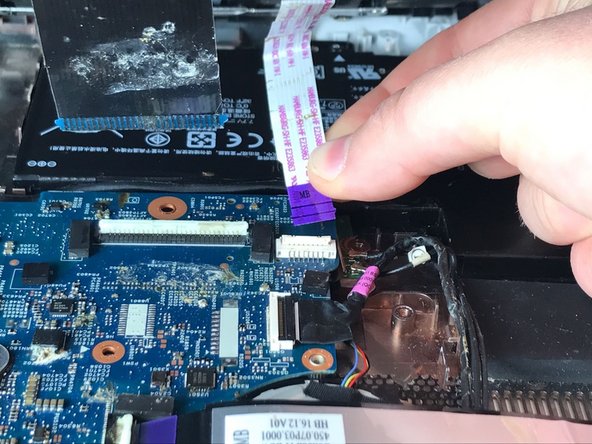
Gently flip up the white plastic lock connecting the ribbon cable to the motherboard.
-
Use the blue plastic tab on the ribbon cable to disconnect the ribbon cable from the lock.
-
-
-
-
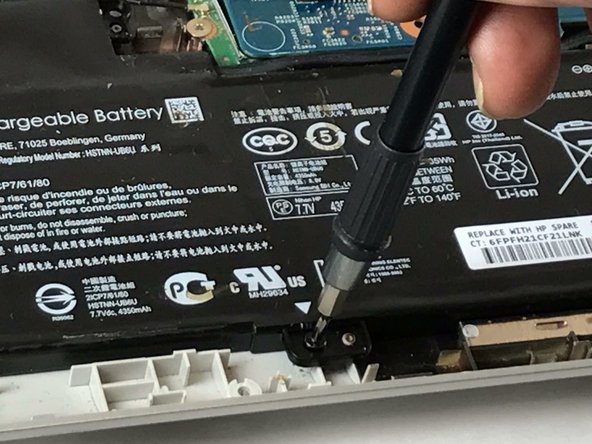
Remove the screws from the perimeter of the battery with a Phillips 00 Screwdriver.
-
3 Phillips 2.0 x 4.6 mm screws
-
-
-
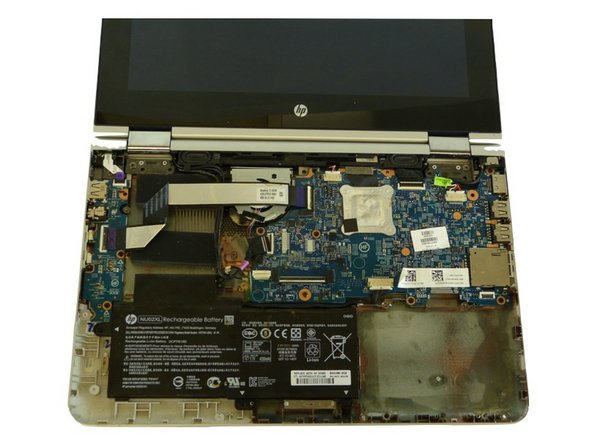
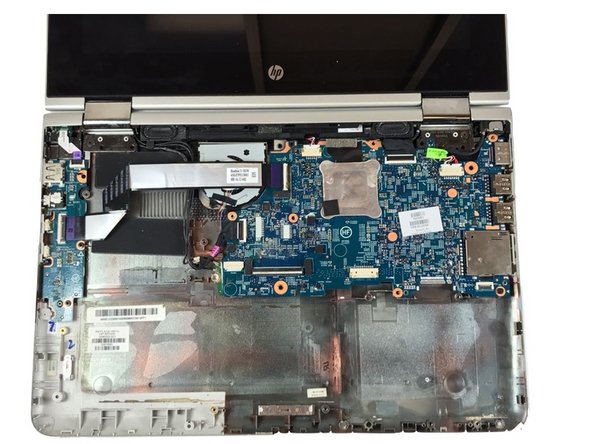
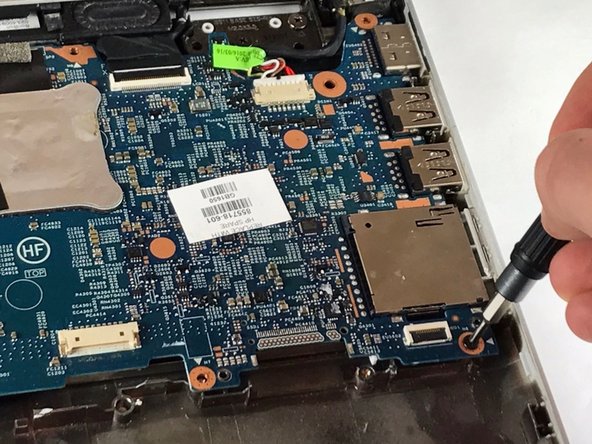
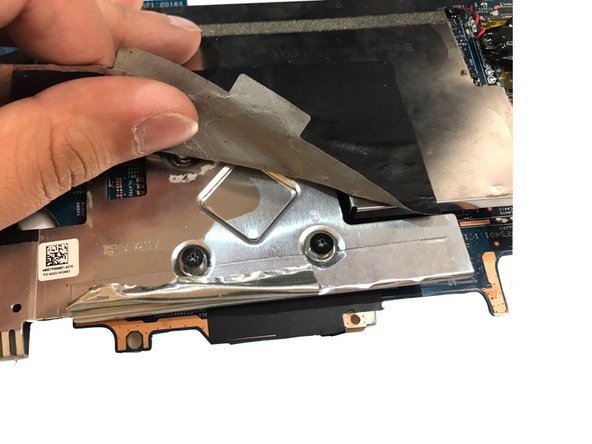
Remove the screws from the perimeter of the motherboard with a Phillips 00 Screwdriver.
-
8 Phillips 2.0 x 4.7 mm screws.
-
-
-
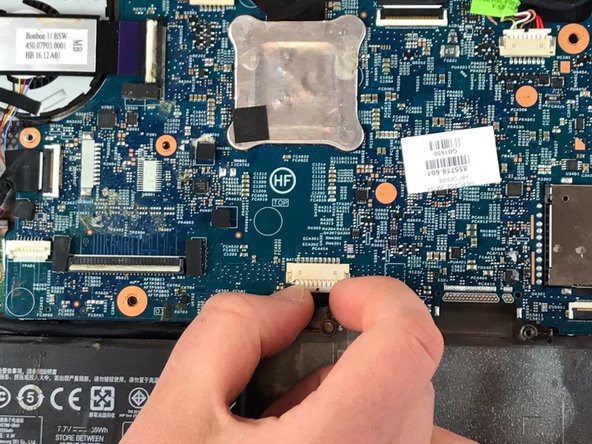
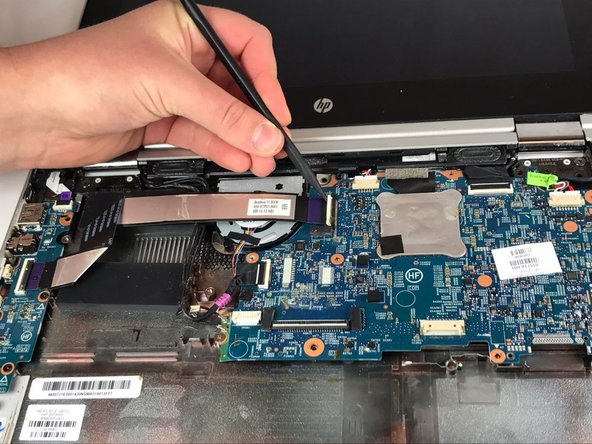
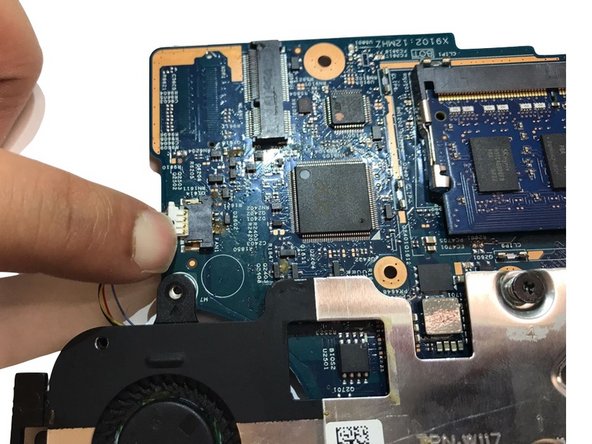
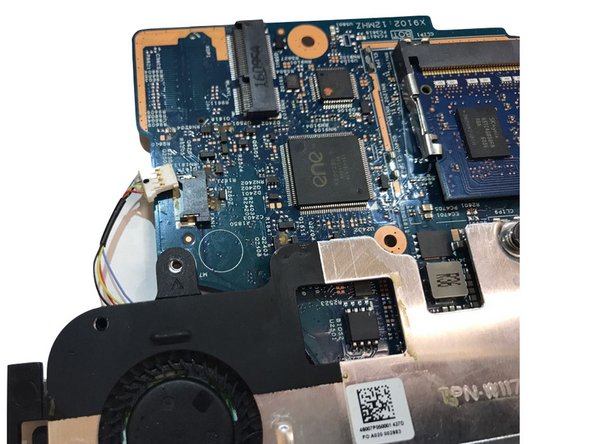
Disconnect the 2 cable ribbons with the Heavy-Duty Spudger.
-
Gently flip up the white plastic lock connecting the ribbon cable to the motherboard.
-
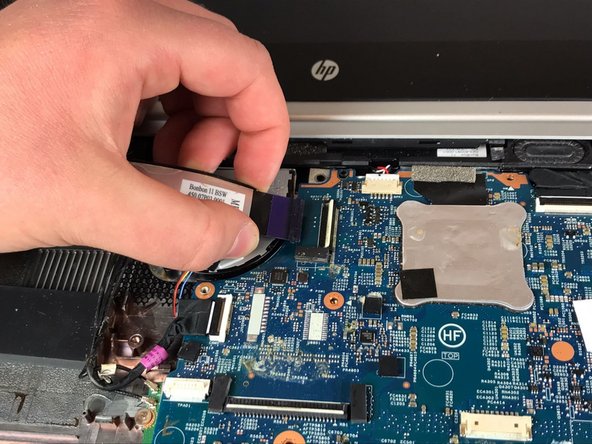
Use the purple plastic tab on the ribbon cable to disconnect the ribbon cable from the lock.
-


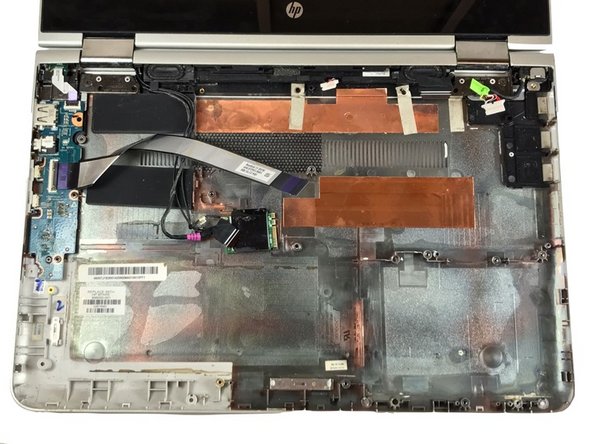


To reassemble your device, follow these instructions in reverse order.
To reassemble your device, follow these instructions in reverse order.
チーム

Idaho State University, Team S4-G5, Watkins Fall 2017 Idaho State University, Team S4-G5, Watkins Fall 2017人のメンバー
ISU-WATKINS-F17S4G5
4 メンバー
5のガイドは作成済み