はじめに
If the touchpad is not responding, learn how to access and remove the part with this guide. The trackpad controls the pointing on a laptop's display screen and can be replaced if it is not picking up your finger movements or downward pressure.
The tools used are the Phillips head screwdriver #0 and #1, the opening picks, tweezers, and the spudger.
This guide involves a number of moving parts, but the steps are easy to follow for someone inexperienced with computer repairs. Keep in mind, organizing the pieces removed allows for an easier reconstruction of the device.
必要な工具と部品
-
-
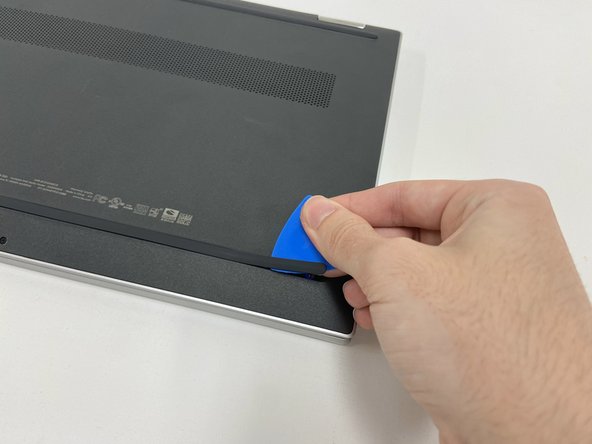
Turn off the device and set it upside down. Orient the hinges away from you.
-
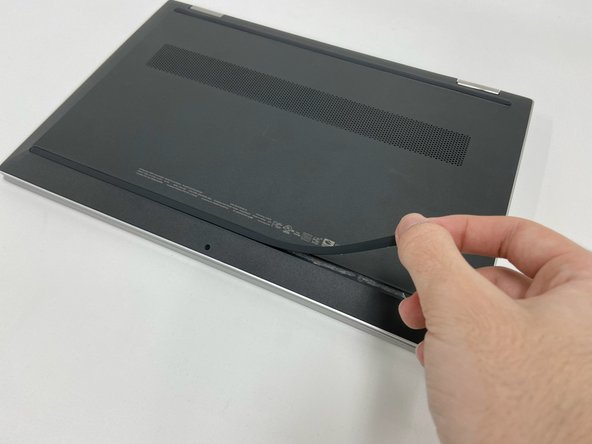
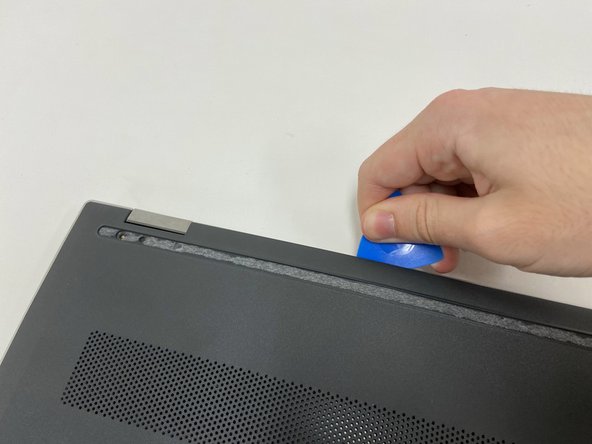
Wedge the opening pick under the grip. Lift the end of the grip.
-
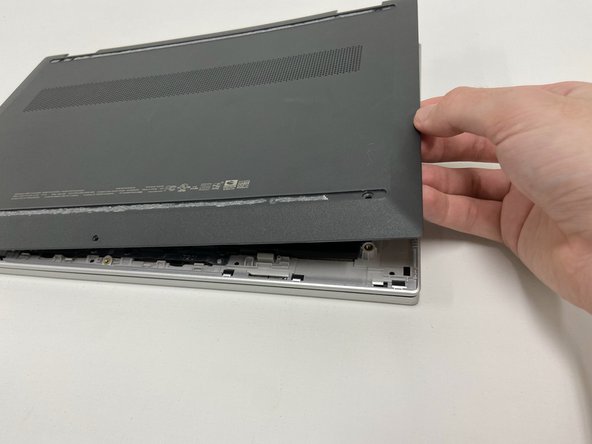
Pull the grip off all the way. Repeat for the second grip.
-
-
-
-
Turn off the device and set it upside down. Orient the hinges away from you.
-
Wedge the opening pick under the grip. Lift the end of the grip.
-
Pull the grip off all the way. Repeat for the second grip.
-
-
-
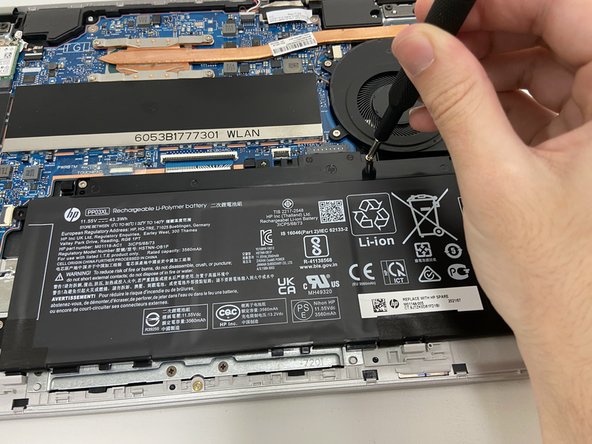
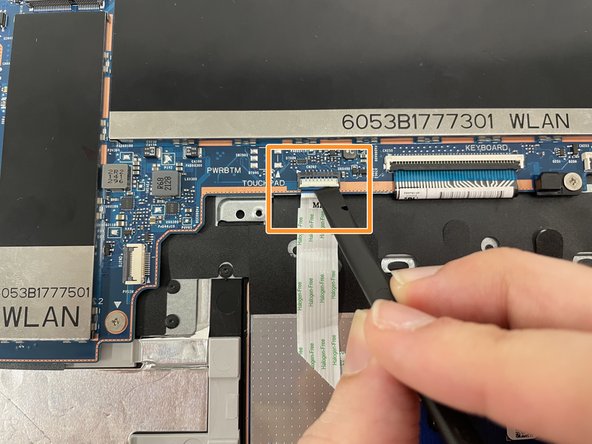
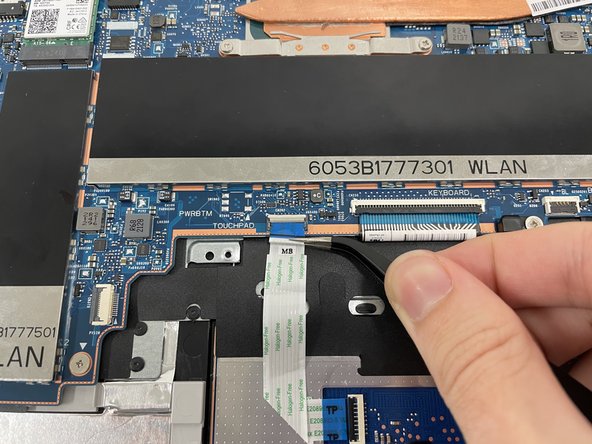
To unplug the trackpad, remove both stickers with angled tweezers.
-
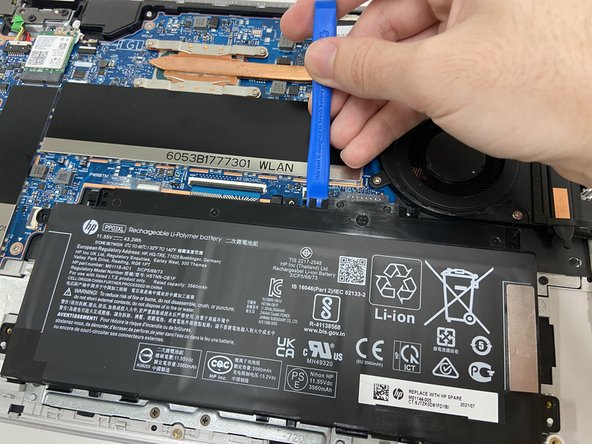
Lift the connector clasp with spudger.
-
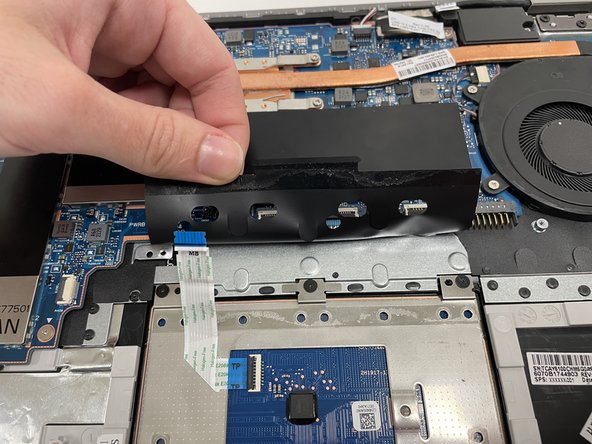
Use angled tweezers to lightly grip the ribbon cable and pull it out to lift cable off of black cover
-


To reassemble your device, follow these instructions in reverse order.
To reassemble your device, follow these instructions in reverse order.

チーム

Western Carolina University, Team 1-3, Virtue Fall 2022 Western Carolina University, Team 1-3, Virtue Fall 2022人のメンバー
WCU-VIRTUE-F22S1G3
4 メンバー
5のガイドは作成済み