メインコンテンツにスキップ

HP Pavilion dv6t-1200 Disk Tray Replacement

必要な工具と部品

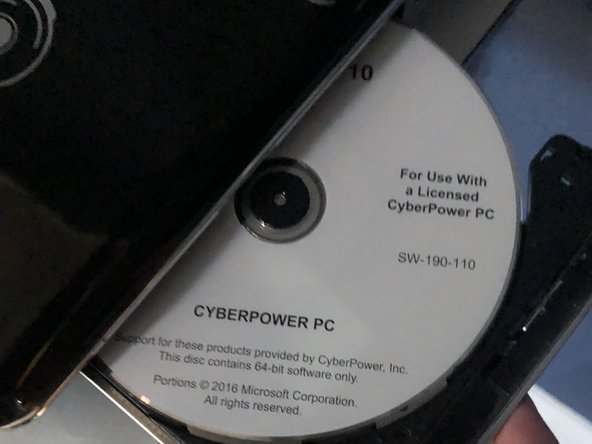
  1. HP Pavilion dv6t-1200 Disk Tray Replacement, Disk Tray: 手順 1、 2の画像 1 HP Pavilion dv6t-1200 Disk Tray Replacement, Disk Tray: 手順 1、 2の画像 2
    • Locate the small hole on the right side of the disk tray next to the button.

  2. HP Pavilion dv6t-1200 Disk Tray Replacement: 手順 2、 2の画像 1 HP Pavilion dv6t-1200 Disk Tray Replacement: 手順 2、 2の画像 2
    • Extend the paper clip into a straight line and insert it into the disk tray hole located next to the release button.

    • When the disk tray is removed, make sure to clean the general area with canned air.

  3. HP Pavilion dv6t-1200 Disk Tray Replacement: 手順 3、 1の画像 1
    • Flip the laptop to the other side and remove the four screws on the bottom of the disk tray using a Phillips #0 screwdriver.

  4. HP Pavilion dv6t-1200 Disk Tray Replacement: 手順 4、 2の画像 1 HP Pavilion dv6t-1200 Disk Tray Replacement: 手順 4、 2の画像 2
    • Remove the metal plate and locate the bottom right tool for the disk tray.

  5. HP Pavilion dv6t-1200 Disk Tray Replacement: 手順 5、 2の画像 1 HP Pavilion dv6t-1200 Disk Tray Replacement: 手順 5、 2の画像 2
    • Replace the motor piece that is being held and reclose the device.

  6. HP Pavilion dv6t-1200 Disk Tray Replacement: 手順 6、 2の画像 1 HP Pavilion dv6t-1200 Disk Tray Replacement: 手順 6、 2の画像 2
    • After replacing the motor and the placing the metal tray apply a good amount of WD40.

    • Once all completed the disk tray should be working smoothly.

終わりに

To reassemble your device, follow these instructions in reverse order.

ある他の人がこのガイドを完成しました。

作成者

2人の作成者と共同で作成されました。

Daniel Pelayo

メンバー登録日: 10/05/21

210 ポイント

1ガイドが承認済み

チーム

CSU Los Angeles, Team 11-21, Grodsky Fall 2021 CSU Los Angeles, Team 11-21, Grodsky Fall 2021人のメンバー

CSULA-GRODSKY-F21S11G21

1 メンバー

1のガイドは作成済み

0 件のコメント

コメントを追加

統計データ:

過去 24時間: 3

過去 7 日: 9

過去 30 日: 16

今までの合計 254