Locate the gray sliding tab next to the black bar where the battery is located.
Slide the gray sliding tab to the left until you hear a distinct click.
The inside edge of the battery should pop up.
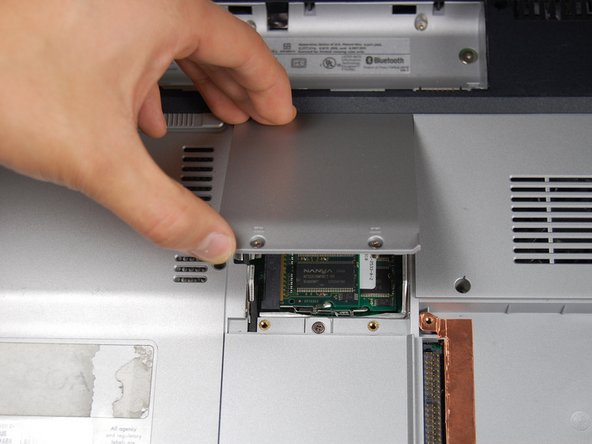
Identify the two screws that attach the hard drive access panel.
Remove the identified screws with your #00 Philips screwdriver.
Lift the left edge of the access panel up and to the right to detach the hard drive access panel from the laptop.
This particular laptop does not contain a hard drive-- yours will.
Identify the plastic tab located on the left side of the hard drive.
Grasp the tab, gently lift up, and slide the tab to the left to remove the hard drive from the laptop.
If you wish to replace your hard drive with another, the hard drive has a metal bracket screwed onto the sides of the casing. Unscrew the bracket from the old hard drive and screw it onto the new hard drive before inserting into the laptop.
Locate the two screws holding down the RAM access cover
Unscrew the two screws with a size 00 Philips screwdriver.
Note: The screws do not detach from the cover.
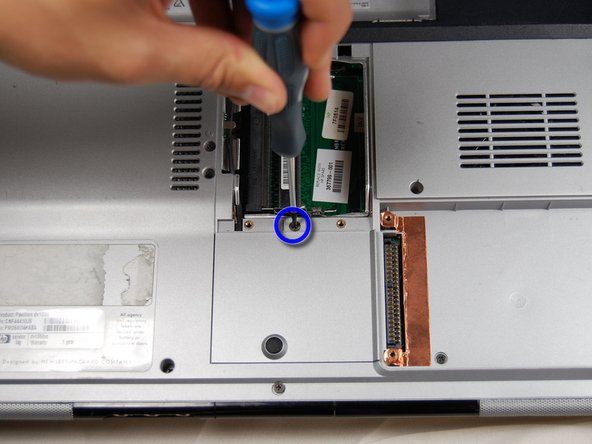
Locate the small panel below the panel you just removed.
Loosen the one screw in the middle with a #00 Phillips screwdriver. Again, the screw will not fall out of the panel when loosened.
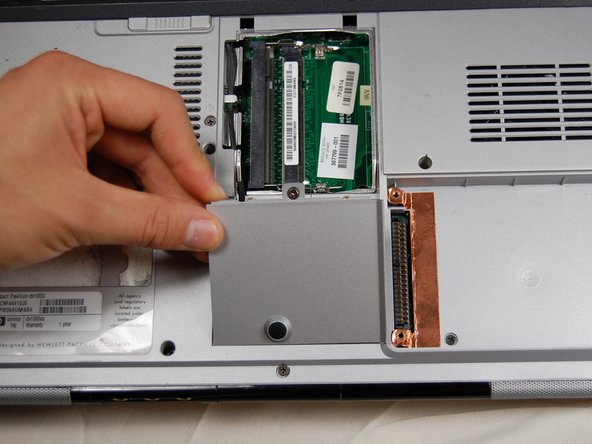
Lift the panel up and out of its slot to remove.
Identify the two connections at the top of the bluetooth card.
Using your fingers, gently pull up on the white clip until it releases.
Remove the black clip in the same manner as the white clip
Locate the two clips on either side of the Bluetooth card.
Using your fingers, press the clips outwards, away from the card until the card pops up.
Grab the card gently from the top and pull the card up and out of the slot.
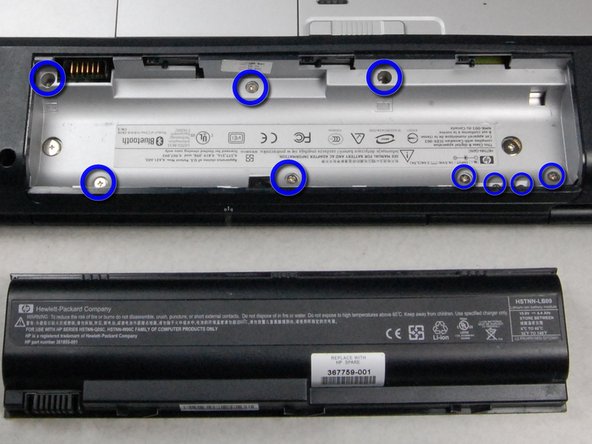
Remove and set aside all of the highlighted screws in the first picture with a #00 Phillips screwdriver.
Remove and separately set aside all of the highlighted screws in the second picture with a #00 Phillips screwdriver.
Caution: There are two more screws to remove, so do not try and remove the back cover yet.
Turn the laptop right side up, and open it to reveal the keyboard.
The keyboard should lift up and out easily, but be careful because it is attached to the computer by a ribbon cable.
Press the two white clips forward and lift the tape out of the clip.
Locate the MediaKeys. They are the black strip right above where the keyboard was.
Using the spudger, gently pry up the MediaKeys.
If you feel any resistance, stop and check you have removed all of the screws from the battery compartment.
Using the spudger, loosen the casing behind the battery and the two sides.
The case should lift easily upwards and outwards towards you if you are facing the battery compartment.
Make sure the cord that was attached to the Bluetooth cable is not still threaded through the case when trying to remove it.
If you feel any resistance, stop. Do not force anything. Go back through the steps and make sure you loosened everything.
このガイドを埋め込む
サイズを選択し、以下のコードをコピーして、このガイドを小さなウィジェットとしてサイト/フォーラムに埋め込みます。
1つの手順
全ガイド
小サイズ - 600px
中サイズ - 800px
大サイズ - 1200px
プレビュー