はじめに
If your HP Pavilion dm4-1265dx laptop has a portion of its original RAM capacity or no longer boots citing a POST failure, use this guide to replace the RAM.
Computer RAM is used to store information that your computer needs quick access to. Faulty RAM will prevent your device from booting.
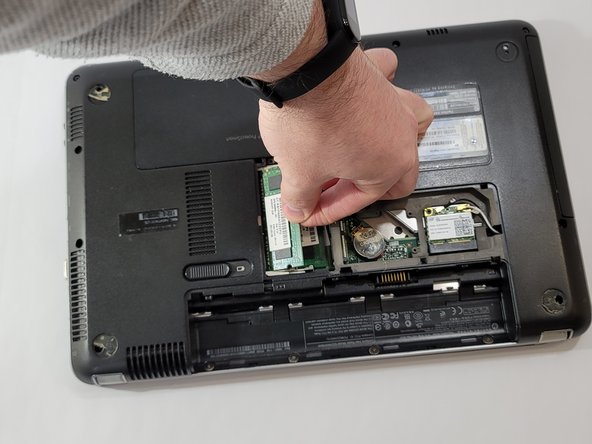
Keep in mind that this device has two RAM sticks and if only one fails, the device will still turn on. Both sticks failing at the same time is unlikely and is probably the result of a different issue.
Before beginning, make sure to power off your laptop completely and disconnect from any external power source.
必要な工具と部品
-
-
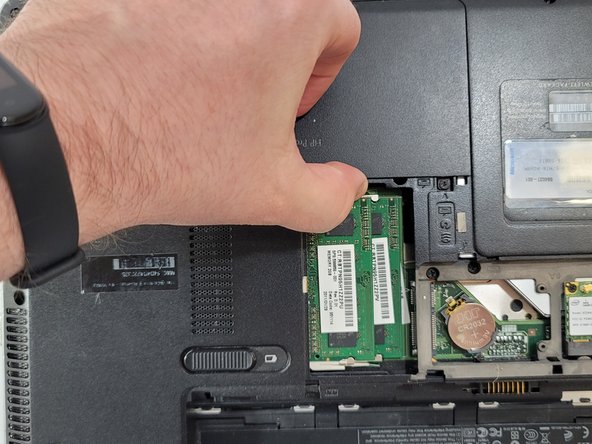
Orient the device so that the empty battery port is closest to you.
-
Loosen the two captive screws holding the back panel in place using a Phillips #0 screwdriver.
-
-


To reassemble your device, follow these instructions in reverse order.
To reassemble your device, follow these instructions in reverse order.

チーム

Casper College, Team 1-1, Lareau Spring 2022 Casper College, Team 1-1, Lareau Spring 2022人のメンバー
CASC-LAREAU-S22S1G1
4 メンバー
5のガイドは作成済み