メインコンテンツにスキップ

HP Pavilion G60-630US Power Button Replacement

必要な工具と部品

  1. HP Pavilion G60-630US Power Button Replacement, Battery: 手順 1、 3の画像 1 HP Pavilion G60-630US Power Button Replacement, Battery: 手順 1、 3の画像 2 HP Pavilion G60-630US Power Button Replacement, Battery: 手順 1、 3の画像 3
    • Make sure the laptop is powered off and unplugged first.

    • Turn your laptop over so the bottom is facing up.

    • Locate the battery latch and slide the latch switch all the way to the left.

    • The latch will lock and stay in place.

  2. HP Pavilion G60-630US Power Button Replacement: 手順 2、 3の画像 1 HP Pavilion G60-630US Power Button Replacement: 手順 2、 3の画像 2 HP Pavilion G60-630US Power Button Replacement: 手順 2、 3の画像 3
    • Carefully lift the battery out and away from the laptop.

  3. HP Pavilion G60-630US Power Button Replacement, Power Button: 手順 3、 3の画像 1 HP Pavilion G60-630US Power Button Replacement, Power Button: 手順 3、 3の画像 2 HP Pavilion G60-630US Power Button Replacement, Power Button: 手順 3、 3の画像 3
    • Open the laptop normally.

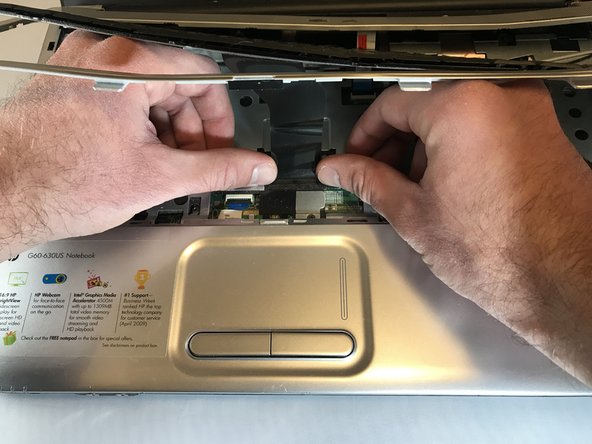
    • Using your fingers (or a spudger if needed), loosen the silver cover surrounding the keyboard.

    • You will not be able to fully remove the keyboard/silver border all the way until the next step.

  4. HP Pavilion G60-630US Power Button Replacement: 手順 4、 3の画像 1 HP Pavilion G60-630US Power Button Replacement: 手順 4、 3の画像 2 HP Pavilion G60-630US Power Button Replacement: 手順 4、 3の画像 3
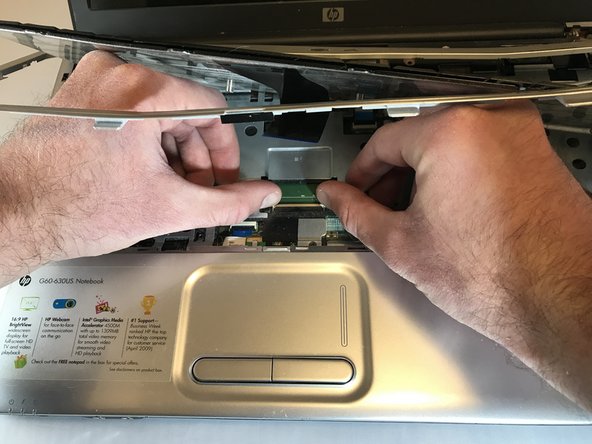
    • Carefully place your hands underneath the now loosened keyboard and locate the ribbon keeping the keyboard connected to the laptop.

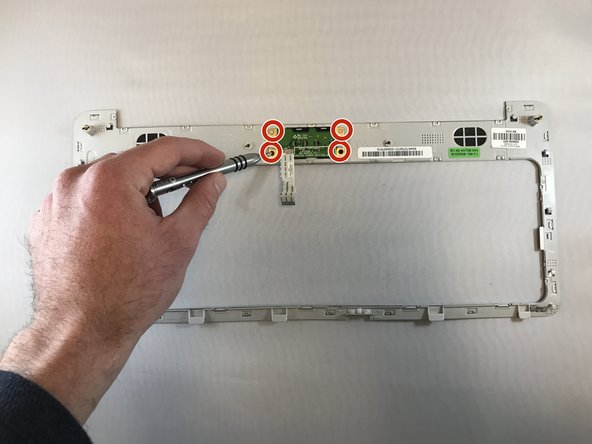
    • Locate the tabs keeping the ribbon in place.

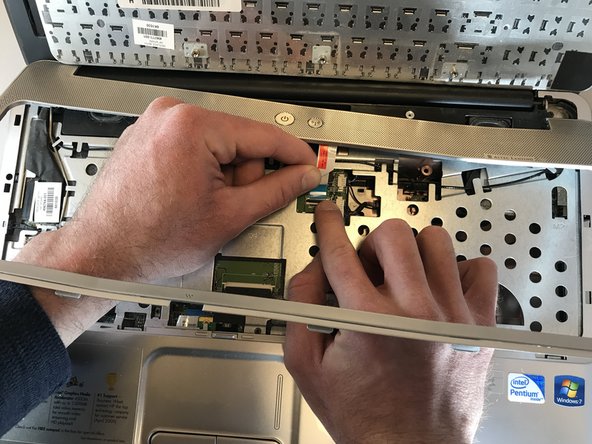
    • Gently push the tabs inward to release the ribbon and to detach the keyboard.

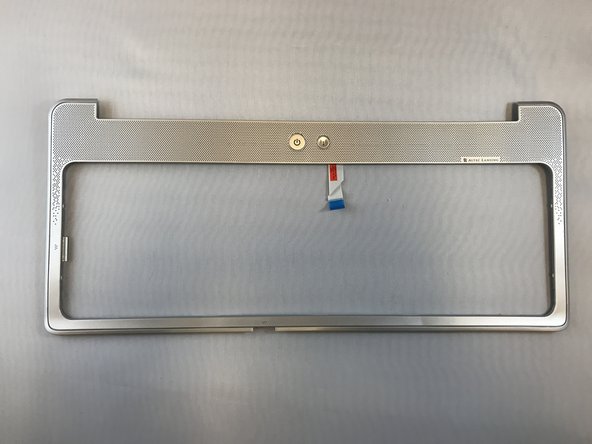
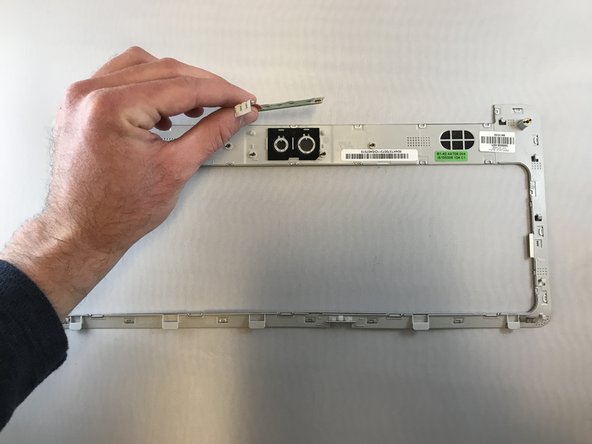
    • Carefully remove the keyboard and place it off to the side.

    • The silver border and the power button will still be connected by a different ribbon.

  5. HP Pavilion G60-630US Power Button Replacement: 手順 5、 3の画像 1 HP Pavilion G60-630US Power Button Replacement: 手順 5、 3の画像 2 HP Pavilion G60-630US Power Button Replacement: 手順 5、 3の画像 3
    • Locate the ribbon keeping the power button attached to the laptop.

    • Push the tab attaching the ribbon to the laptop to detach the silver border and the power button.

  6. HP Pavilion G60-630US Power Button Replacement: 手順 6、 3の画像 1 HP Pavilion G60-630US Power Button Replacement: 手順 6、 3の画像 2 HP Pavilion G60-630US Power Button Replacement: 手順 6、 3の画像 3
    • If you are looking at this in the HP Pavilion G60-630US Screen Replacement Guide, ignore this step

    • Flip the silver border over to expose the underside of the power bar.

    • Unscrew the 4 screws keeping the power bar in place. Place the screws off the the side.

    • Carefully remove the power bar.

終わりに

To reassemble your device, follow these instructions in reverse order.

作成者

2人の作成者と共同で作成されました。

[deleted]

メンバー登録日: 10/02/17

213 ポイント

2のガイドは作成済み

コメント 1 件

You have neglected to speak about removal of 5 screws from the bottom of the laptop! 3 inside the battery compartment and 2 on the corners of the laptop. Removal of these allow removal of the bezel and keyboard. Failure to remove these screws will cause damage to the keyboard and bezel!

Dave - 返信

コメントを追加

統計データ:

過去 24時間: 0

過去 7 日: 5

過去 30 日: 12

今までの合計 2,143