メインコンテンツにスキップ

HP Pavilion G60-247CL Screen Replacement

必要な工具と部品

  1. HP Pavilion G60-247CL Screen Replacement, Battery: 手順 1、 3の画像 1 HP Pavilion G60-247CL Screen Replacement, Battery: 手順 1、 3の画像 2 HP Pavilion G60-247CL Screen Replacement, Battery: 手順 1、 3の画像 3
    • Press down and to the right on the battery lock slide.

    • Once slid over to the right the battery will pop up and out.

  2. HP Pavilion G60-247CL Screen Replacement, Screen: 手順 2、 1の画像 1
    • Remove the seven Phillips #1 screws from the back side of the laptop.

  3. HP Pavilion G60-247CL Screen Replacement: 手順 3、 2の画像 1 HP Pavilion G60-247CL Screen Replacement: 手順 3、 2の画像 2
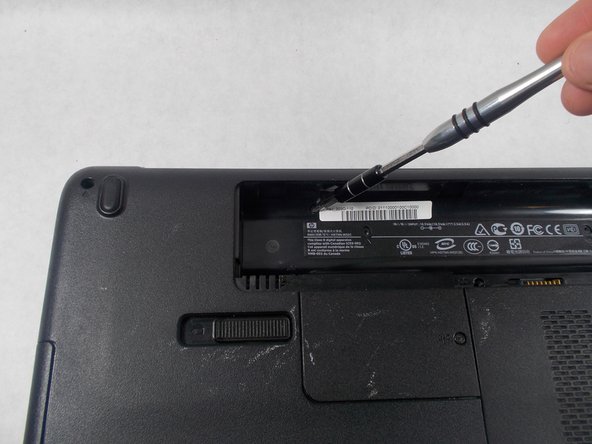
    • Remove the seven Phillips #0 screws from the battery compartment.

  4. HP Pavilion G60-247CL Screen Replacement: 手順 4、 3の画像 1 HP Pavilion G60-247CL Screen Replacement: 手順 4、 3の画像 2 HP Pavilion G60-247CL Screen Replacement: 手順 4、 3の画像 3
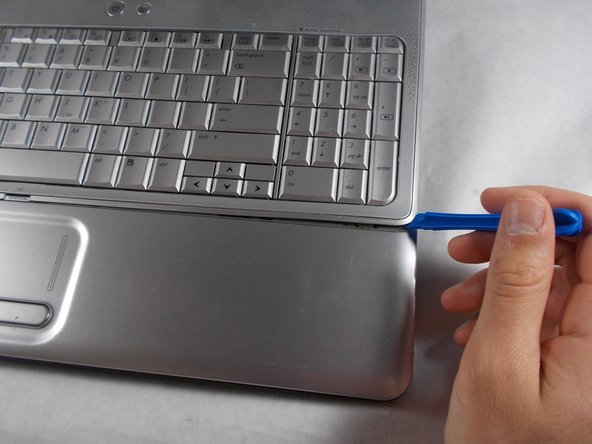
    • Turn the computer around to the front side.

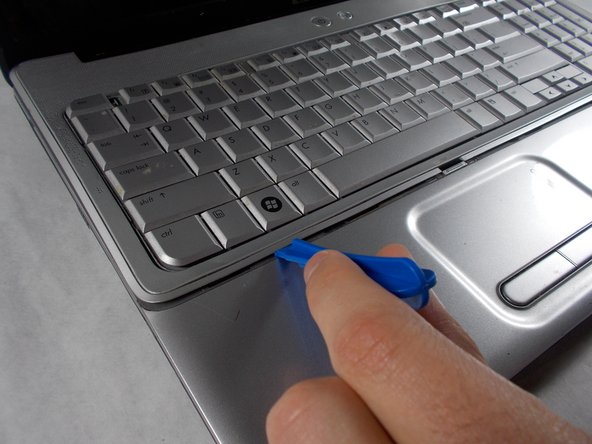
    • Using an opening tool (Spudger), prop open the keyboard casing.

  5. HP Pavilion G60-247CL Screen Replacement: 手順 5、 3の画像 1 HP Pavilion G60-247CL Screen Replacement: 手順 5、 3の画像 2 HP Pavilion G60-247CL Screen Replacement: 手順 5、 3の画像 3
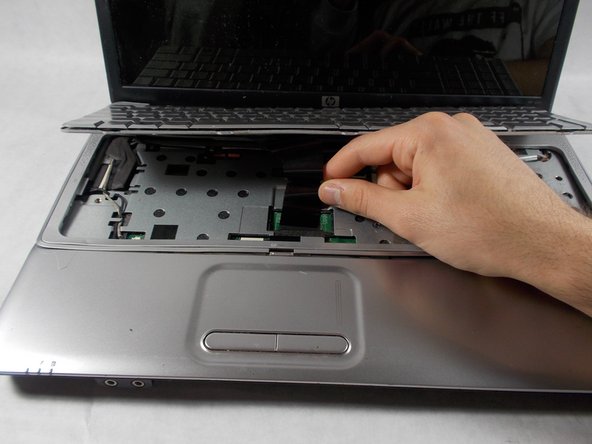
    • Carefully lift up the keyboard.

    • Gently pull up the connecting wire clip (located in the middle) to completely detach the keyboard.

  6. HP Pavilion G60-247CL Screen Replacement: 手順 6、 3の画像 1 HP Pavilion G60-247CL Screen Replacement: 手順 6、 3の画像 2 HP Pavilion G60-247CL Screen Replacement: 手順 6、 3の画像 3
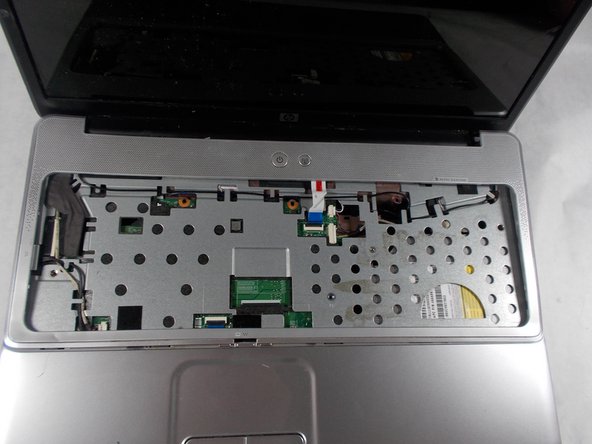
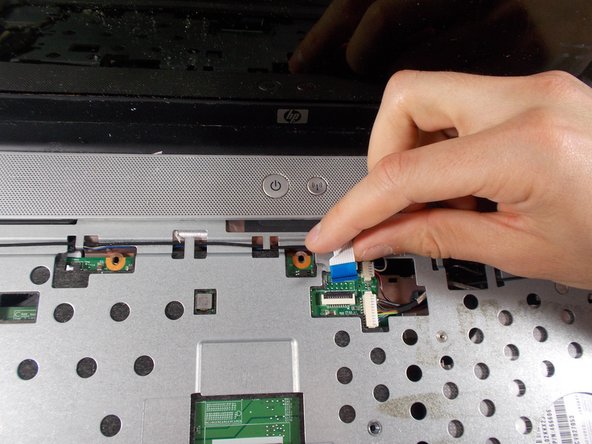
    • At the top right of the laptop there will be another wire clip holding the keyboard casing.

    • Carefully pull out the wire clip to fully detach the covering.

  7. HP Pavilion G60-247CL Screen Replacement: 手順 7、 2の画像 1 HP Pavilion G60-247CL Screen Replacement: 手順 7、 2の画像 2
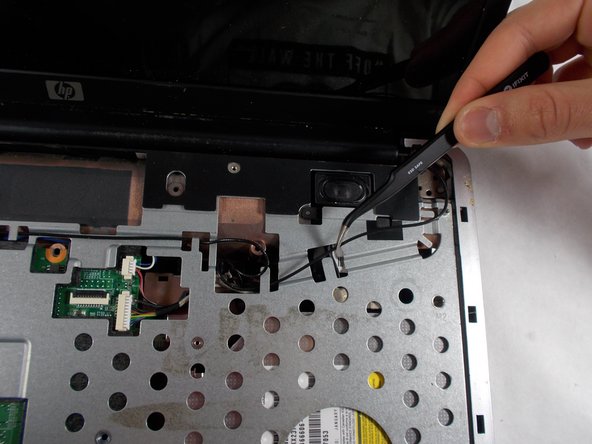
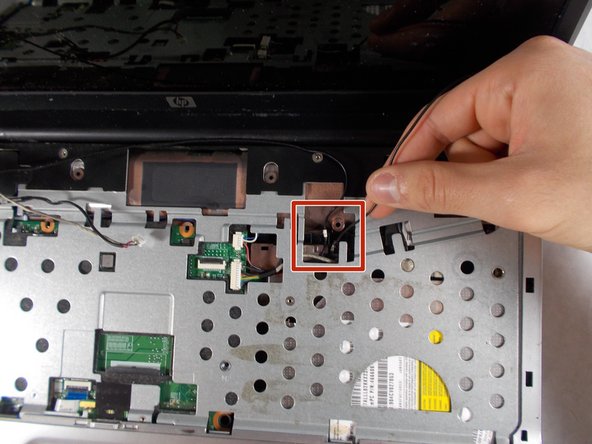
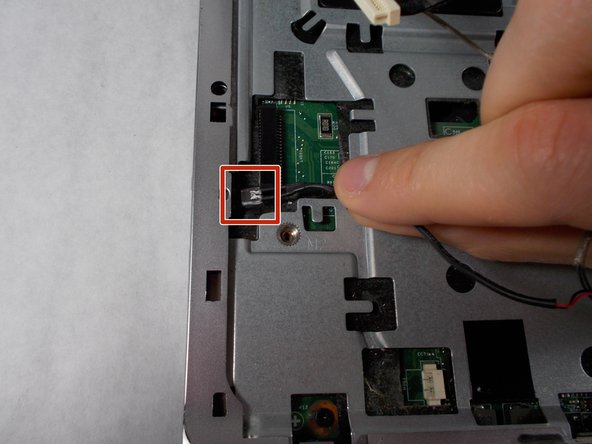
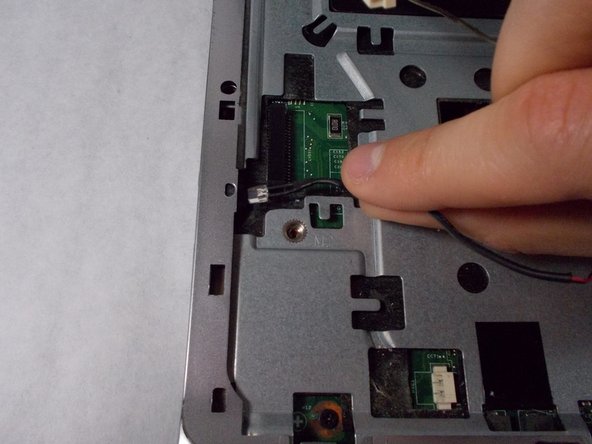
    • At the top right of the laptop remove the black wire from under the metal tabs using the tweezers.

  8. HP Pavilion G60-247CL Screen Replacement: 手順 8、 2の画像 1 HP Pavilion G60-247CL Screen Replacement: 手順 8、 2の画像 2
    • Remove the black wire from the top right corner by gently pulling outward.

  9. HP Pavilion G60-247CL Screen Replacement: 手順 9、 2の画像 1 HP Pavilion G60-247CL Screen Replacement: 手順 9、 2の画像 2
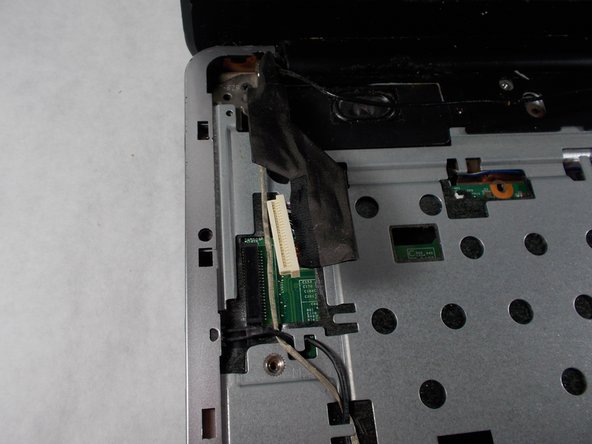
    • At the top left of the computer remove the black clip using the opening tool.

    • Push the opening tool to the right to pop out the clip.

  10. HP Pavilion G60-247CL Screen Replacement: 手順 10、 3の画像 1 HP Pavilion G60-247CL Screen Replacement: 手順 10、 3の画像 2 HP Pavilion G60-247CL Screen Replacement: 手順 10、 3の画像 3
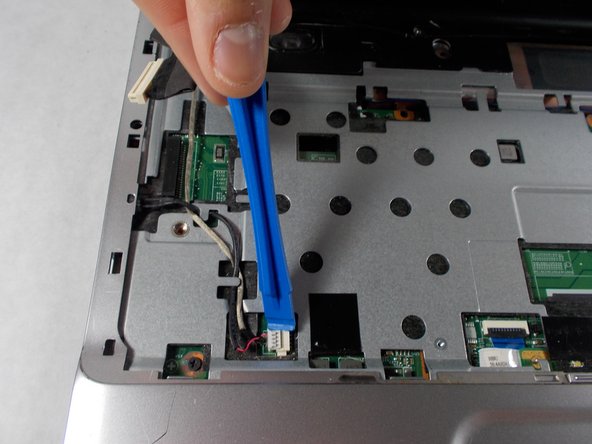
    • Locate at the bottom left of the computer a white clip.

    • Using an opening tool, prop out the white clip.

  11. HP Pavilion G60-247CL Screen Replacement: 手順 11、 2の画像 1 HP Pavilion G60-247CL Screen Replacement: 手順 11、 2の画像 2
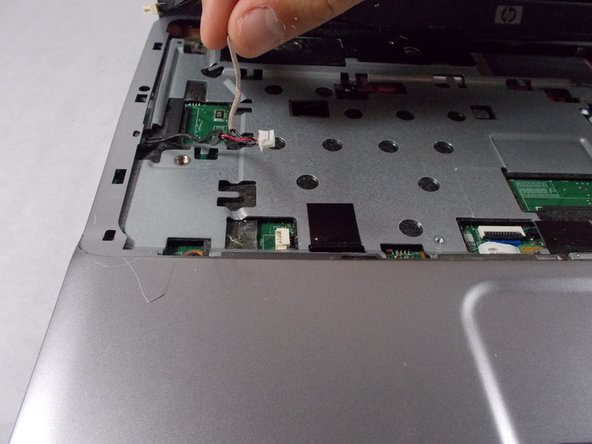
    • On the left side of the computer locate the black wire with the clear clip.

    • Gently pull the wire to the right to detach it.

  12. HP Pavilion G60-247CL Screen Replacement: 手順 12、 3の画像 1 HP Pavilion G60-247CL Screen Replacement: 手順 12、 3の画像 2 HP Pavilion G60-247CL Screen Replacement: 手順 12、 3の画像 3
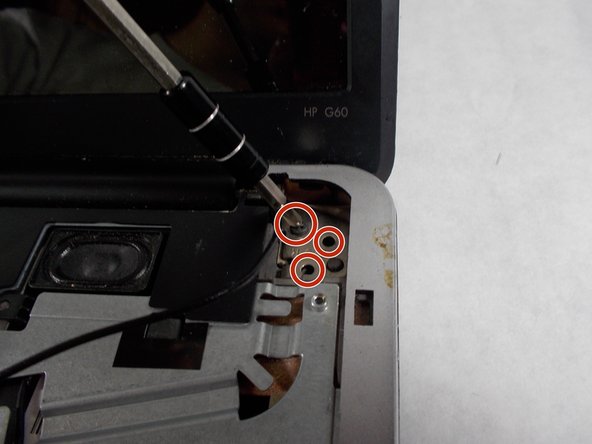
    • At the top corners of the computer, unscrew the three Phillips #0 screws.

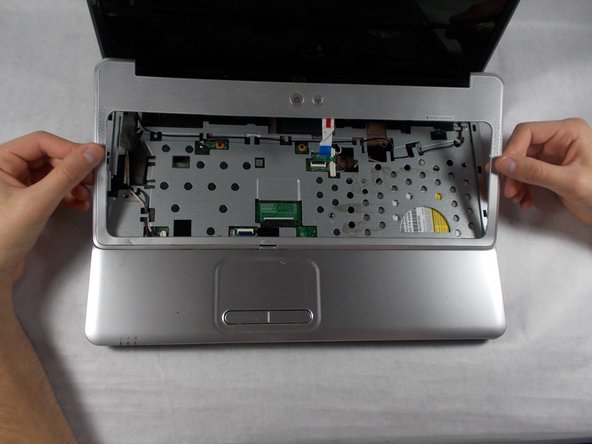
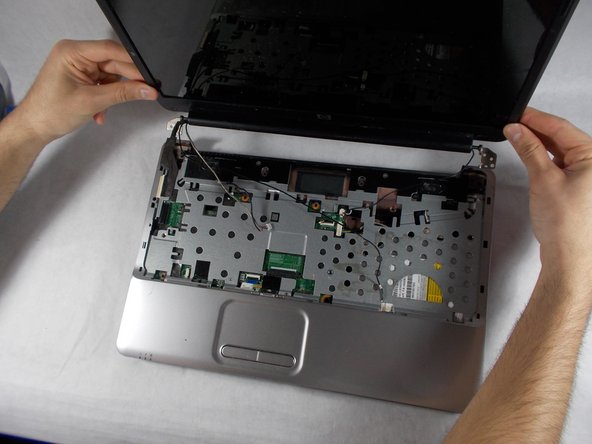
    • Lift up the top half of the computer carefully.

  13. HP Pavilion G60-247CL Screen Replacement: 手順 13、 3の画像 1 HP Pavilion G60-247CL Screen Replacement: 手順 13、 3の画像 2 HP Pavilion G60-247CL Screen Replacement: 手順 13、 3の画像 3
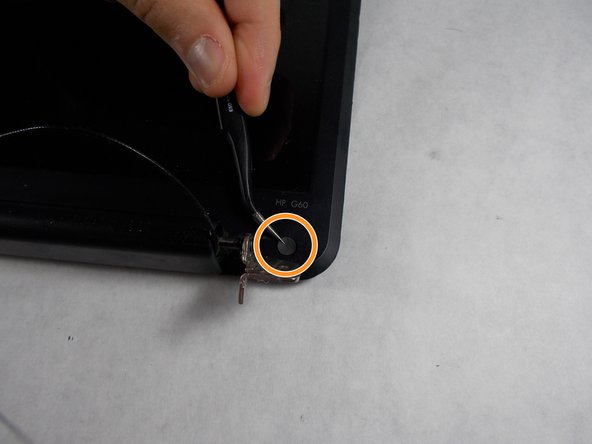
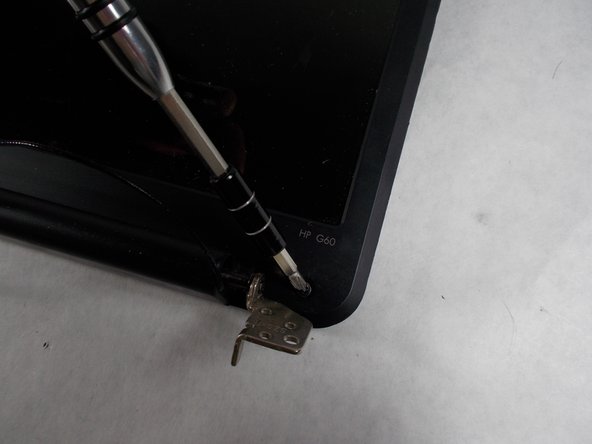
    • Locate the two screws at the bottom corners of the screen.

    • Using the tweezers remove the rubber black covering over the screw.

    • Remove the two Phillips #0 screws.

  14. HP Pavilion G60-247CL Screen Replacement: 手順 14、 3の画像 1 HP Pavilion G60-247CL Screen Replacement: 手順 14、 3の画像 2 HP Pavilion G60-247CL Screen Replacement: 手順 14、 3の画像 3
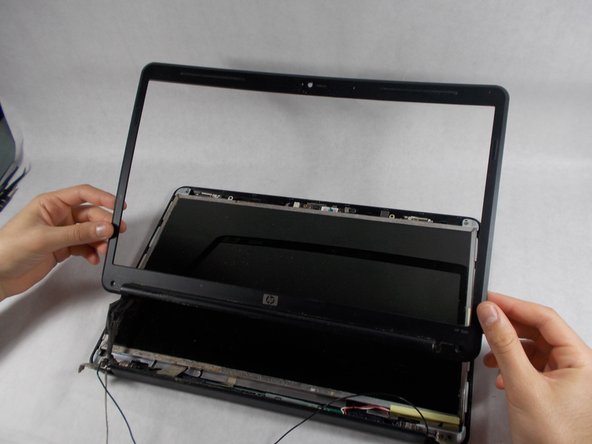
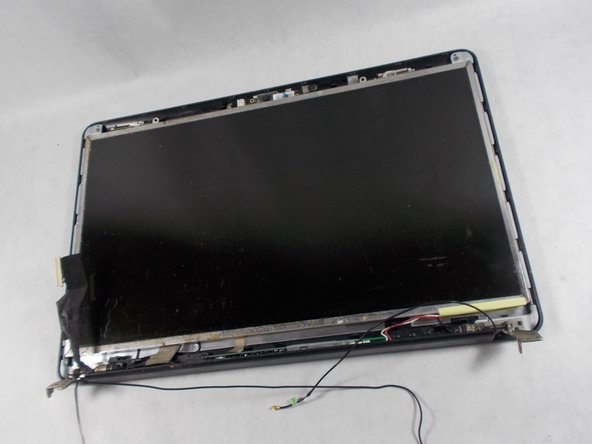
    • Using the opening tool, prop off the screen covering.

    • Remove the covering to expose the screen completely.

  15. HP Pavilion G60-247CL Screen Replacement: 手順 15、 3の画像 1 HP Pavilion G60-247CL Screen Replacement: 手順 15、 3の画像 2 HP Pavilion G60-247CL Screen Replacement: 手順 15、 3の画像 3
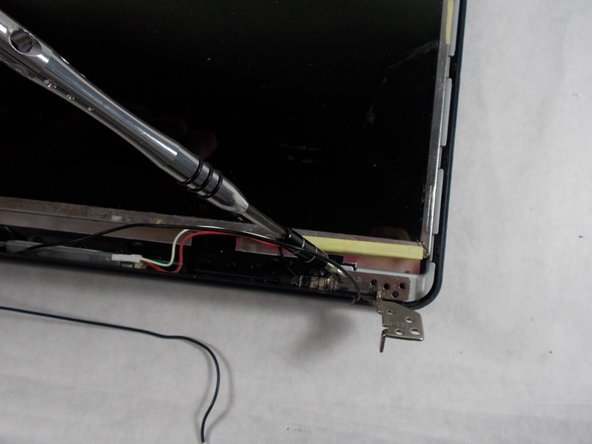
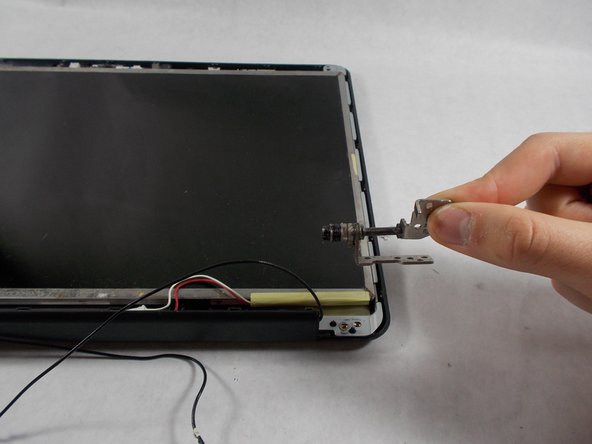
    • Remove the bottom two screen bearings.

    • Using a Phillips 1 screwdriver, remove the two screws on each side.

  16. HP Pavilion G60-247CL Screen Replacement: 手順 16、 2の画像 1 HP Pavilion G60-247CL Screen Replacement: 手順 16、 2の画像 2
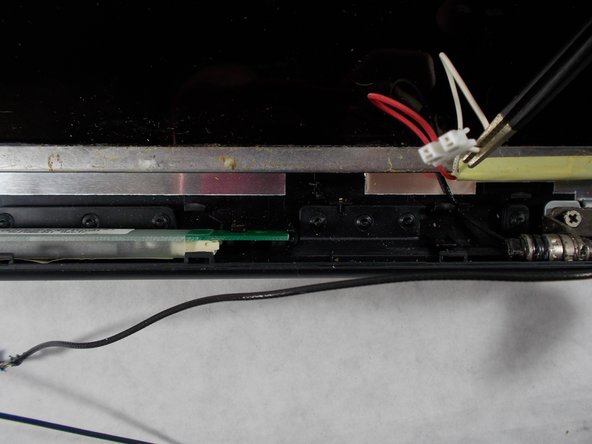
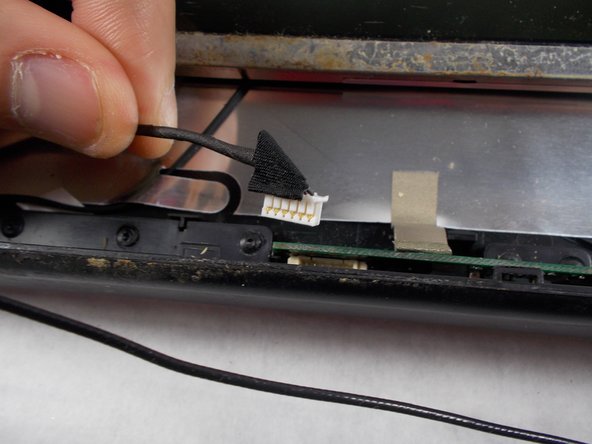
    • Using the tweezers remove the red and white wire from the bottom of the screen.

  17. HP Pavilion G60-247CL Screen Replacement: 手順 17、 2の画像 1 HP Pavilion G60-247CL Screen Replacement: 手順 17、 2の画像 2
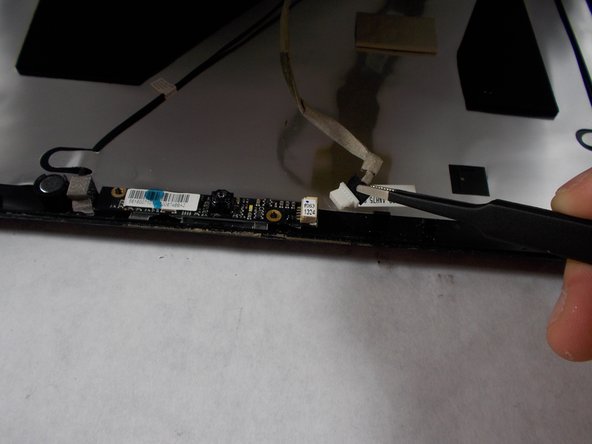
    • Prop the screen up slightly .

    • Using the tweezers unclip the white wire.

  18. HP Pavilion G60-247CL Screen Replacement: 手順 18、 2の画像 1 HP Pavilion G60-247CL Screen Replacement: 手順 18、 2の画像 2
    • While the screen is still propped open remove the black wire from the bottom middle of the screen by pulling gently.

  19. HP Pavilion G60-247CL Screen Replacement: 手順 19、 1の画像 1
    • Remove the screen from the outer casing carefully.

終わりに

To reassemble your device, follow these instructions in reverse order.

作成者

8人の作成者と共同で作成されました。

Haley Matthews

メンバー登録日: 03/12/18

517 ポイント

3のガイドは作成済み

チーム

UMass Dartmouth, Team S4-G5, Covino Spring 2018 UMass Dartmouth, Team S4-G5, Covino Spring 2018人のメンバー

UMASSD-COVINO-S18S4G5

3 メンバー

5のガイドは作成済み

0 件のコメント

コメントを追加

統計データ:

過去 24時間: 1

過去 7 日: 5

過去 30 日: 13

今までの合計 281