メインコンテンツにスキップ

HP Pavilion DV2160BR Screen Replacement

必要な工具と部品

  1. HP Pavilion DV2160BR Screen Replacement, Battery: 手順 1、 1の画像 1
    • Start with the bottom of the laptop facing up.

  2. HP Pavilion DV2160BR Screen Replacement: 手順 2、 2の画像 1 HP Pavilion DV2160BR Screen Replacement: 手順 2、 2の画像 2
    • Locate the battery compartment at the rear of the device.

    • There is a slider button located under the left side of the battery compartment. It is indicated by a battery symbol. Move the slider to the left and lift the battery out.

  3. HP Pavilion DV2160BR Screen Replacement, Screen: 手順 3、 1の画像 1
    • Start with the laptop sitting up and in the open position.

  4. HP Pavilion DV2160BR Screen Replacement: 手順 4、 3の画像 1 HP Pavilion DV2160BR Screen Replacement: 手順 4、 3の画像 2 HP Pavilion DV2160BR Screen Replacement: 手順 4、 3の画像 3
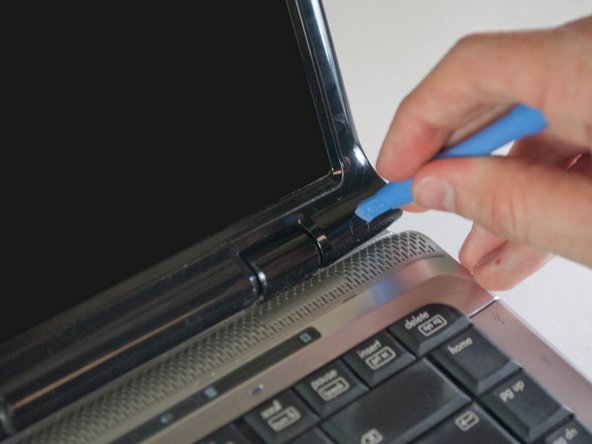
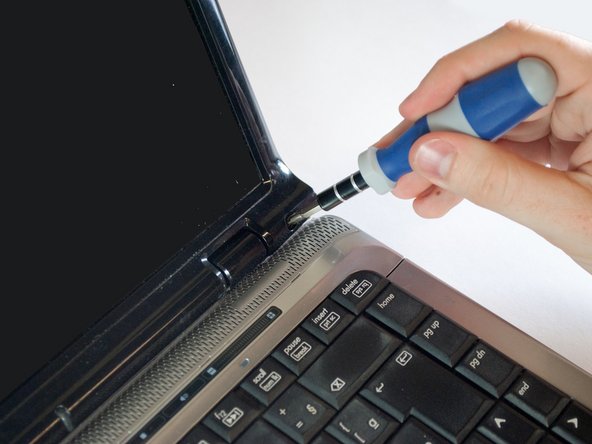
    • Remove the 6 rubber screw covers and screws, found around the edge of the laptop screen, surrounded in red and blue.

    • Use the plastic opener tools to remove the screw covers. Just apply firm pressure to the edges to pop the screw covers out, they are attached with a light adhesive.

    • There are four 2.5mm X 4mm-L Phillips #0 screws along the top.

    • There are two 2.5mm X 8mm-L Phillips #1 screws along the bottom.

  5. HP Pavilion DV2160BR Screen Replacement: 手順 5、 2の画像 1 HP Pavilion DV2160BR Screen Replacement: 手順 5、 2の画像 2
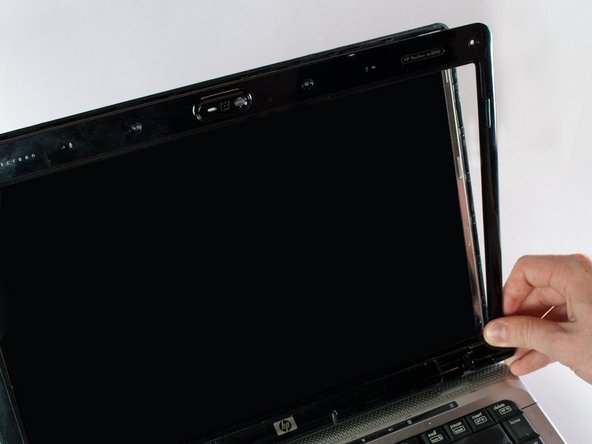
    • Now we must remove the plastic panel.

    • Slide a plastic opener tool along the outside edges of the front screen panel, separating it from the screen. You may need to apply some firm pressure.

    • Once the panel is separated from the screen, gently pull it off and set it aside.

  6. HP Pavilion DV2160BR Screen Replacement: 手順 6、 2の画像 1 HP Pavilion DV2160BR Screen Replacement: 手順 6、 2の画像 2
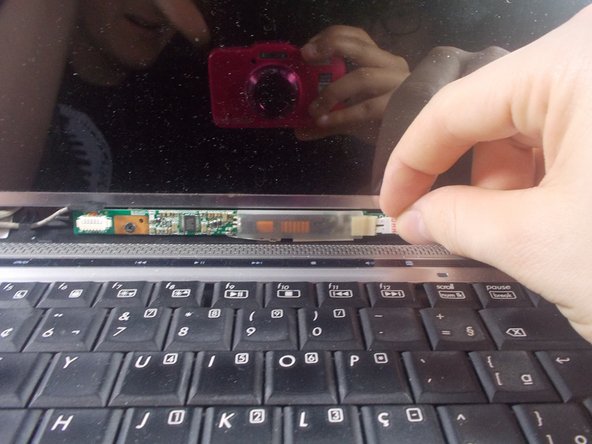
    • Locate the inverter at the bottom of the screen.

    • Disconnect the back light plug cable on the right side of the inverter by holding the inverter in place and pulling firmly on the connector.

  7. HP Pavilion DV2160BR Screen Replacement: 手順 7、 2の画像 1 HP Pavilion DV2160BR Screen Replacement: 手順 7、 2の画像 2
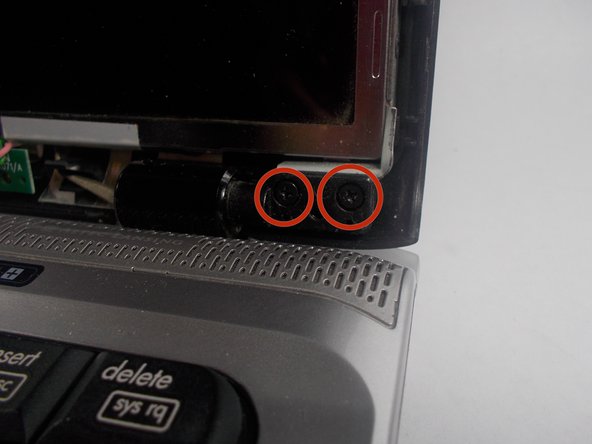
    • Now remove the final four screws holding the screen in place.

    • Remove the four 2.5mm X 6mm-L Phillips #0 screws from the lower left and right hand sides of the screen.

    • Be aware that the screen is now loose and can fall backwards.

  8. HP Pavilion DV2160BR Screen Replacement: 手順 8、 3の画像 1 HP Pavilion DV2160BR Screen Replacement: 手順 8、 3の画像 2 HP Pavilion DV2160BR Screen Replacement: 手順 8、 3の画像 3
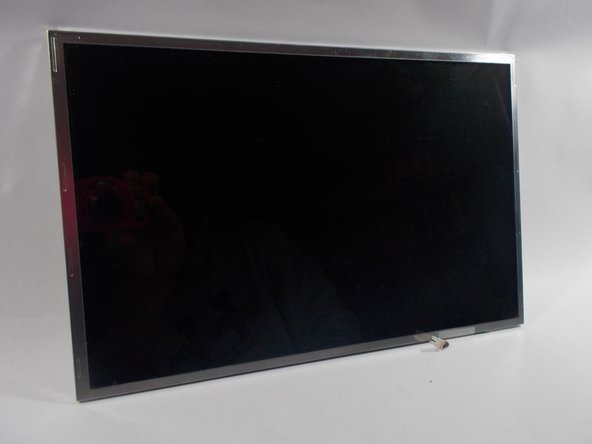
    • Remove the screen from the back screen panel.

    • Set the screen facing down gently onto the keyboard.

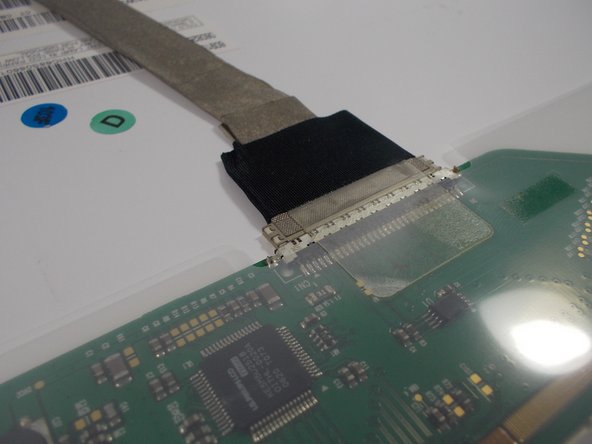
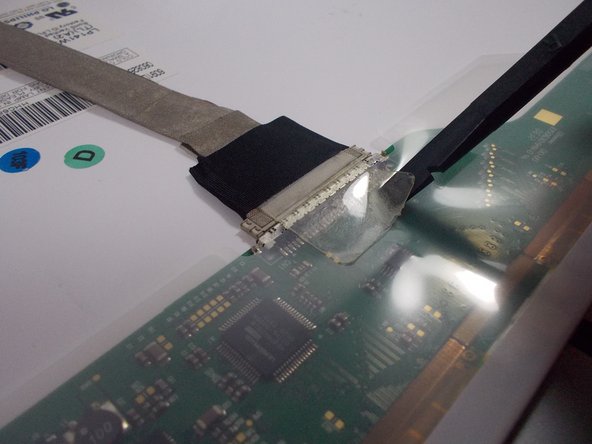
    • Now that the screen is placed face down onto the keyboard we are going to remove the wire connecting the screen to the device.

    • The wire is held on by an adhesive tape that must be lifted with the spudger tool.

    • Once the tape is lifted, slide your finger under and gently pull up the rest of the tape to free the wire.

    • Gently pull the wire towards the back of the device and the screen will now be free.

  9. HP Pavilion DV2160BR Screen Replacement: 手順 9、 2の画像 1 HP Pavilion DV2160BR Screen Replacement: 手順 9、 2の画像 2
    • Finally we must remove the metal mounting hardware attached to the screen.

    • Remove the six 2mm X 3mm-L Phillips #0 screws.

    • There are three on each side of the display

    • Set aside the metal hardware and your display is now separated from the device!

終わりに

To reassemble your device, follow these instructions in reverse order.

ある他の人がこのガイドを完成しました。

作成者

3人の作成者と共同で作成されました。

Michael

メンバー登録日: 03/12/14

123 ポイント

1ガイドが承認済み

チーム

UMass Dartmouth, Team 6-5, Vijaybhaskar Spring 2014 UMass Dartmouth, Team 6-5, Vijaybhaskar Spring 2014人のメンバー

UMASSD-VIJAYBHASKAR-S14S6G5

3 メンバー

3のガイドは作成済み

0 件のコメント

コメントを追加

統計データ:

過去 24時間: 0

過去 7 日: 0

過去 30 日: 1

今までの合計 561