メインコンテンツにスキップ

HP Pavilion 17-g119dx RAM Replacement

必要な工具と部品

  1. HP Pavilion 17-g119dx RAM Replacement, Battery: 手順 1、 1の画像 1
    • Close your laptop and turn it over so that the bottom is facing up.

  2. HP Pavilion 17-g119dx RAM Replacement: 手順 2、 2の画像 1 HP Pavilion 17-g119dx RAM Replacement: 手順 2、 2の画像 2
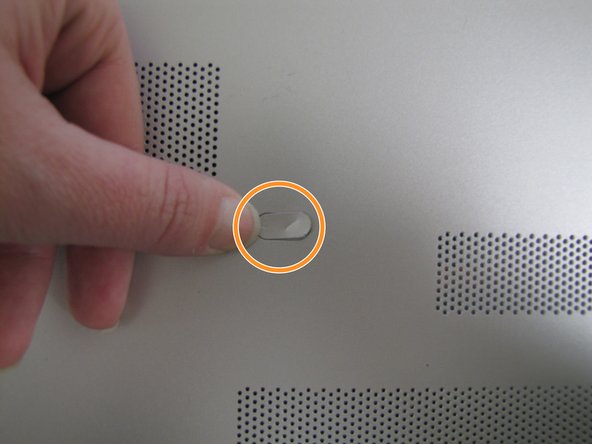
    • In the upper left hand corner, slide the bar with the lock icon to the right. This will unlock the battery.

  3. HP Pavilion 17-g119dx RAM Replacement: 手順 3、 2の画像 1 HP Pavilion 17-g119dx RAM Replacement: 手順 3、 2の画像 2
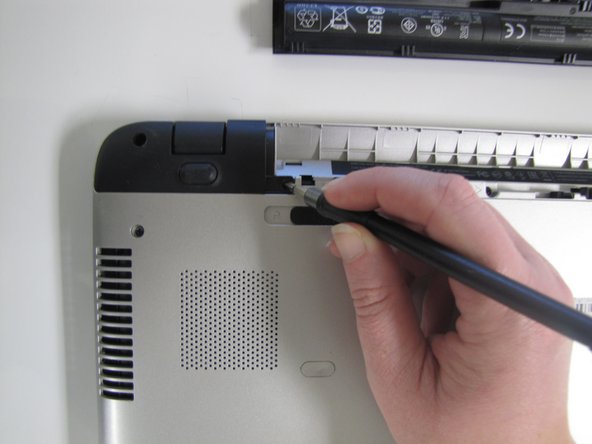
    • Slide the bar with the battery icon, on the right of your laptop, to the left to release the battery.

  4. HP Pavilion 17-g119dx RAM Replacement: 手順 4、 2の画像 1 HP Pavilion 17-g119dx RAM Replacement: 手順 4、 2の画像 2
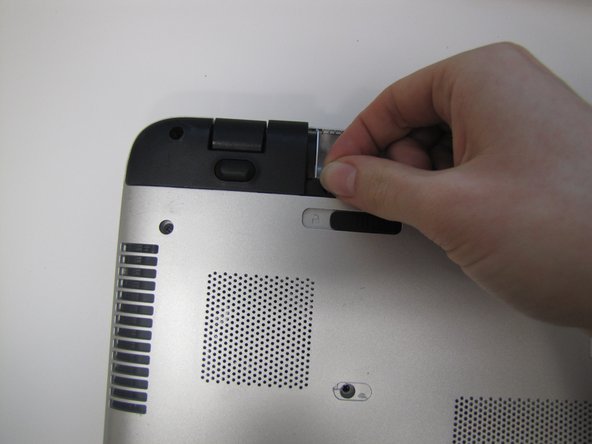
    • Grab the battery and remove it from the laptop.

  5. HP Pavilion 17-g119dx RAM Replacement, RAM: 手順 5、 3の画像 1 HP Pavilion 17-g119dx RAM Replacement, RAM: 手順 5、 3の画像 2 HP Pavilion 17-g119dx RAM Replacement, RAM: 手順 5、 3の画像 3
    • Remove the twenty 6.5mm screws using the Phillips #00 screwdriver.

    • Two of these 6.5mm screws are covered by a silver sticker. Remove the sticker by gently scraping your finger nail under the sticker and then remove the screws.

  6. HP Pavilion 17-g119dx RAM Replacement: 手順 6、 3の画像 1 HP Pavilion 17-g119dx RAM Replacement: 手順 6、 3の画像 2 HP Pavilion 17-g119dx RAM Replacement: 手順 6、 3の画像 3
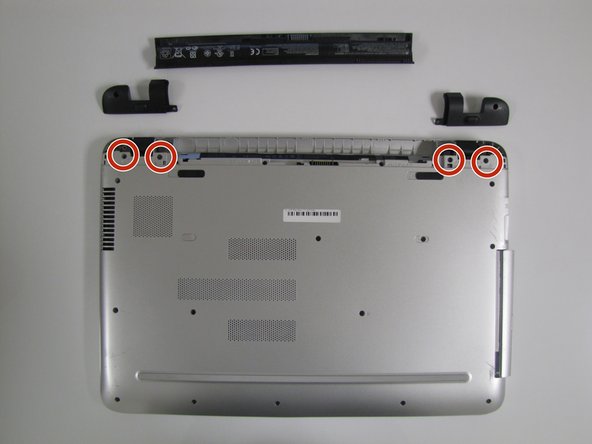
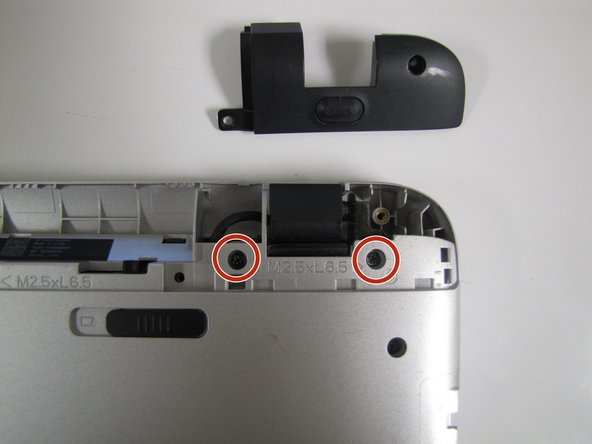
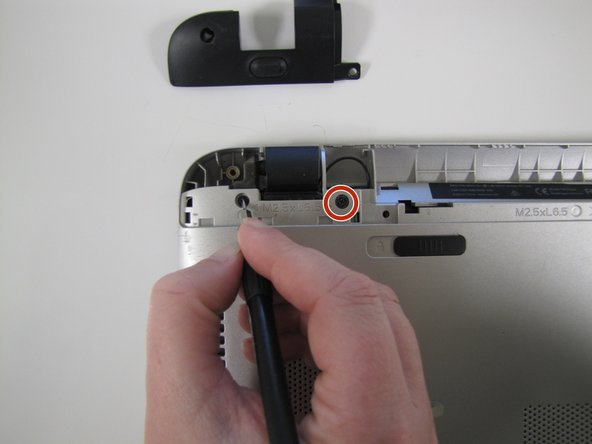
    • Remove the black corner covers on either side of the battery to reveal four additional 6.5mm Phillips #00 screws.

  7. HP Pavilion 17-g119dx RAM Replacement: 手順 7、 3の画像 1 HP Pavilion 17-g119dx RAM Replacement: 手順 7、 3の画像 2 HP Pavilion 17-g119dx RAM Replacement: 手順 7、 3の画像 3
    • Remove the four 6.5mm Phillips #00 screws that were underneath the black corner covers.

  8. HP Pavilion 17-g119dx RAM Replacement: 手順 8、 3の画像 1 HP Pavilion 17-g119dx RAM Replacement: 手順 8、 3の画像 2 HP Pavilion 17-g119dx RAM Replacement: 手順 8、 3の画像 3
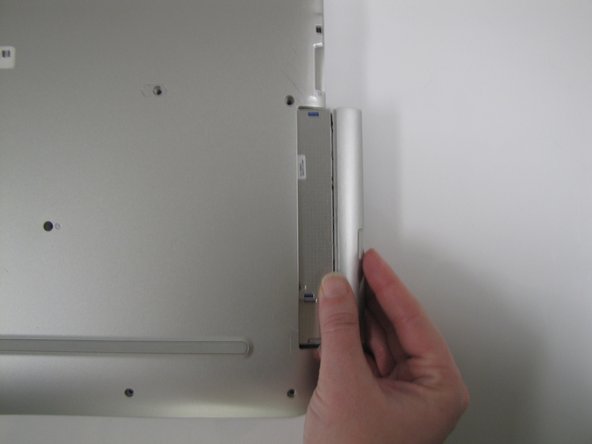
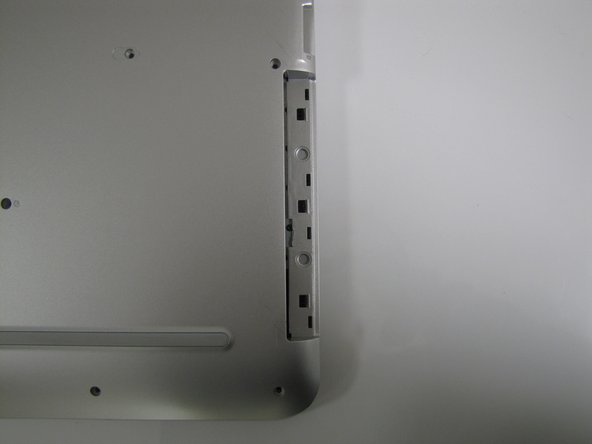
    • On the right-hand corner of the laptop, remove the CD-ROM by pressing the small button on the side. Pull it out of the laptop, and set it to the side.

  9. HP Pavilion 17-g119dx RAM Replacement: 手順 9、 3の画像 1 HP Pavilion 17-g119dx RAM Replacement: 手順 9、 3の画像 2 HP Pavilion 17-g119dx RAM Replacement: 手順 9、 3の画像 3
    この手順で使用する道具:
    iFixit Opening Tool
    $1.99
    購入する
    • Make sure that all screws and the CD-ROM Drive are removed before trying to complete this step to prevent damaging your laptop. During this step, you will likely hear loud crackling noises. This is normal.

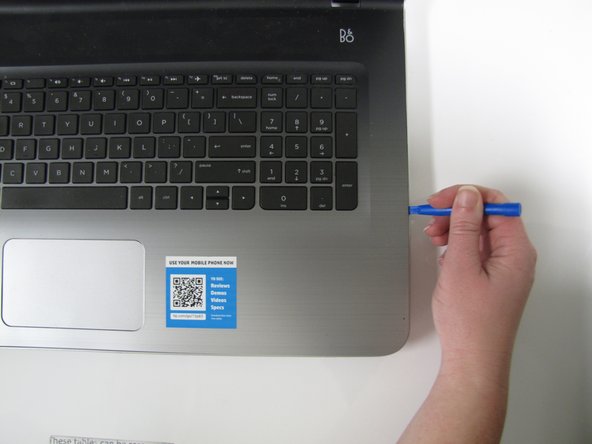
    • Flip the computer back over with the screen facing up and open the laptop.

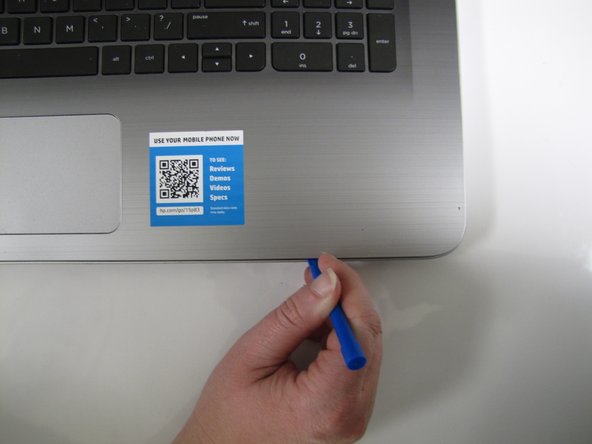
    • Use the Plastic Opening Tool to separate the face plate from the backing.

  10. HP Pavilion 17-g119dx RAM Replacement: 手順 10、 2の画像 1 HP Pavilion 17-g119dx RAM Replacement: 手順 10、 2の画像 2
    この手順で使用する道具:
    iFixit Opening Tool
    $1.99
    購入する
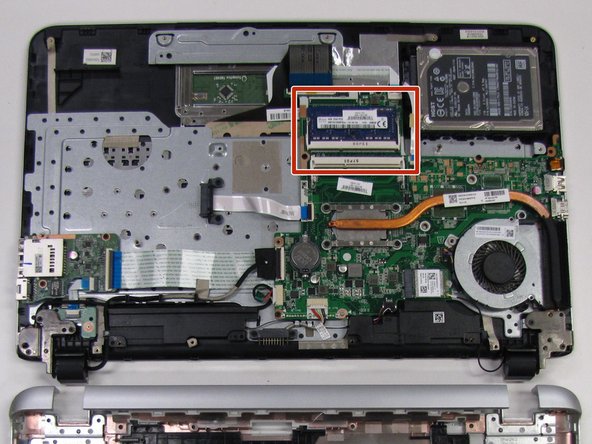
    • After running the Plastic Opening Tool along the sides, you can gently lift the keyboard up and on top of the screen to access the RAM.

    • The RAM will be located above the Motherboard and next to the Processor.

  11. HP Pavilion 17-g119dx RAM Replacement: 手順 11、 2の画像 1 HP Pavilion 17-g119dx RAM Replacement: 手順 11、 2の画像 2
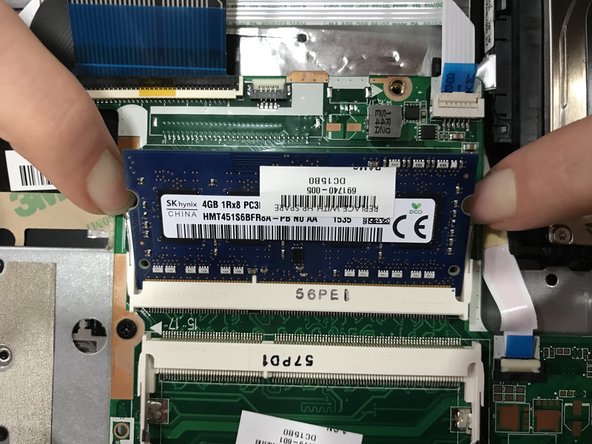
    • Release the RAM by pulling the two white levers away from the sides of the RAM.

  12. HP Pavilion 17-g119dx RAM Replacement: 手順 12、 1の画像 1
    • Pull the RAM up and out of the laptop to remove it.

    • When reassembling, be sure to insert the RAM at the same angle it came out. Then push it down into place.

終わりに

To reassemble your device, follow these instructions in reverse order.

3 の人々がこのガイドを完成させました。

作成者

2人の作成者と共同で作成されました。

Morgan Best

メンバー登録日: 10/30/17

403 ポイント

2のガイドは作成済み

チーム

University of North Texas, Team S1-G2, Boettger Fall 2017 University of North Texas, Team S1-G2, Boettger Fall 2017人のメンバー

UNT-BOETTGER-F17S1G2

2 メンバー

5のガイドは作成済み

コメント 1 件

コメントを追加

統計データ:

過去 24時間: 1

過去 7 日: 6

過去 30 日: 25

今までの合計 2,562