はじめに
WARNING: The computer should be off (no power running), unplugged and the battery must be removed to prevent electrical shock.
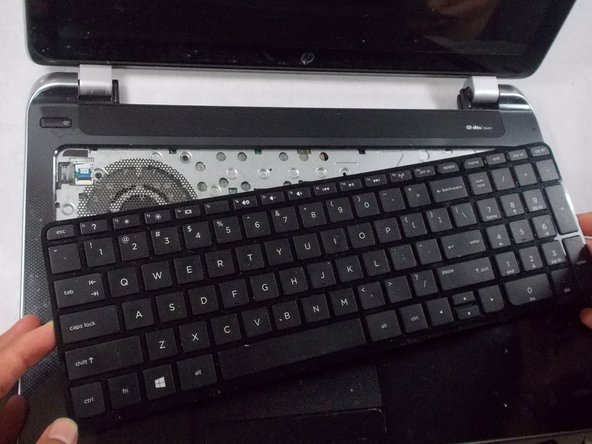
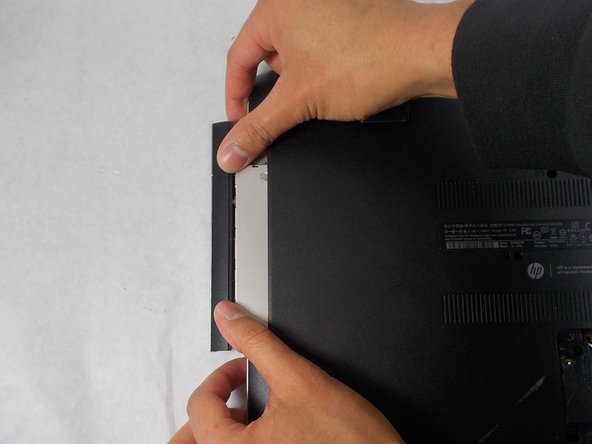
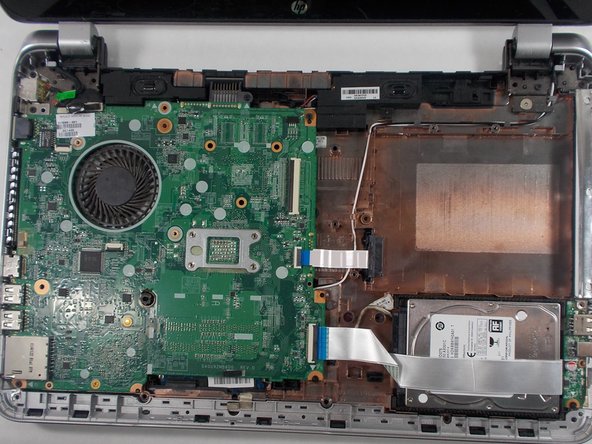
If the motherboard in the HP Pavilion 15-n210dx needs to be replaced, use this guide. The battery, keyboard, and opening up the computer is necessary to get to the motherboard.
Please look over the section of the troubleshooting page that involves the motherboard. Blue screen of death (BSOD) can often be caused by software problems.
A motherboard allows components in the computer to interact with each other. A damaged component due to physical trauma or overheating can cause a computer to fail to function normally or not work at all. In addition, a faulty motherboard can cause a blue screen of death (BSOD). As a result, it should be replaced.
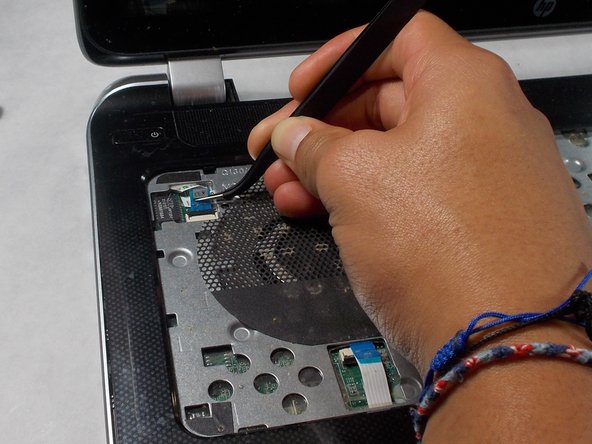
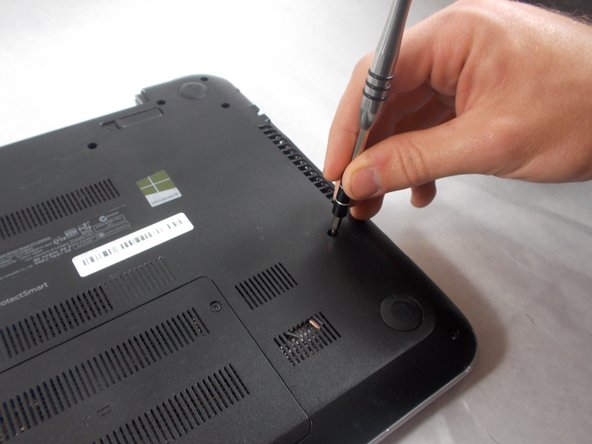
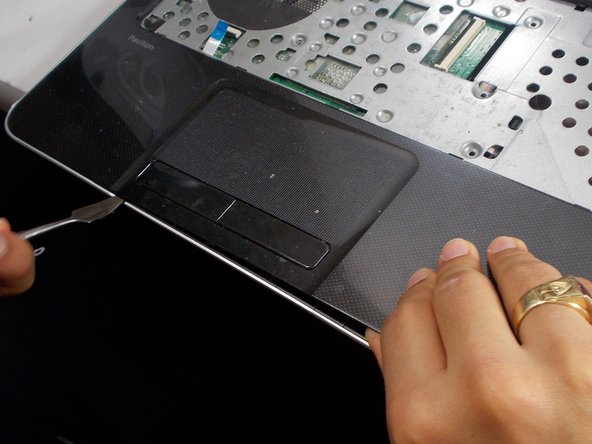
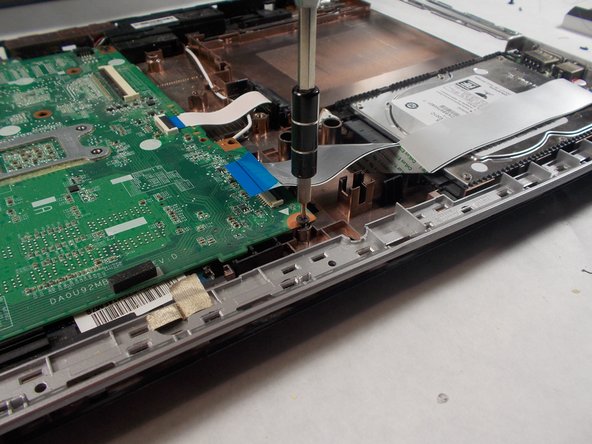
Please have a Y0 screw driver and a metal spudger present before starting the replacement of the motherboard.
必要な工具と部品


To reassemble your device, follow these instructions in reverse order.
To reassemble your device, follow these instructions in reverse order.
チーム

UMass Dartmouth, Team 3-8, Sinclaire Fall 2021 UMass Dartmouth, Team 3-8, Sinclaire Fall 2021人のメンバー
UMASSD-SINCLAIRE-F21S3G8
4 メンバー
6のガイドは作成済み