メインコンテンツにスキップ

HP Pavilion 15-ca2073cl Display-Pad Replacement

アーカイブされたガイド
このガイドは将来的な使用のためにのみ保存されてます。ご自身の修理作業には更新バージョンをご利用ください。

必要な工具と部品

  1. HP Pavilion 15-ca2073cl Display-Pad Replacement, Back Cover: 手順 1、 1の画像 1
    • Before beginning, make sure the laptop is completely turned off by pressing the off button and waiting for the screen to turn black.

    • Flip the laptop over.

    • Remove all the 6.5mm screws (black) and the 4.8mm long screws (silver) using the Phillips #00 screwdriver.

  2. HP Pavilion 15-ca2073cl Display-Pad Replacement: 手順 2、 2の画像 1 HP Pavilion 15-ca2073cl Display-Pad Replacement: 手順 2、 2の画像 2
    • Use an iFixit opening tool to wedge in between the case and the body of the laptop.

    • Start from the front and work down both sides, disconnecting clips.

    • Remove the bottom case from the body.

  3. HP Pavilion 15-ca2073cl Display-Pad Replacement, Battery: 手順 3、 2の画像 1 HP Pavilion 15-ca2073cl Display-Pad Replacement, Battery: 手順 3、 2の画像 2
    • Remove six 4.8mm screws (silver) using the Phillips #00 screwdriver.

  4. HP Pavilion 15-ca2073cl Display-Pad Replacement, Display-Pad: 手順 4、 1の画像 1
    • Open the laptop like you normally would if you were about to use it and use a plastic spudger to separate the top cover from the bottom.

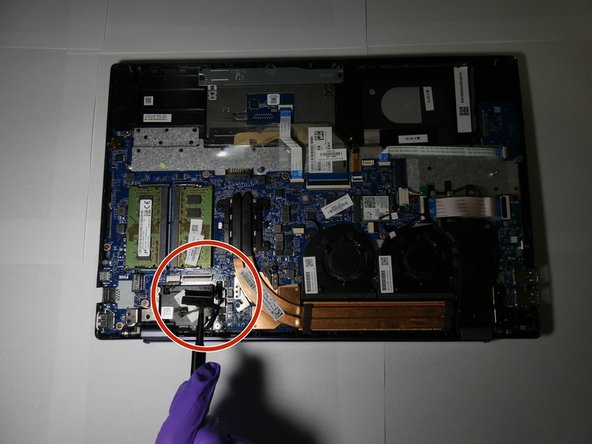
    • While lifting the top cover, undo the clip holding the keyboard cable in place and pull the cable out.

  5. HP Pavilion 15-ca2073cl Display-Pad Replacement: 手順 5、 2の画像 1 HP Pavilion 15-ca2073cl Display-Pad Replacement: 手順 5、 2の画像 2
    • Remove the screws from the display to the frame of the laptop.

    • Remove the cables that connect to the motherboard.

  6. HP Pavilion 15-ca2073cl Display-Pad Replacement: 手順 6、 1の画像 1
    • Gently remove the display from the rest of the laptop.

  7. HP Pavilion 15-ca2073cl Display-Pad Replacement: 手順 7、 1の画像 1
    • Using a spudger, remove the cover from the display pad.

  8. HP Pavilion 15-ca2073cl Display-Pad Replacement: 手順 8、 2の画像 1 HP Pavilion 15-ca2073cl Display-Pad Replacement: 手順 8、 2の画像 2
    • Remove the screws surrounding the display.

    • Using the spudger, pry the display from the display pad.

終わりに

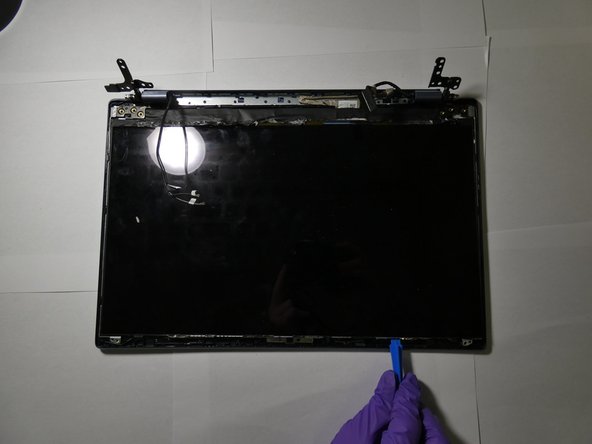
To reassemble your device, follow these instructions in reverse order.

作成者

1人の作成者と共同作成されました。

Montray Robinson

メンバー登録日: 02/20/20

121 ポイント

1ガイドが承認済み

0 件のコメント

コメントを追加

統計データ:

過去 24時間: 0

過去 7 日: 2

過去 30 日: 3

今までの合計 37