このバージョンは誤った内容を含んでいる可能性があります。最新の承認済みスナップショットに切り替えてください。
必要な工具と部品
-
この手順は未翻訳です。 翻訳を手伝う。
-
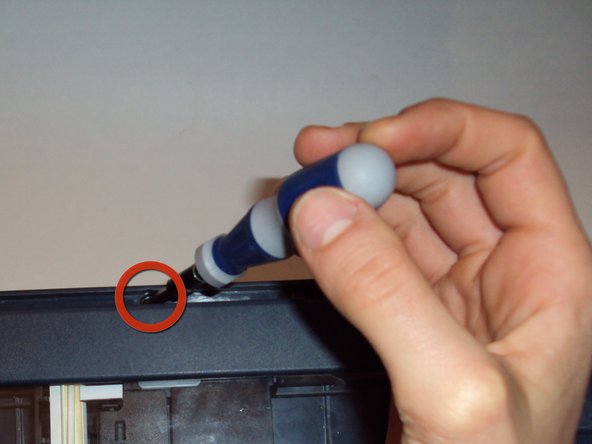
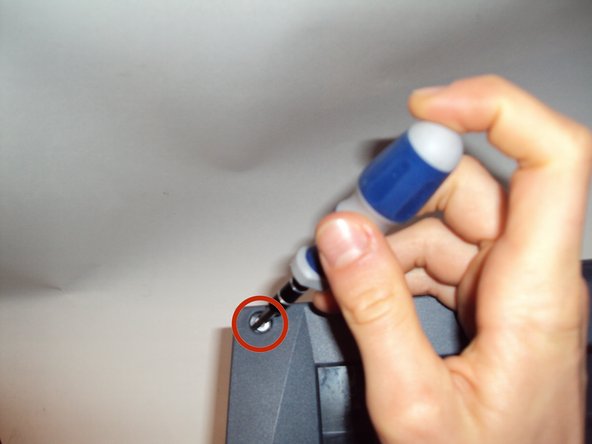
Once the control panel faceplate is off, look for the Lock/Unlock tab located underneath the off button.
-
To unlock and release the control panel, insert the flathead 3/32" screwdriver into the tab and carefully push down. The control panel will then separate from the printer's base by sliding it downward a little.
-
-
この手順は未翻訳です。 翻訳を手伝う。
-
Underneath the control panel will be a flat grey ribbon cable. This cable is attached at the base of the green control board with the other end of the cable located on the back side of the printer's base.
-
Carefully disconnect both ends of the flat grey ribbon cable to release the control panel in its entirety.
-


7 の人々がこのガイドを完成させました。
チーム

Cal Poly, Team 12-31, Maness Spring 2011 Cal Poly, Team 12-31, Maness Spring 2011人のメンバー
CPSU-MANESS-S11S12G31
5 メンバー
9のガイドは作成済み
2 件のコメント
2410 yazıcının kurulum sidisi exe dosyası gönderirseniz sevinirim benimki kayboldu lütfen teşekkürler. Mail. Veysiakaynak@hotmail.com
Where can you get a replacement cord for a HP PSC 2410 Photos mart All-in-one printer
diane wood - 返信