メインコンテンツにスキップ

Replacing the Carriage in the Photosmart All In One Printer

必要な工具と部品

  1. Replacing the Carriage in the Photosmart All In One Printer, Remove Back Panel: 手順 1、 1の画像 1
    • Remove the back panel by inserting your fingers into the indentations next to the tabs. Press the tabs inward towards each other while pulling the back panel toward you.

  2. Replacing the Carriage in the Photosmart All In One Printer, Remove Inner Back Pannel: 手順 2、 2の画像 1 Replacing the Carriage in the Photosmart All In One Printer, Remove Inner Back Pannel: 手順 2、 2の画像 2
    • Using the T10 Torx Security Bit Screwdriver, unscrew the screws on the upper left and right corners of the inner panel to remove the inner back panel.

  3. Replacing the Carriage in the Photosmart All In One Printer, Remove Upper Portion: 手順 3、 2の画像 1 Replacing the Carriage in the Photosmart All In One Printer, Remove Upper Portion: 手順 3、 2の画像 2
    • Press down on the two plastic hinges to remove the upper portion of printer.

  4. Replacing the Carriage in the Photosmart All In One Printer, Unplug Speaker Wire: 手順 4、 1の画像 1
    • Grasp the plastic plug on the end of the speaker wire, then gently pull the plug away from the printer until the wire is removed.

  5. Replacing the Carriage in the Photosmart All In One Printer, Removing Scanner Tray: 手順 5、 2の画像 1 Replacing the Carriage in the Photosmart All In One Printer, Removing Scanner Tray: 手順 5、 2の画像 2
    • Rotate the printer so the paper tray is facing towards you.

    • Gently lift the scanner tray up and away from the printer.

    • Press the gray plastic tabs inward to release the tabs from the printer.

  6. Replacing the Carriage in the Photosmart All In One Printer, Removing Scanner Tray - cont.: 手順 6、 1の画像 1
    • Returning to the back of the printer, remove the scanner from the back hinges.

    • With pressure applied, the scanner will detach easily.

  7. Replacing the Carriage in the Photosmart All In One Printer: 手順 7、 1の画像 1
    • Gently grasp and unplug the two white ribbon cables from the printer body.

    • Be sure to grasp the cable at the connector and not to pull on the wires themselves.

  8. Replacing the Carriage in the Photosmart All In One Printer: 手順 8、 1の画像 1
    • Unplug the white plastic multi-wire connector (with orange, black, red, and brown wires) from it's port.

    • Be sure to grasp the white connector and not to pull on the wires themselves.

  9. Replacing the Carriage in the Photosmart All In One Printer, Detaching the Scanner Tray: 手順 9、 1の画像 1
    • Detach the scanner tray from the printer by lifting the scanner tray off the printer body.

  10. Replacing the Carriage in the Photosmart All In One Printer, Printer Carriage: 手順 10、 1の画像 1
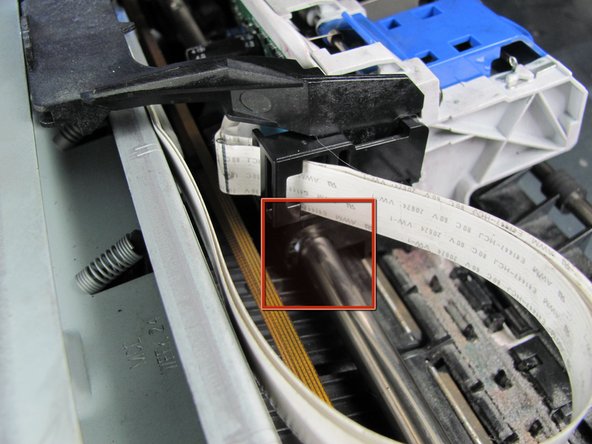
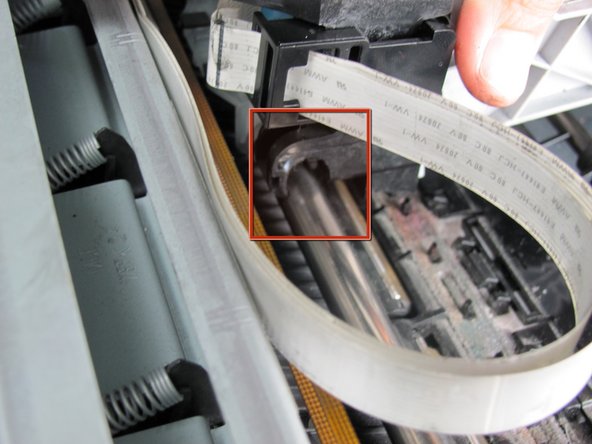
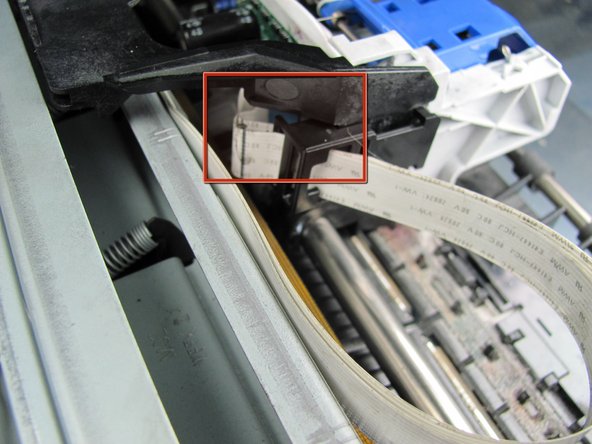
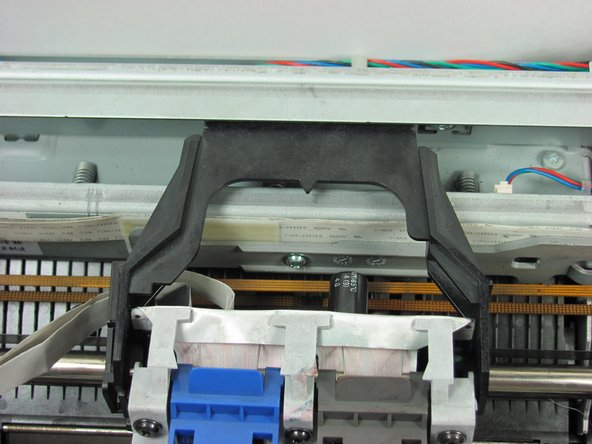
    • Remove printer carriage cover by unscrewing four black coarse thread T-10 torx screws marked with red circles.

  11. Replacing the Carriage in the Photosmart All In One Printer: 手順 11、 1の画像 1
    • Depress the plastic tabs marked in red to release the cover from the sides.

  12. Replacing the Carriage in the Photosmart All In One Printer: 手順 12、 3の画像 1 Replacing the Carriage in the Photosmart All In One Printer: 手順 12、 3の画像 2 Replacing the Carriage in the Photosmart All In One Printer: 手順 12、 3の画像 3
    • Slide the printer carriage to the center of the printer.

    • Disconnect the printer carriage from the rod one side at a a time by pulling upward from the bottom.

    • Unhooking the printer carriage is difficult and will require a fair amount of force.

    • The plastic strip that guides the carriage is fragile and can be broken easily.

  13. Replacing the Carriage in the Photosmart All In One Printer: 手順 13、 2の画像 1 Replacing the Carriage in the Photosmart All In One Printer: 手順 13、 2の画像 2
    • Pull on the two white wire strips on the printer carriage to remove which are marked in red.

    • Wire strips are fragile. Do not pull on ribbon directly. Pull from connection to carriage.

  14. Replacing the Carriage in the Photosmart All In One Printer: 手順 14、 3の画像 1 Replacing the Carriage in the Photosmart All In One Printer: 手順 14、 3の画像 2 Replacing the Carriage in the Photosmart All In One Printer: 手順 14、 3の画像 3
    • Place new printer carriage on the carriage rod one side at a time.

    • For proper reassembly, place the printer carriage’s black lip beneath the overhanging metal flap located at the back of the printer.

終わりに

You have now successfully replaced your printer carriage for the Photosmart All In One Printer Scanner.

Follow these instructions in reverse order to reassemble your device.

4 の人々がこのガイドを完成させました。

作成者

12人の作成者と共同で作成されました。

Cody Long

メンバー登録日: 04/12/11

153 ポイント

3のガイドは作成済み

チーム

Cal Poly, Team 12-31, Maness Spring 2011 Cal Poly, Team 12-31, Maness Spring 2011人のメンバー

CPSU-MANESS-S11S12G31

5 メンバー

9のガイドは作成済み

コメント 1 件

It would be a good idea to unhook the guide film whilst changing the carriage, then feeding it carefully through the IR head on the carriage PCB & re hooking it.

Rab - 返信

コメントを追加

統計データ:

過去 24時間: 2

過去 7 日: 9

過去 30 日: 34

今までの合計 10,886