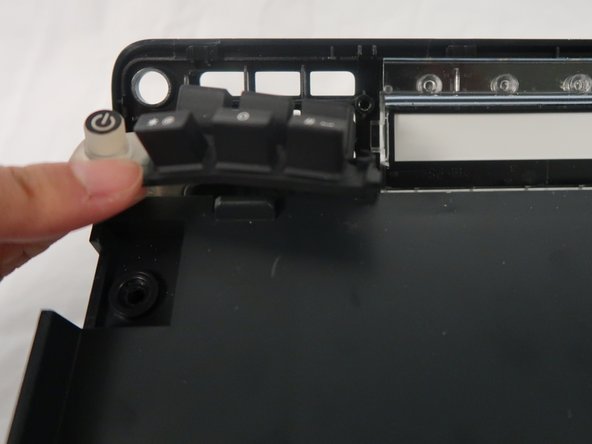
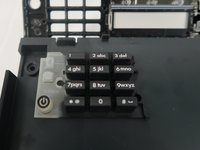
メインコンテンツにスキップ

HP Officejet J4550 All-in-one Button Replacement

必要な工具と部品

  1. HP Officejet J4550 All-in-one Button Replacement, Button: 手順 1、 2の画像 1 HP Officejet J4550 All-in-one Button Replacement, Button: 手順 1、 2の画像 2
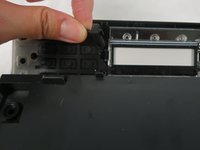
    • Insert 2 fingers in the dent on the right side of the printer and pull towards the front of the printer.

    • Using fingers to open the cover of the scanner which located on the top of the printer.

  2. HP Officejet J4550 All-in-one Button Replacement: 手順 2、 3の画像 1 HP Officejet J4550 All-in-one Button Replacement: 手順 2、 3の画像 2 HP Officejet J4550 All-in-one Button Replacement: 手順 2、 3の画像 3
    • Remove four 10mm screws on the panel with T8 torx security screwdriver.

    • Remove the cover of the top part.

  3. HP Officejet J4550 All-in-one Button Replacement: 手順 3、 3の画像 1 HP Officejet J4550 All-in-one Button Replacement: 手順 3、 3の画像 2 HP Officejet J4550 All-in-one Button Replacement: 手順 3、 3の画像 3
    • Remove eight 10mm screws on the back of the controlling keyboard with T8 torx security screwdriver.

    • Remove the back board of the controlling keyboard.

  4. HP Officejet J4550 All-in-one Button Replacement: 手順 4、 3の画像 1 HP Officejet J4550 All-in-one Button Replacement: 手順 4、 3の画像 2 HP Officejet J4550 All-in-one Button Replacement: 手順 4、 3の画像 3
    • Remove the button that is located at the left of the controlling keyboard.

終わりに

To reassemble your device, follow these instructions in reverse order.

作成者

2人の作成者と共同で作成されました。

Jiayin Zhu

メンバー登録日: 10/21/18

349 ポイント

3のガイドは作成済み

チーム

UC Davis, Team S11-G8, Lore Fall 2018 UC Davis, Team S11-G8, Lore Fall 2018人のメンバー

UCD-LORE-F18S11G8

3 メンバー

8のガイドは作成済み

0 件のコメント

コメントを追加

統計データ:

過去 24時間: 0

過去 7 日: 0

過去 30 日: 5

今までの合計 212