メインコンテンツにスキップ

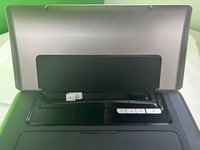
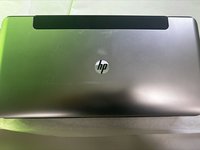
HP Officejet 100 Top Panel Replacement

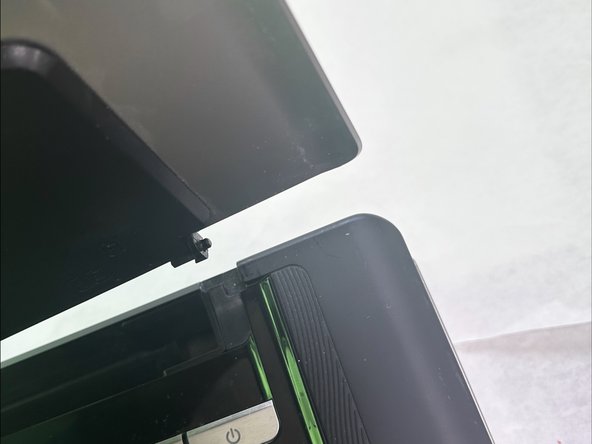
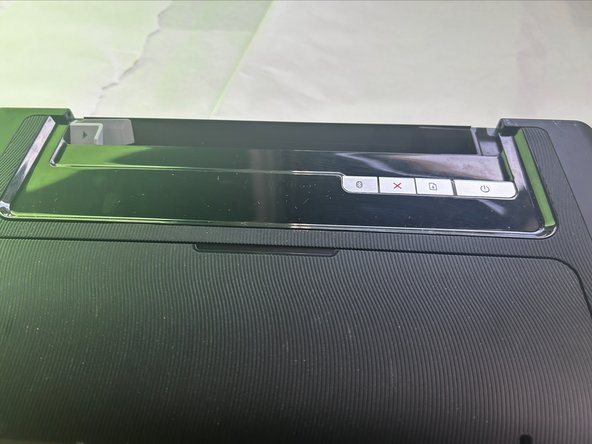
  1. HP Officejet 100 Top Panel Replacement, Top Panel: 手順 1、 3の画像 1 HP Officejet 100 Top Panel Replacement, Top Panel: 手順 1、 3の画像 2 HP Officejet 100 Top Panel Replacement, Top Panel: 手順 1、 3の画像 3
    • Hold the panel from the bottom corner and push it inwards and pull upwards to take it off.

    • Grab your new panel and prepare to put it on.

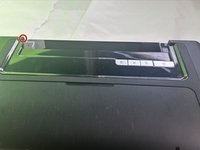
  2. HP Officejet 100 Top Panel Replacement: 手順 3、 2の画像 1 HP Officejet 100 Top Panel Replacement: 手順 3、 2の画像 2
    • Look at the red marker and put the panel in the hole on one side.

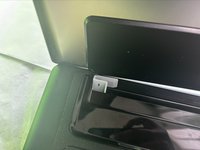
  3. HP Officejet 100 Top Panel Replacement: 手順 4、 1の画像 1
    • Push the other side of the panel inwards and put it in the hole.

  4. HP Officejet 100 Top Panel Replacement: 手順 5、 2の画像 1 HP Officejet 100 Top Panel Replacement: 手順 5、 2の画像 2
    • Close the panel to make sure the hinges are not too tight.

終わりに

To reassemble your device, follow these instructions in reverse order.

ある他の人がこのガイドを完成しました。

作成者

1人の作成者と共同作成されました。

Blake Johnson

メンバー登録日: 09/11/24

469 ポイント

5のガイドは作成済み

チーム

University of North Texas, Team 5-5, Kilpatrick Fall 2024 University of North Texas, Team 5-5, Kilpatrick Fall 2024人のメンバー

UNT-KILPATRICK-F24S5G5

3 メンバー

5のガイドは作成済み

0件のガイドコメント

コメントを追加

統計データ:

過去 24時間: 1

過去 7 日: 1

過去 30 日: 1

今までの合計 20