メインコンテンツにスキップ

HP Notebook 15-db003ca RAM Replacement

必要な工具と部品

  1. HP Notebook 15-db003ca RAM Replacement, RAM: 手順 1、 1の画像 1
    • Place the powered-off laptop on a clean workspace.

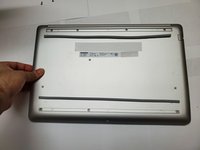
  2. HP Notebook 15-db003ca RAM Replacement: 手順 2、 1の画像 1
    • Flip the laptop over such that the backside of it is facing you.

    • Grab a Phillips #1 screwdriver.

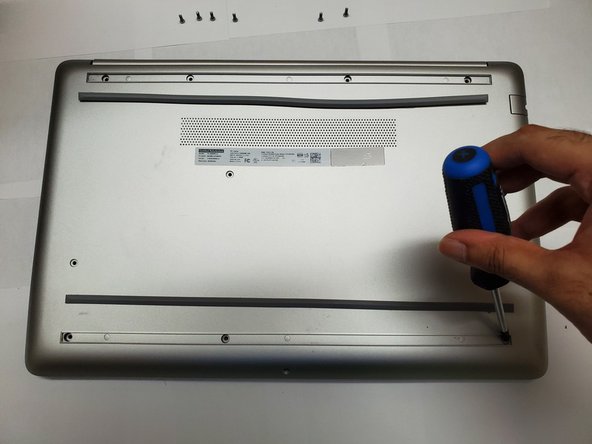
  3. HP Notebook 15-db003ca RAM Replacement: 手順 3、 1の画像 1
    • Remove the four 9 mm screws from the back panel using a Phillips #1 screwdriver.

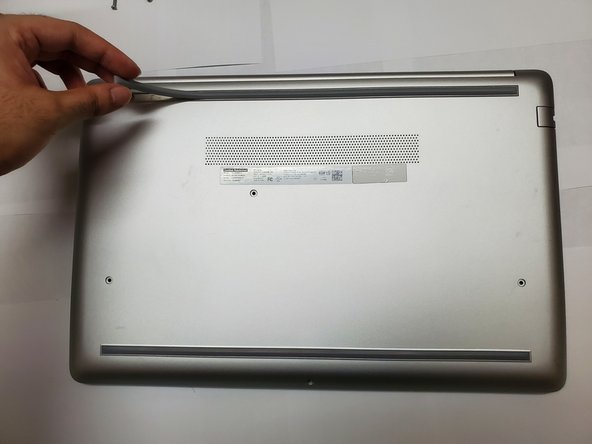
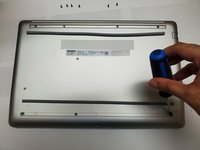
  4. HP Notebook 15-db003ca RAM Replacement: 手順 4、 3の画像 1 HP Notebook 15-db003ca RAM Replacement: 手順 4、 3の画像 2 HP Notebook 15-db003ca RAM Replacement: 手順 4、 3の画像 3
    • Peel the two strips to uncover more screws.

    • Place the strips near where they were removed.

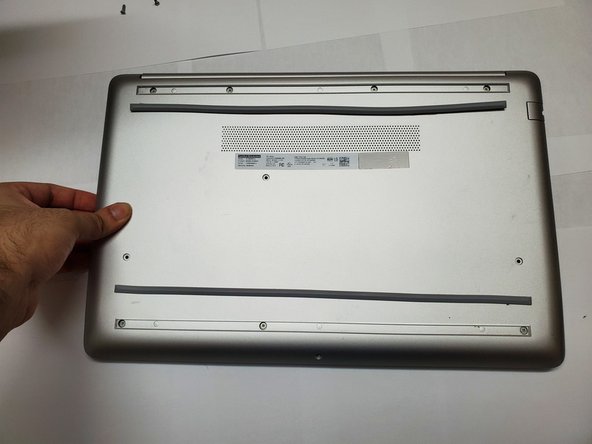
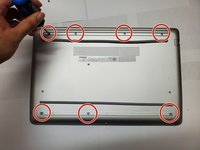
  5. HP Notebook 15-db003ca RAM Replacement: 手順 5、 2の画像 1 HP Notebook 15-db003ca RAM Replacement: 手順 5、 2の画像 2
    • Remove the remaining seven 9 mm screws using a Phillips #1 screwdriver.

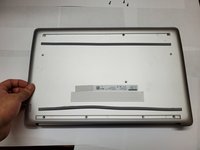
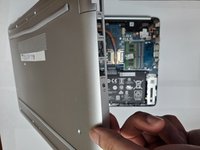
  6. HP Notebook 15-db003ca RAM Replacement: 手順 6、 3の画像 1 HP Notebook 15-db003ca RAM Replacement: 手順 6、 3の画像 2 HP Notebook 15-db003ca RAM Replacement: 手順 6、 3の画像 3
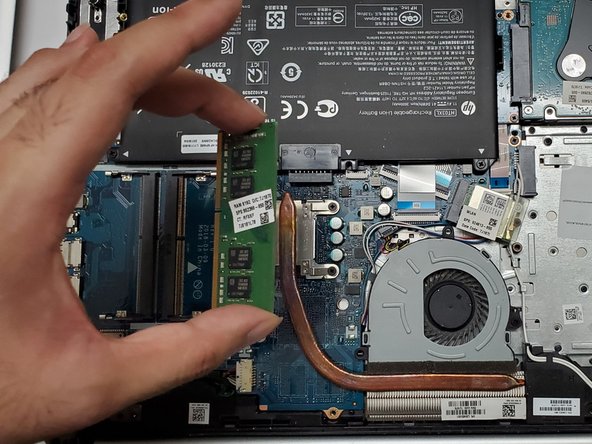
    • Remove the back panel and locate the RAM stick.

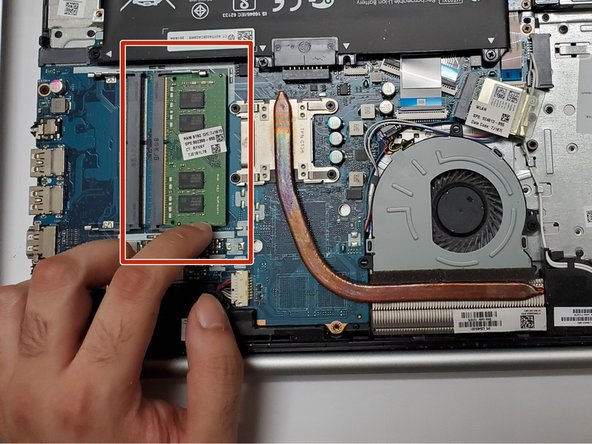
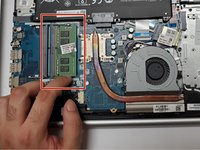
  7. HP Notebook 15-db003ca RAM Replacement: 手順 7、 2の画像 1 HP Notebook 15-db003ca RAM Replacement: 手順 7、 2の画像 2
    • Push the RAM to remove it from its slot like shown in the picture.

    • When reassembling, ensure the memory is inserted into the slot and pushed until it clicks into place.

終わりに

To reassemble your device, follow these instructions in reverse order.

ある他の人がこのガイドを完成しました。

作成者

1人の作成者と共同作成されました。

Srivatsan Talkad

メンバー登録日: 01/17/23

145 ポイント

1ガイドが承認済み

チーム

York University, Team M-9, Allen Summer 2023 York University, Team M-9, Allen Summer 2023人のメンバー

YORK-ALLEN-SU23SMG9

2 メンバー

7のガイドは作成済み

0 件のコメント

コメントを追加

統計データ:

過去 24時間: 3

過去 7 日: 9

過去 30 日: 20

今までの合計 210