メインコンテンツにスキップ
リペアコミュニティに参加 - アカウントの作成

HP Mini 311 Keyboard Replacement

必要な工具と部品

    1. HP Mini 311 Keyboard Replacement, Battery: 手順 1、 3の画像 1 HP Mini 311 Keyboard Replacement, Battery: 手順 1、 3の画像 2 HP Mini 311 Keyboard Replacement, Battery: 手順 1、 3の画像 3
      • Lay the laptop on a flat surface, bottom side up and slide the two battery release latches toward the outside of the case.

      FixBotに聞いてみる

      コメントを追加

    2. HP Mini 311 Keyboard Replacement: 手順 2、 2の画像 1 HP Mini 311 Keyboard Replacement: 手順 2、 2の画像 2
      • Slide the battery away from the device to remove.

      FixBotに聞いてみる

      コメントを追加

    1. HP Mini 311 Keyboard Replacement, Memory Shield: 手順 3、 1の画像 1
      • With the device still in a bottom side up position, proceed to unscrew the two 4.8mm Phillips 00 screws from the memory shield.

      • The screws will remain in the shied.

      FixBotに聞いてみる

      コメントを追加

    2. HP Mini 311 Keyboard Replacement: 手順 4、 2の画像 1 HP Mini 311 Keyboard Replacement: 手順 4、 2の画像 2
      • Lift the memory shield up and remove from the laptop.

      FixBotに聞いてみる

      コメントを追加

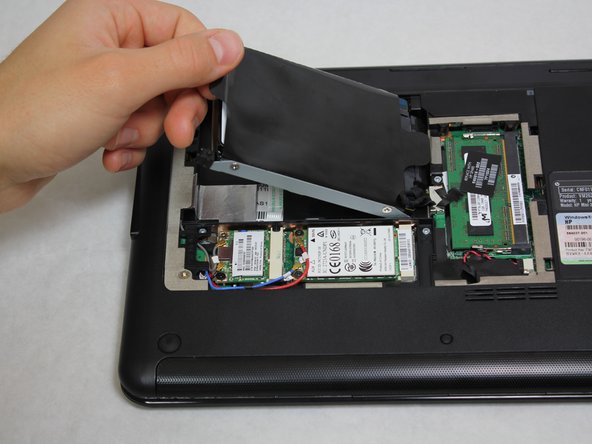
    1. HP Mini 311 Keyboard Replacement, Hard Drive: 手順 5、 3の画像 1 HP Mini 311 Keyboard Replacement, Hard Drive: 手順 5、 3の画像 2 HP Mini 311 Keyboard Replacement, Hard Drive: 手順 5、 3の画像 3
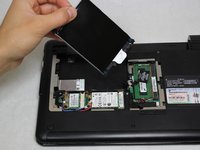
      • Grab the left black, plastic tab and carefully pull upward.

      • Be sure to pull carefully. Pulling too forcefully may damage the tab.

      FixBotに聞いてみる

      コメントを追加

    2. HP Mini 311 Keyboard Replacement: 手順 6、 3の画像 1 HP Mini 311 Keyboard Replacement: 手順 6、 3の画像 2 HP Mini 311 Keyboard Replacement: 手順 6、 3の画像 3
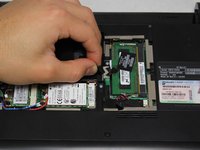
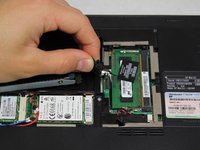
      • Grab a hold of the wire connecting the hard drive and the device.

      • Pull upward, perpendicular to the surface of the laptop, releasing the connector tethering the hard drive to the motherboard.

      FixBotに聞いてみる

      コメントを追加

    1. HP Mini 311 Keyboard Replacement, Keyboard: 手順 7、 1の画像 1
      • Unscrew the four Phillip 00 5.6 mm screws located around the wireless card and RAM.

      FixBotに聞いてみる

      コメントを追加

    2. HP Mini 311 Keyboard Replacement: 手順 8、 1の画像 1
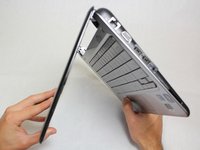
      • Open the laptop so that the screen and front of the keyboard are both facing the ground.

      • Push on the opening on the back side of the device until the keyboard partially pops out.

      • This opening is located where the original hard drive was set.

      FixBotに聞いてみる

      コメントを追加

    3. HP Mini 311 Keyboard Replacement: 手順 9、 3の画像 1 HP Mini 311 Keyboard Replacement: 手順 9、 3の画像 2 HP Mini 311 Keyboard Replacement: 手順 9、 3の画像 3
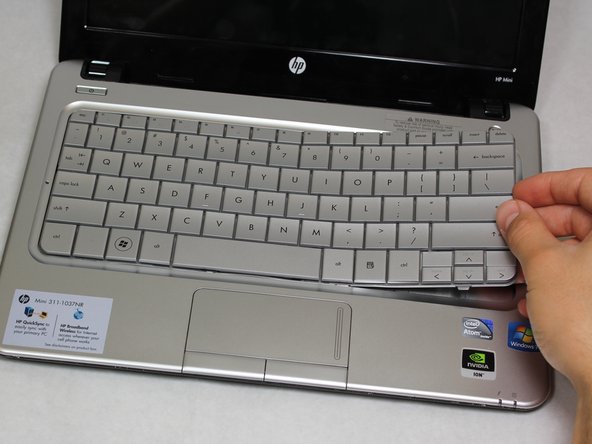
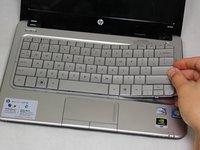
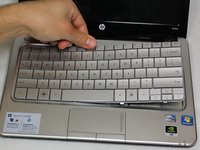
      • Flip the device around and orient it so that the screen and keyboard are facing you.

      • Starting at the right side, work your way towards the left end and remove the keyboard by unhinging the latches attaching it to the base of the device.

      • The right side of the keyboard should be unattached.

      • Be gentle and patient. You don't want to pull the entire keyboard at once, but rather pull by sections.

      FixBotに聞いてみる

      コメントを追加

    4. HP Mini 311 Keyboard Replacement: 手順 10、 3の画像 1 HP Mini 311 Keyboard Replacement: 手順 10、 3の画像 2 HP Mini 311 Keyboard Replacement: 手順 10、 3の画像 3
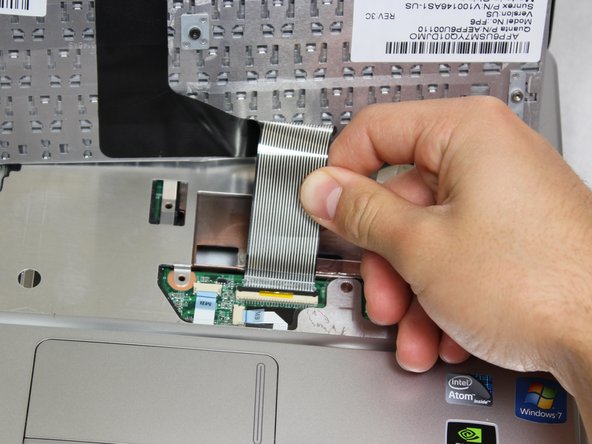
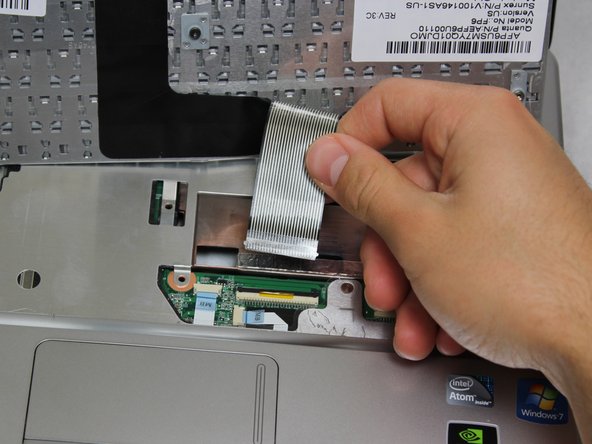
      • Carefully pull the ribbon cable connecting the keyboard and the laptop to remove from the device.

      FixBotに聞いてみる

      コメントを追加

終わりに

To reassemble your device, follow these instructions in reverse order.

キャンセル: このガイドを終了できませんでした。

4 の人々がこのガイドを完成させました。

作成者

2人の作成者と共同で作成されました。

Christian Santoyo

メンバー登録日: 01/31/13

495 ポイント

6のガイドは作成済み

チーム

Cal Poly, Team 20-4, Maness Winter 2013 Cal Poly, Team 20-4, Maness Winter 2013人のメンバー

CPSU-MANESS-W13S20G4

4 メンバー

43のガイドは作成済み

0件のガイドコメント

コメントを追加

統計データ:

過去 24時間: 0

過去 7 日: 9

過去 30 日: 37

今までの合計 3,008