はじめに
Use this guide to replace or upgrade the single PC2-4200 RAM stick on your Mini 1000.
必要な工具と部品
-
-
With the case closed, place the Mini 1000 top-side down on a flat surface.
-
Push both of the battery release latches toward each other.
 FixBotに聞いてみる
-
-
-
Lift the battery out of the Mini 1000 from the edge closest to the release latches.
-
-
-
-
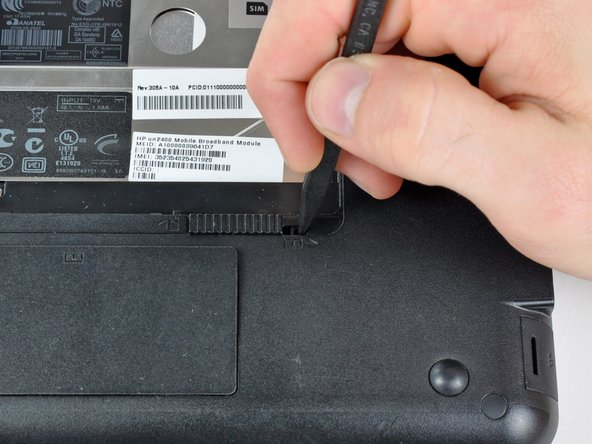
Before proceeding, slide the right battery release latch to the unlocked position nearest the center of the computer.
-
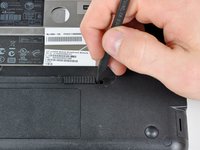
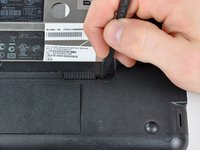
Use the tip of a spudger to slide the RAM compartment cover release latch away from the center of the computer.
-
-
-
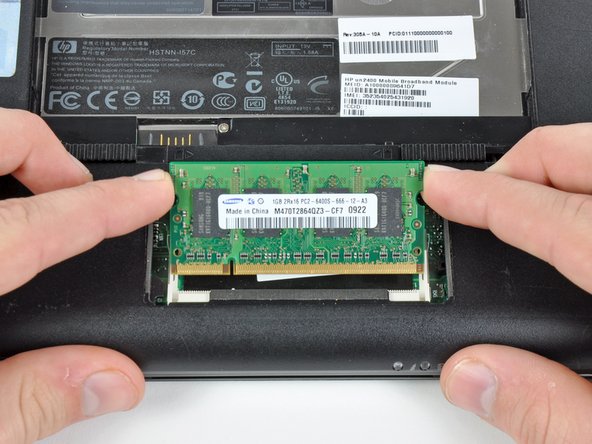
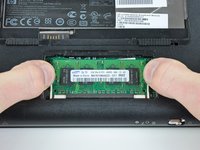
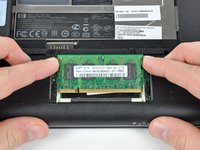
Use your fingers to simultaneously pull both RAM retaining arms away from the center of the RAM chip.
-
Pull the RAM chip out of its socket and remove it from the Mini 1000.
-


To reassemble your device, follow these instructions in reverse order.
2 の人々がこのガイドを完成させました。
