はじめに
This is a guide for the removal of the keyboard for an HP HDX 16-1160US. Remember to read each step fully before attempting the repair.
必要な工具と部品
-
-
Turn the device over so that the bottom side is facing up and the battery is facing away from you.
 FixBotに聞いてみる
-
-
-
Locate the slider under the right side of the battery.
-
Using your thumb, slide it all the way to the left until the front of the battery lifts up.
-
-
-
With your thumb still holding the slider to the left, use the opposite hand to lift the battery out, removing it from the computer.
-
-
-
-
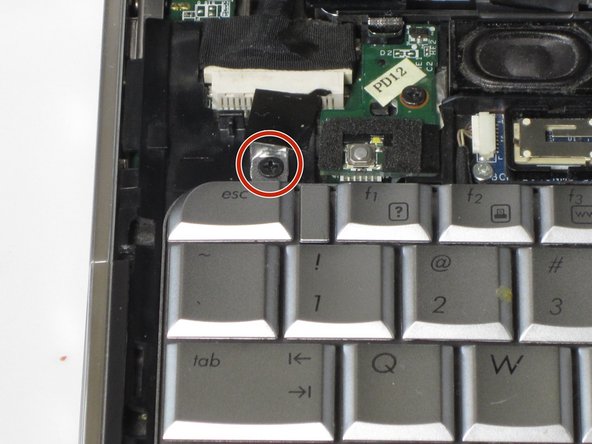
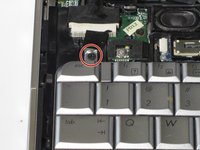
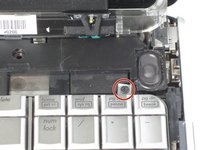
Remove the three 4mm screws using Phillips #1 screw driver.
-
Remove the four 6mm screws using Phillips #1 screw driver.
-
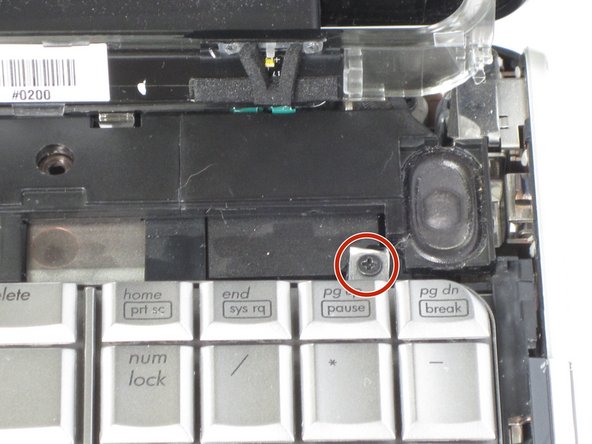
Remove the two 3mm screws using Phillips #1 screw driver.
-
-
-
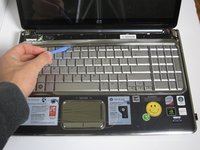
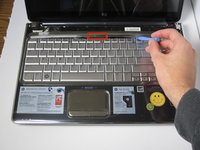
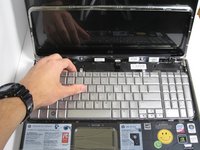
Use the plastic opener to pry up the chrome keyboard cover from the lab top itself. Carefully work around the edges by prying each snap individually.
-
Remove the chrome keyboard cover.
-
-
-
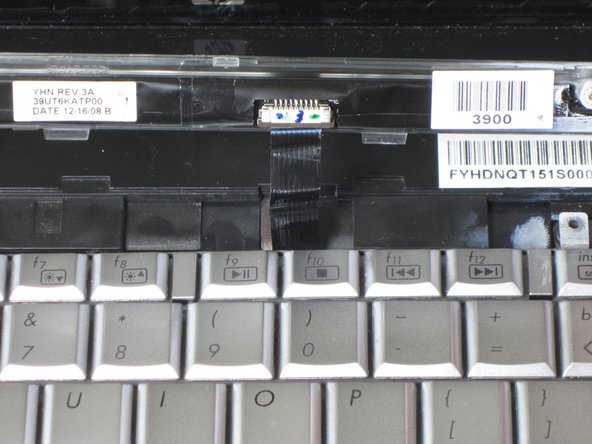
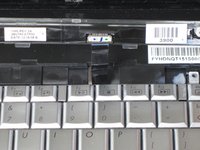
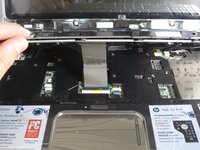
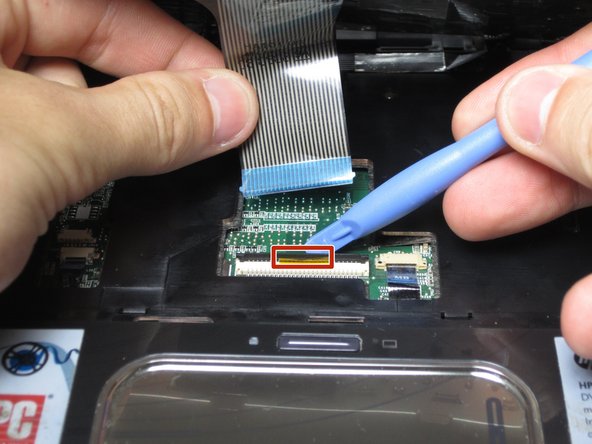
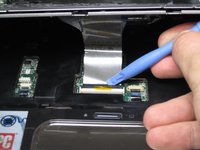
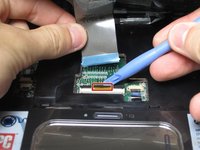
Lift the black tab using the plastic opening tool.
-
Gently pull the grey strip out, horizontally way from you. This will release the keyboard from the computer.
-


To reassemble your device, follow these instructions in reverse order.
2 の人々がこのガイドを完成させました。
チーム

Cal Poly, Team 12-38, Maness Spring 2014 Cal Poly, Team 12-38, Maness Spring 2014人のメンバー
CPSU-MANESS-S14S12G38
4 メンバー
5のガイドは作成済み
2件のガイドコメント
Hello Daniel,
Hoping you might be able to assist me with the similar HDX18 -1000 CTO Premium Notebook / FW314AV Pavilion .
Interested in replacing the LCD inverter board, and would like to confirm where its located and if the HDX 18 has one or two installed.
Your time and any assistance is greatly appreciated, thank you.
Link to HP HDX 16 Entertainment PC Maintenance and Service Guide: Document Part Number: 487263-001;