はじめに
This is a repair guide for the speaker part of the HP Envy Touchsmart m6-k125dx.
必要な工具と部品
-
-
Turn the laptop over so that the bottom is facing up
-
Using the J0 screwdriver, unscrew all 12 M2.5x5.5 screws from the back panel.
-
-
-
-
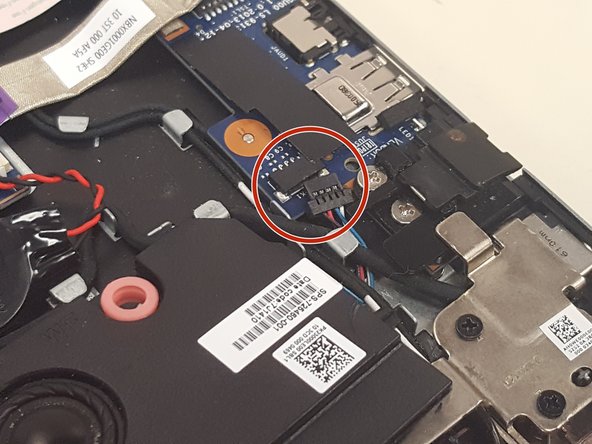
First, using a Phillips Head screwdriver, unscrew the two Phillips PM 2.5x5.5 screws that are connecting the speaker to the rest of the laptop.
-


To reassemble your device, follow these instructions in reverse order.
To reassemble your device, follow these instructions in reverse order.
3 の人々がこのガイドを完成させました。
チーム

University of North Texas, Team S1-G1, Thompson Fall 2017 University of North Texas, Team S1-G1, Thompson Fall 2017人のメンバー
UNT-THOMPSON-F17S1G1
4 メンバー
5のガイドは作成済み