はじめに
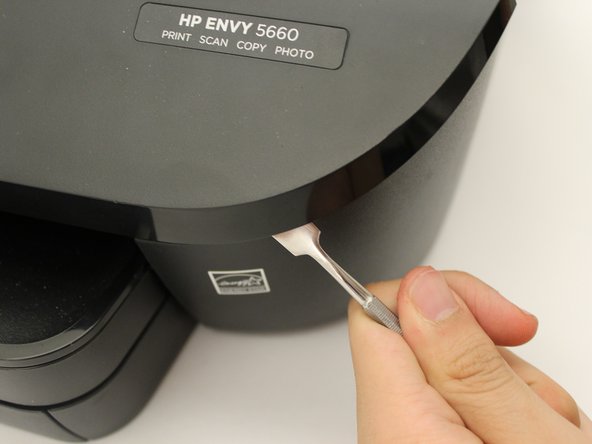
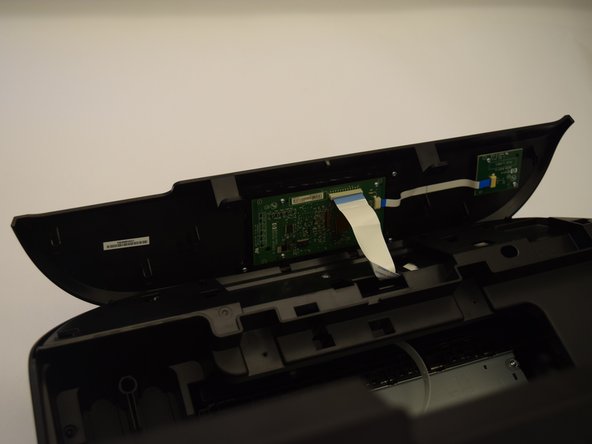
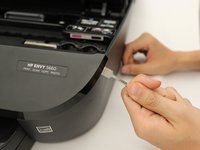
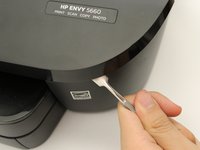
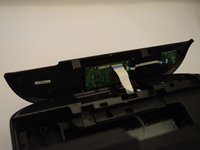
The LCD screen of the HP Envy 5660 tells the user about the status of the printing. It also informs the user about the ink levels and provides different functions, such as copying and faxing documents. There may be a chance that the LCD doesn't work anymore and this guide will help the user replace it.
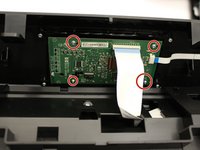
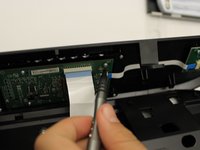
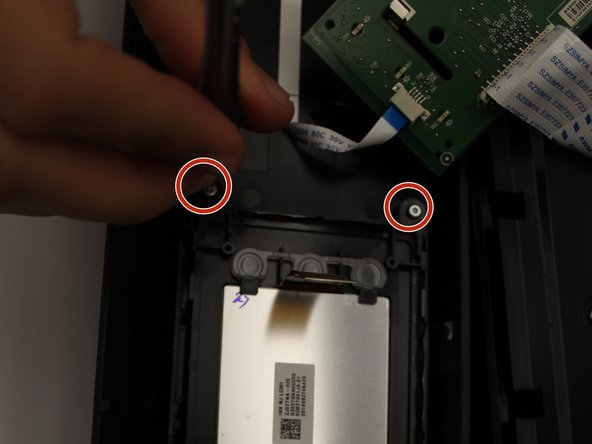
必要な工具と部品


To reassemble your device, follow these instructions in reverse order.
ある他の人がこのガイドを完成しました。
チーム

Cal Poly, Team S1-G6, Livingston Winter 2018 Cal Poly, Team S1-G6, Livingston Winter 2018人のメンバー
CPSU-LIVINGSTON-W18S1G6
4 メンバー
10のガイドは作成済み
2件のガイドコメント
Great description but there is a part needed - the LCD. Is that part available? How do I get it?
Thanks,
PJE
Ditto, I'm in the same position, did you ever find the part/LCD replacement screen?