必要な工具と部品
-
-
Using a Torx t5 screwdriver, remove the 6 screws at the top and bottom edges of the back plate
-
Next, remove the rubber strip that is closest to the hinges of the laptop, as this covers more screws. If you can, try to keep the black adhesive under the strip stuck on the rubber. This will help when reapplying the strip during reassembly.
-
Using your Phillips-Head #00 screwdriver, remove the 4 screws from the rubber strip cavity. It may help to use tweezers to take them out as they are recessed under the aluminum back.
-
Using a metal pry-tool, pry the back plate from the housing. This may prove to be difficult as it is set down by strong clasps and the edges are recessed under the frame. I recommend starting from around one of the hinges and going from there, as it is much easier to get under the plate from there.
-
-
-
Disconnect the battery cable using a plastic pry tool or your fingernails. Make sure to pry from both edges at the same time.
-
-
-
-
Using your Philips-Head screwdriver, remove the 7 screws as shown in the picture.
-
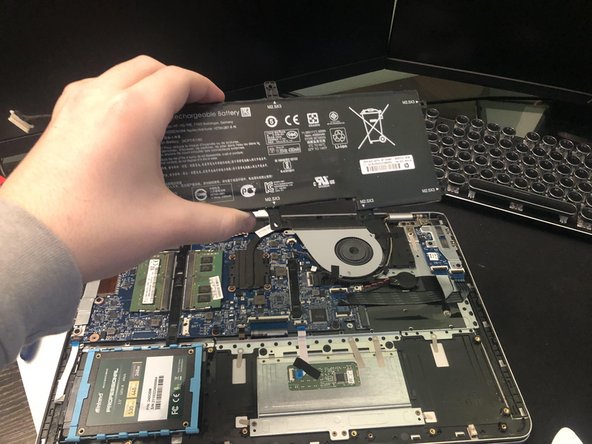
After the screws have been removed, remove the battery from the laptop. The battery should be removed with no resistance
-
-
-
Place the new battery into the laptop and line up the screw holes. Reinstall the battery screws.
-
Reconnect the battery cable into its connector.
-
-
-
Place the bottom plate back into the computer. Make sure to apply ample pressure around the sides and center so that the cover properly and securely clasps in.
-
Reinstall the torx screws back in their respective holes, followed by the Phillips-Head screws in their respective holes.
-
Reattach the rubber strip over the screws. Make sure to put enough pressure so that the adhesive resticks properly.
-


Congratulations! Your battery has been replaced! :)
Congratulations! Your battery has been replaced! :)
2 の人々がこのガイドを完成させました。
