はじめに
WARNING- Before taking anything apart make sure to disconnect device from any wall charger or power source.
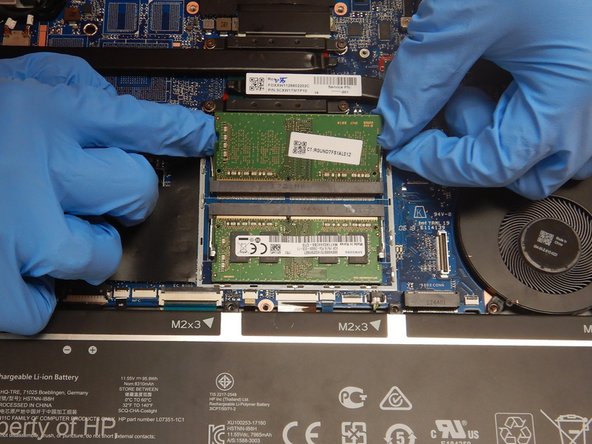
If you are looking to replace the Motherboard in your HP EliteBook 1050 G1, this guide will assist you in doing so.
- Before buying or attempting to replace motherboard within this device make sure to do ample research to see if the motherboard you are replacing the current with is compatible with this device.
- WARNING- While replacing this part make sure to be gentle and careful with all parts within the board and DO NOT allow small debris and dirt to enter the under the back casing doing so will shorten the life of the device.
- CAUTION- Use gloves while working with computer components because they may be sensitive to the oil on hands and skin.
- BE ADVISED- While replacing this part one will have to take off various parts in the device make sure that you have ample room and a clean working area so that you can keep track of all of the parts that are being taken out before replacing the motherboard
- While taking out the Fan Assembly there will be a paste on the back DO NOT DISTURB THIS. Set the fan assembly on the opposite side of which it was found within the device then replace after replacing motherboard.
必要な工具と部品
-
-
Remove the two 5.5mm screws with a Torx T8 driver.
-
Remove the five 8.7mm screws with a Torx T8 driver.
-
Remove the two 6.6mm screws with a Torx T8 driver.
-
Pry open the backplate with a Jimmy.
-
-
-
-
Remove two 1.9mm screws from the display cable bracket using a Phillips #00 driver.
-
Remove the two connectors on the right side gently.
-
Remove the connector on right side of motherboard.
-
Remove the three 4.5mm screws using a Phillips #00 driver and remove the bracket.
-
Remove the two coaxial cables.
-


To reassemble your device, follow these instructions in reverse order.
To reassemble your device, follow these instructions in reverse order.
ある他の人がこのガイドを完成しました。
チーム

The Citadel Military College of South Carolina, Team S1-G5, Eggleston Fall 2020 The Citadel Military College of South Carolina, Team S1-G5, Eggleston Fall 2020人のメンバー
CMCSC-EGGLESTON-F20S1G5
3 メンバー
6のガイドは作成済み