はじめに
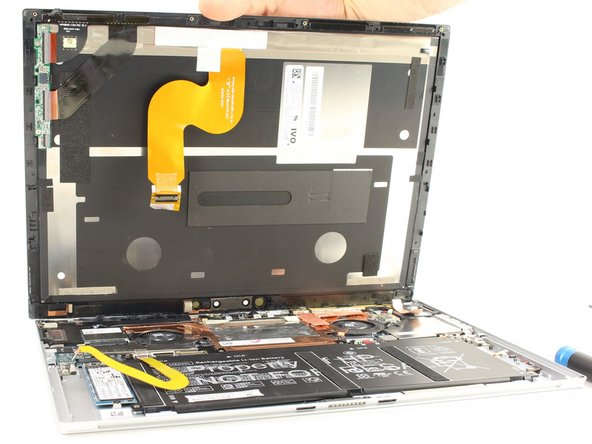
This guide will show you how to remove the screen from the HP Elite X2 1013 G3. The screen is used as the display for the images for the tablet and can either be broken from being cracked from falling on a surface or being hit by another object because it is a fragile component of the tablet.
必要な工具と部品
-
-
Flip the device over so the base is facing the ceiling.
-
Lift up the tablet stand.
-
Remove the four 2 mm screws from the tablet using a T5 Torx screwdriver.
-
-


To reassemble your device, follow these instructions in reverse order.
To reassemble your device, follow these instructions in reverse order.
ある他の人がこのガイドを完成しました。

チーム

The Citadel Military College of South Carolina, Team 2-18, Eggleston Fall 2021 The Citadel Military College of South Carolina, Team 2-18, Eggleston Fall 2021人のメンバー
CMCSC-EGGLESTON-F21S2G18
2 メンバー
3のガイドは作成済み