メインコンテンツにスキップ

HP Deskjet F4480 Lid Panel Removal

必要な工具と部品

  1. HP Deskjet F4480 Lid Panel Removal, Remove Back Panel of Lid: 手順 1、 1の画像 1
    • Remove one 9mm T10 Torx screw from the back of the printer lid.

  2. HP Deskjet F4480 Lid Panel Removal: 手順 2、 2の画像 1 HP Deskjet F4480 Lid Panel Removal: 手順 2、 2の画像 2
    • Press outward on the plastic tab holding the back panel in place.

  3. HP Deskjet F4480 Lid Panel Removal: 手順 3、 2の画像 1 HP Deskjet F4480 Lid Panel Removal: 手順 3、 2の画像 2
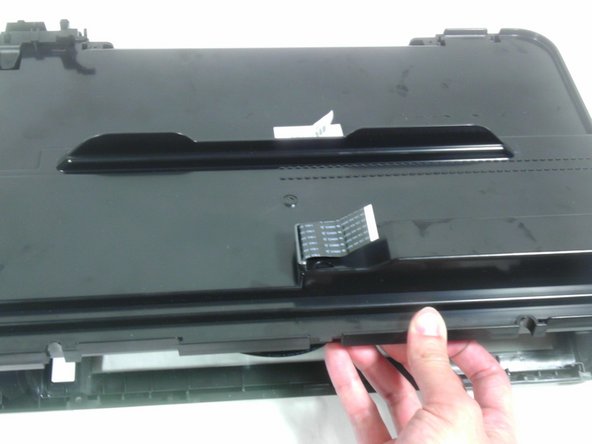
    • Pull the back panel towards you and lift it away from the rest of the printer cover.

    • Some ribbon cables may still be inserted through the back panel. Be careful not to damage these and they should slide out easily.

終わりに

To reassemble your device, follow these instructions in reverse order.

3 の人々がこのガイドを完成させました。

作成者

7人の作成者と共同で作成されました。

Tim

メンバー登録日: 01/15/13

184 ポイント

4のガイドは作成済み

チーム

Cal Poly, Team 18-35, Regan Winter 2013 Cal Poly, Team 18-35, Regan Winter 2013人のメンバー

CPSU-REGAN-W13S18G35

5 メンバー

15のガイドは作成済み

0 件のコメント

コメントを追加

統計データ:

過去 24時間: 0

過去 7 日: 0

過去 30 日: 8

今までの合計 2,481