はじめに
By the end of this guide you will have the ability to take apart almost all of the printer and fix an important component involved in printing.
必要な工具と部品
-
-
Begin to disassemble the printer by disconnecting from all power sources and computers. Keep cords separate and allow the printer to cool for 5 minutes.
-
-
-
Flip the printer upside down and locate the cover on the left hand side. It is rectangular shape and is held in place by two screws. Unscrew these screws and take off cover.
-
-
-
To release the tray from the printer, you must manually pull it out. Hold the tray and push towards one side of the printer. Then pull away from the printer towards the other side. Keep output tray separate.
-
-
-
Turn the printer upside down. Locate the four screws holding the cover in place. These will be on the edges of the cover.
-
-
-
Place fingers on the edge of the red cover. Begin to pull upwards to release the top portion, working your way around the printer. Make sure that it does not fall back into place.
-
-
-
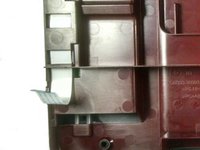
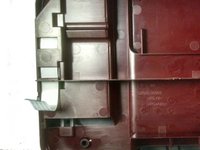
Once the top is loose, there will still be a connection wire between the printer and the cover. This wire will be about one inch wide and white, located under the buttons.
-
-
-
The hard drive is in the upper left hand corner of the printer. Locate, then unscrew, the three screws that are holding it in place. Take not of the size of the screws and where they were located.
-
-
-
-
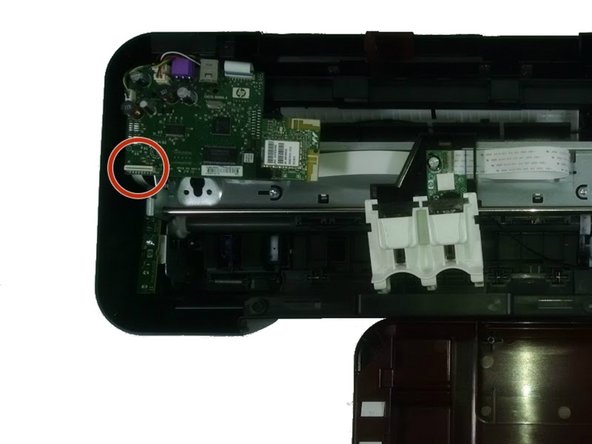
Pull the narrower cord out of its connection, holding the blue-sealed end.
-
-
-
Locate the belt, and the wheel it is around. The wheel will be on top of the metal piece on the far right side.
-
-
-
Locate the narrow hard drive on the left side of the printer. Unscrew the screw holding it in place, then disconnect the cord.
-
-
-
Unscrew the screws that are holding the metal structure in place. This includes the screw that is on the right side near the wheel the carriage driver belt was around. Be sure to note the size of the screws and where they go.
-
-
この手順で使用する道具:Tweezers$4.99
-
On the left side, between the wall of the printer and the metal piece, there will be a spring connecting the two. Use the tweezers to detach the spring and keep separate.
-
-
-
Now releasing the metal structure will be possible. On the left side of the structure, locate the wheel that the Carriage Driver Belt was around. Push this wheel through the larger opening it sits in.
-
-
-
Locate the metal bar that will be running parallel to the metal structure that was just removed. Locate the washer at one end.
-
-
-
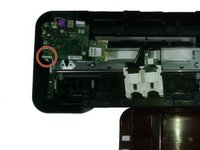
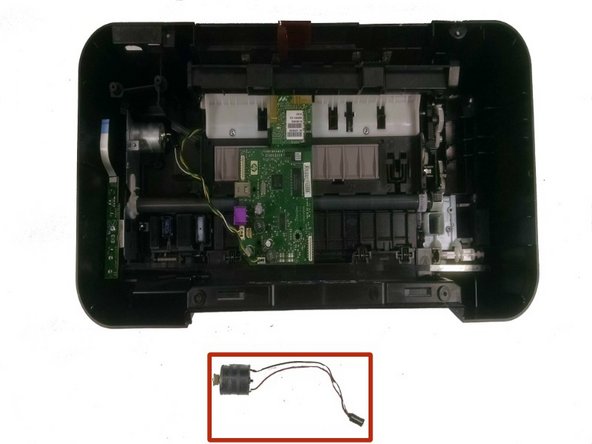
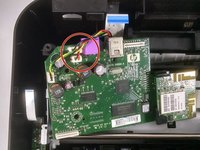
Untwist the red and black wires that are connected to the motor from the other colored wires.
-
Disconnect the end of those two wires from the circuit board.
-
To reassemble your device, follow these instructions in reverse order.
To reassemble your device, follow these instructions in reverse order.
ある他の人がこのガイドを完成しました。


