メインコンテンツにスキップ

HP Chromebox J5N50UT System Board Replacement

必要な工具と部品

  1. HP Chromebox J5N50UT System Board Replacement, Bottom Cover: 手順 1、 1の画像 1
    • Before removing the bottom cover, ensure that your computer is powered down and ensure that all external devices are disconnected. If you are unsure whether the computer is off or in hibernation mode, turn the computer on, then shut it down through the operating system.

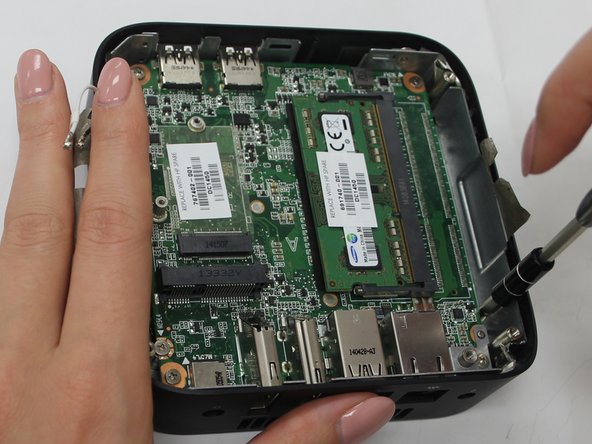
    • Position the device upside-down on a flat, level surface with the USB ports facing you.

  2. HP Chromebox J5N50UT System Board Replacement: 手順 2、 1の画像 1
    • Using your metal spudger, lift and remove the 4 rubber “feet” from each corner.

  3. HP Chromebox J5N50UT System Board Replacement: 手順 3、 1の画像 1
    • Using your Phillips head screwdriver, remove the four Phillips M2.5×4.0 screws that secure the bottom cover to the computer. In this step the usage of the magnetic mat will be helpful to keep up with the screws.

  4. HP Chromebox J5N50UT System Board Replacement: 手順 4、 1の画像 1
    • Insert the flat end of your metal spudger under the bottom cover near the USB ports, then pry the bottom cover off the computer.

  5. HP Chromebox J5N50UT System Board Replacement, Bottom Shield: 手順 5、 1の画像 1
    • Lift the two pieces of mylar tape from the bracket.

  6. HP Chromebox J5N50UT System Board Replacement: 手順 6、 1の画像 1
    • Using your Phillips #1 screwdriver, remove the four Phillips M2.5×4.0 screws that hold the shield in place.

  7. HP Chromebox J5N50UT System Board Replacement: 手順 7、 1の画像 1
    • Insert your spudger into the gap between the bottom shield and the ports and gently pry to lift and remove the shield.

  8. HP Chromebox J5N50UT System Board Replacement, WLAN Module: 手順 8、 2の画像 1 HP Chromebox J5N50UT System Board Replacement, WLAN Module: 手順 8、 2の画像 2
    • Disconnect the white and black antenna cables from the module.

  9. HP Chromebox J5N50UT System Board Replacement: 手順 9、 3の画像 1 HP Chromebox J5N50UT System Board Replacement: 手順 9、 3の画像 2 HP Chromebox J5N50UT System Board Replacement: 手順 9、 3の画像 3
    • Using your Phillips #1 screwdriver, remove the M2.0×3.0 screw from the upper left corner of the module.

    • Once the screw has been removed, the module will tilt up.

  10. HP Chromebox J5N50UT System Board Replacement: 手順 10、 2の画像 1 HP Chromebox J5N50UT System Board Replacement: 手順 10、 2の画像 2
    • Remove the WLAN module by pulling it away from the slot at an angle.

  11. HP Chromebox J5N50UT System Board Replacement, Hard Drive: 手順 11、 2の画像 1 HP Chromebox J5N50UT System Board Replacement, Hard Drive: 手順 11、 2の画像 2
    • Remove the Phillips M2.0×3.0 screw.

    • The hard drive will tilt up once the screw has been removed.

  12. HP Chromebox J5N50UT System Board Replacement: 手順 12、 2の画像 1 HP Chromebox J5N50UT System Board Replacement: 手順 12、 2の画像 2
    • Pull the hard drive at an angle to remove it from its slot.

  13. HP Chromebox J5N50UT System Board Replacement, System Board: 手順 13、 3の画像 1 HP Chromebox J5N50UT System Board Replacement, System Board: 手順 13、 3の画像 2 HP Chromebox J5N50UT System Board Replacement, System Board: 手順 13、 3の画像 3
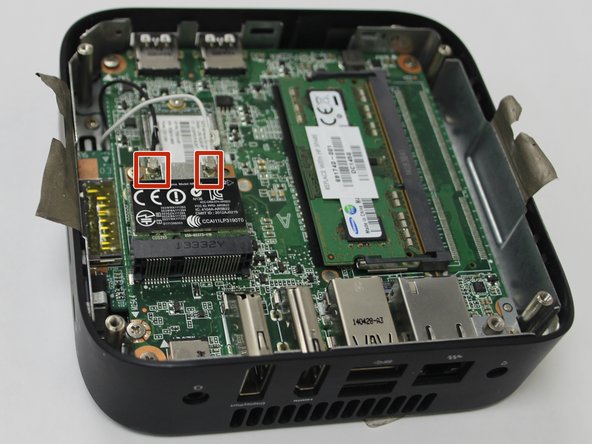
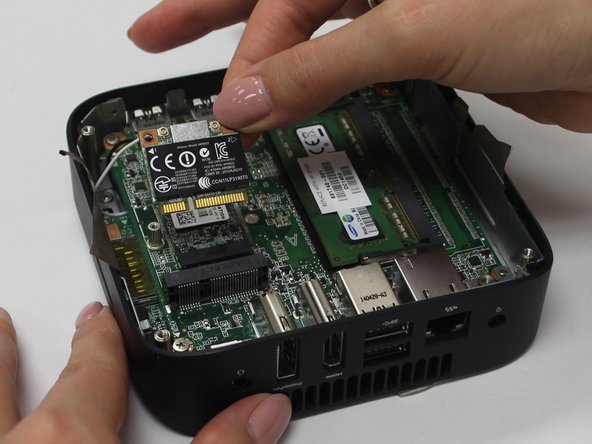
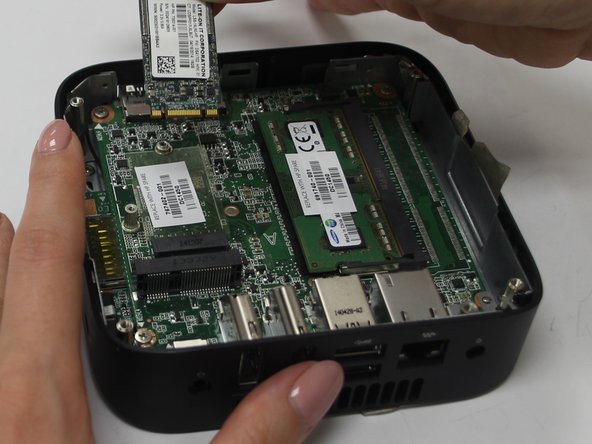
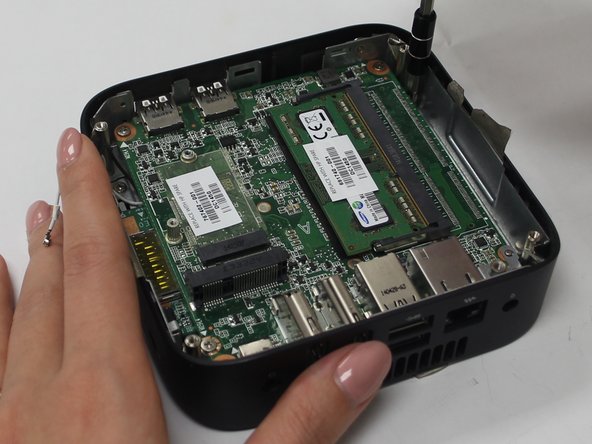
    • Remove the four Phillips M2.5×4.0 screws by using the Phillips #1 Screwdriver, that secure the system board to the computer.

  14. HP Chromebox J5N50UT System Board Replacement: 手順 14、 1の画像 1
    • Use the mylar tape to lift the system board out of the computer.

終わりに

To reassemble your device, follow these instructions in reverse order.

作成者

2人の作成者と共同で作成されました。

Ashley Marvin

メンバー登録日: 09/06/18

685 ポイント

5のガイドは作成済み

チーム

Ohio State, Team S1-G3, Whitney Fall 2018 Ohio State, Team S1-G3, Whitney Fall 2018人のメンバー

OSU-WHITNEY-F18S1G3

2 メンバー

5のガイドは作成済み

0 件のコメント

コメントを追加

統計データ:

過去 24時間: 0

過去 7 日: 0

過去 30 日: 11

今までの合計 1,073