メインコンテンツにスキップ

HP Chromebook 14 Screen Replacement

必要な工具と部品

  1. HP Chromebook 14 Screen Replacement, Screen: 手順 1、 2の画像 1 HP Chromebook 14 Screen Replacement, Screen: 手順 1、 2の画像 2
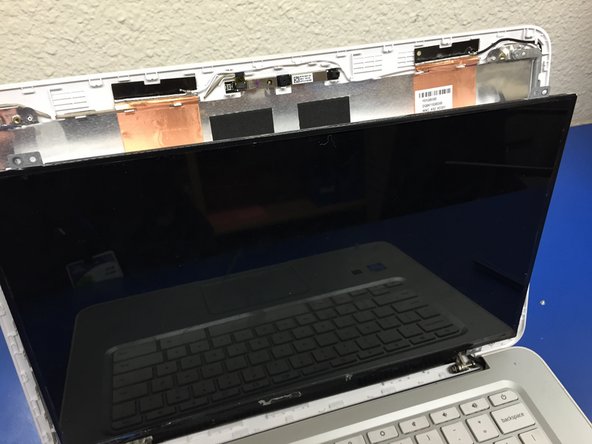
    • We will be replacing the screen on this HP Chromebook. ***Unfortunately I did get a shot of the sweet crack on this screen.

    • We will start by removing this screws on the bottom left and right of the screen, just above the escape key and power button.

  2. HP Chromebook 14 Screen Replacement: 手順 2、 2の画像 1 HP Chromebook 14 Screen Replacement: 手順 2、 2の画像 2
    • Next will start to remove the front "bezel" with a simple spudger. It is best to start from the bottom (now we here) of the screen. *couldn't resist

    • The bottom will have adhesive/double sided tape that may or may not give you trouble. It is not enough to prevent you from removing the screen, just be aware as it is near the screen circuit board.

    I found a really annoying super sticky black/silverfoil tape that was attached to the bezel and the actual panel, It was quite a bother to remove the bezel because of this. Please consider that this can happen when you try to wedge it off. (the reason it possibly isn't budging can be this tape)

    Bo-John Woltman - 返信

  3. HP Chromebook 14 Screen Replacement: 手順 3、 2の画像 1 HP Chromebook 14 Screen Replacement: 手順 3、 2の画像 2
    • Once removed, we can proceed to remove (4) screws that hold the screen to the laptop case.

    • Marked in blue are the locations for the screws. Screws are closest to screen and on a light silver bracket. Pull screen forward and lay down on keyboard.

  4. HP Chromebook 14 Screen Replacement: 手順 4、 3の画像 1 HP Chromebook 14 Screen Replacement: 手順 4、 3の画像 2 HP Chromebook 14 Screen Replacement: 手順 4、 3の画像 3
    • The ribbon cable is connected at the bottom of the screen. Tape is placed over the connection and it is easily peeled and easy to reuse. I would not advise cutting the tape.

    • Connect your new screen and go backwards through the steps to install.

  5. HP Chromebook 14 Screen Replacement: 手順 5、 1の画像 1
    • When re-installed and laptop is closed, check the back hinge area as it does not easily snap back in together. Pat yourself on the back if you can get it all together perfectly!

終わりに

To reassemble your device, follow these instructions in reverse order.

3 の人々がこのガイドを完成させました。

作成者

2人の作成者と共同で作成されました。

Ricky

メンバー登録日: 09/17/13

840 ポイント

3のガイドは作成済み

チーム

TechTucson WeFixThat TechTucson WeFixThat人のメンバー

Community

2 メンバー

4のガイドは作成済み

2 件のコメント

Great walkthrough but missed one of the screws in the first step. There's one on the right and left. Nothing a little superglue couldn't fix.

ronguyor - 返信

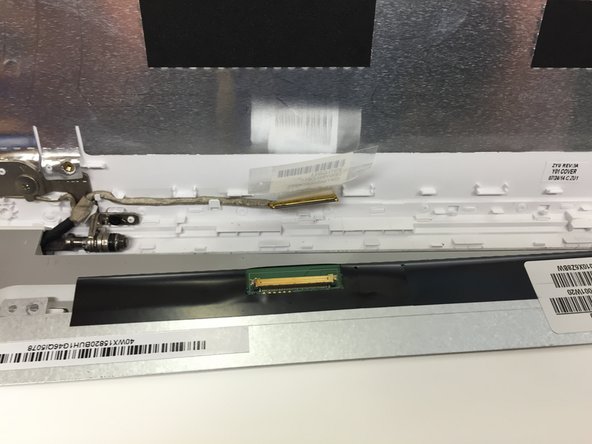
That ribbon connector sure is finicky, It's really hard to actually pop it back in without putting too much force to it and bending it up. (for me atleast)

Bo-John Woltman - 返信

コメントを追加

統計データ:

過去 24時間: 0

過去 7 日: 10

過去 30 日: 53

今までの合計 10,300