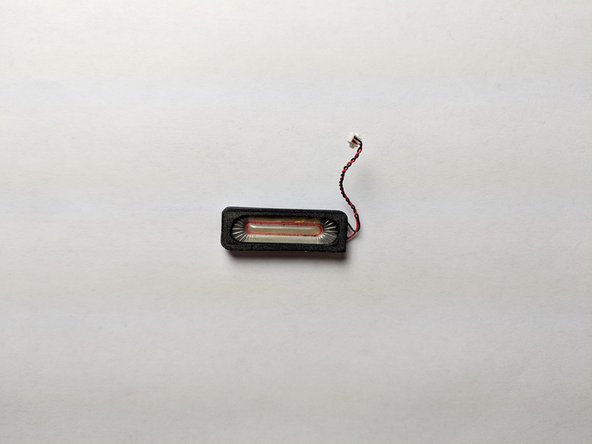
メインコンテンツにスキップ

HP 7 PLUS 1301 Speaker Replacement

必要な工具と部品

  1. HP 7 PLUS 1301 Speaker Replacement, Speaker: 手順 1、 2の画像 1 HP 7 PLUS 1301 Speaker Replacement, Speaker: 手順 1、 2の画像 2
    • Make sure the device is off and not plugged in before starting.

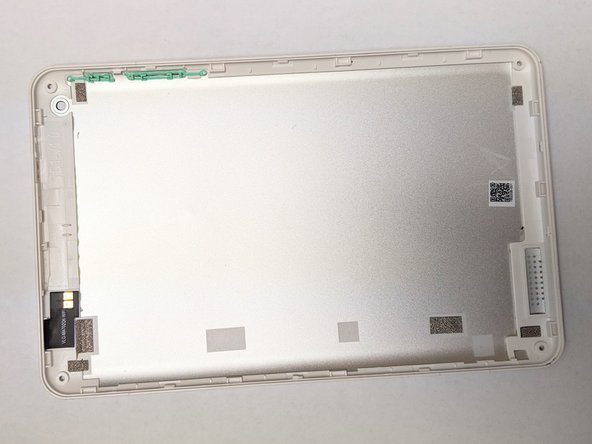
    • Use the Torx T5 screwdriver and remove the 3mm screws on all four corners of the device.

  2. HP 7 PLUS 1301 Speaker Replacement: 手順 2、 2の画像 1 HP 7 PLUS 1301 Speaker Replacement: 手順 2、 2の画像 2
    • Using the plastic opening tool, push in between the front, then slide it around.

    • Slide the plastic opening tool all the way around the tablet to separate the back cover.

    • Be careful when trying to remove the back as the screen can be damaged with excessive force.

  3. HP 7 PLUS 1301 Speaker Replacement: 手順 3、 2の画像 1 HP 7 PLUS 1301 Speaker Replacement: 手順 3、 2の画像 2
    • Continue sliding the plastic opening tool around the tablet until the cover fully separates from the device.

    • Remove the back cover.

  4. HP 7 PLUS 1301 Speaker Replacement: 手順 4、 2の画像 1 HP 7 PLUS 1301 Speaker Replacement: 手順 4、 2の画像 2
    • Using tweezers, carefully remove the speaker connector from the socket.

  5. HP 7 PLUS 1301 Speaker Replacement: 手順 5、 3の画像 1 HP 7 PLUS 1301 Speaker Replacement: 手順 5、 3の画像 2 HP 7 PLUS 1301 Speaker Replacement: 手順 5、 3の画像 3
    • Insert a spudger in the bottom right of the speaker. It makes the speaker easier to come off.

    • Carefully remove the speaker with your hand.

    • Some force needs to be applied here due to the adhesive on the other side of the speaker.

終わりに

To reassemble your device, follow these instructions in reverse order.

ある他の人がこのガイドを完成しました。

作成者

1人の作成者と共同作成されました。

Shao-Hung Hsiao

メンバー登録日: 02/05/19

201 ポイント

1ガイドが承認済み

チーム

UC Davis, Team S20-G6, Lore Winter 2019 UC Davis, Team S20-G6, Lore Winter 2019人のメンバー

UCD-LORE-W19S20G6

3 メンバー

4のガイドは作成済み

0 件のコメント

コメントを追加

統計データ:

過去 24時間: 0

過去 7 日: 0

過去 30 日: 0

今までの合計 112