メインコンテンツにスキップ

HP 15-g029wm Screen Replacement

必要な工具と部品

  1. HP 15-g029wm Screen Replacement, Battery: 手順 1、 1の画像 1
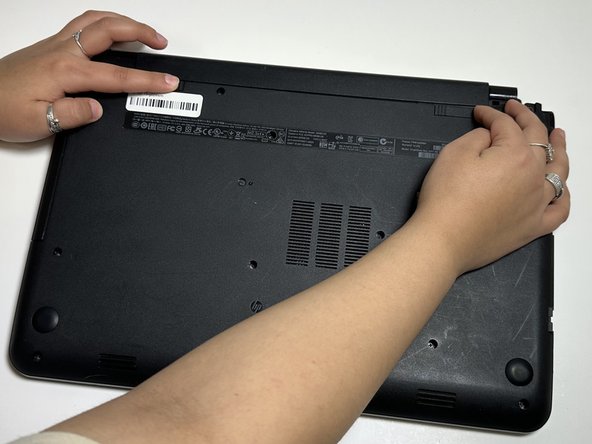
    • Unplug any charging cord or accessories connected to the device before beginning.

  2. HP 15-g029wm Screen Replacement: 手順 2、 1の画像 1
    • Place the laptop bottom-side up on a secure, flat surface.

  3. HP 15-g029wm Screen Replacement: 手順 3、 3の画像 1 HP 15-g029wm Screen Replacement: 手順 3、 3の画像 2 HP 15-g029wm Screen Replacement: 手順 3、 3の画像 3
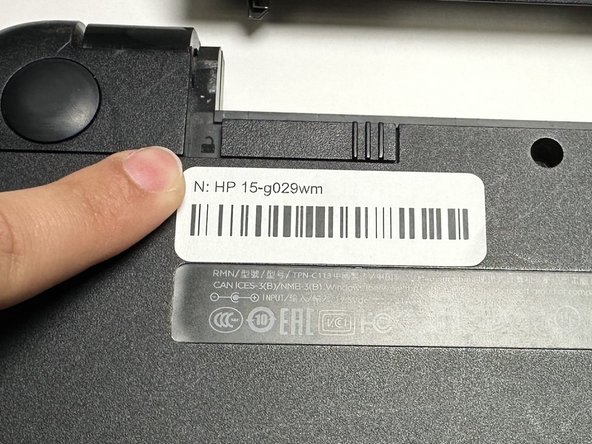
    • Slide each of the two switches that secure the battery to the left.

    • This will reveal an image of an unlocked lock.

  4. HP 15-g029wm Screen Replacement: 手順 4、 3の画像 1 HP 15-g029wm Screen Replacement: 手順 4、 3の画像 2 HP 15-g029wm Screen Replacement: 手順 4、 3の画像 3
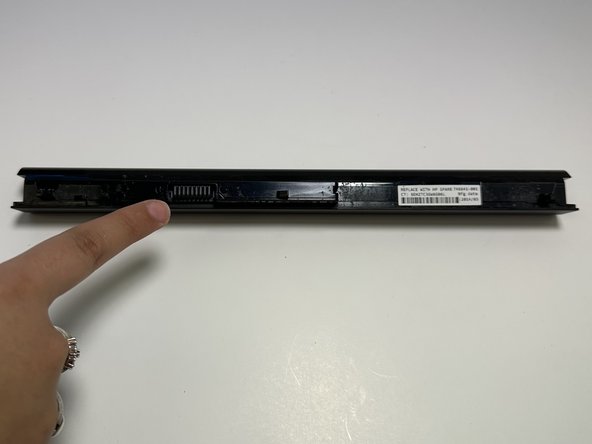
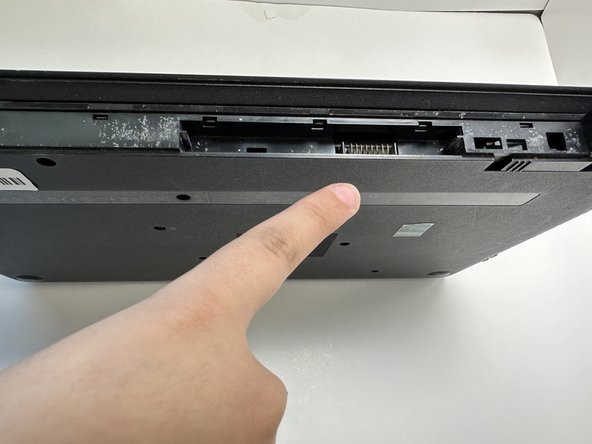
    • Use your hands to gently pull the disconnected battery out of the device.

    • When inserting the new battery, pay special attention to align the battery connections correctly.

  5. HP 15-g029wm Screen Replacement, Screen: 手順 5、 1の画像 1
    • Open the laptop lid.

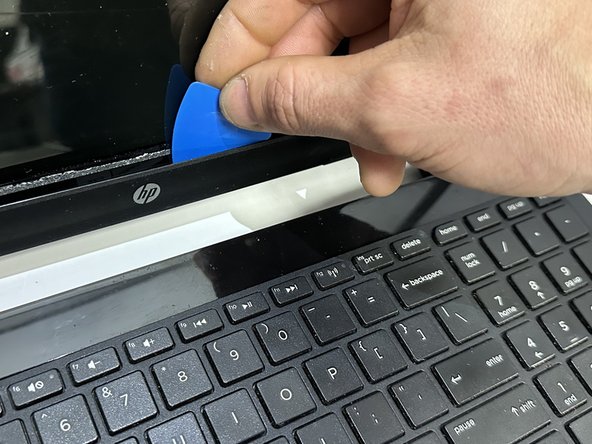
  6. HP 15-g029wm Screen Replacement: 手順 6、 2の画像 1 HP 15-g029wm Screen Replacement: 手順 6、 2の画像 2
    • Insert an opening pick beneath the display bezel.

    • While periodically prying, slide the opening pick around the perimeter of the bezel to sever the adhesive.

  7. HP 15-g029wm Screen Replacement: 手順 7、 1の画像 1
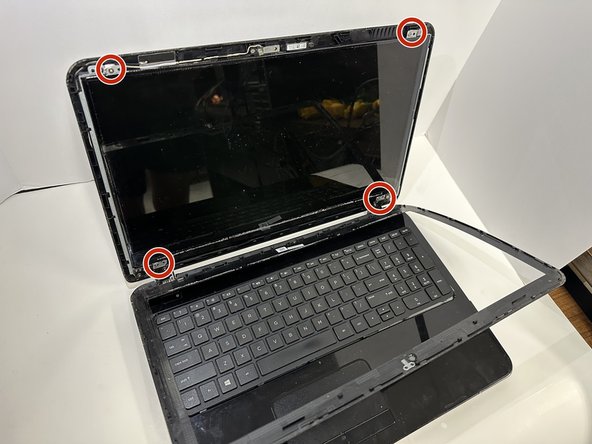
    • Once the majority of the adhesive is severed, use an opening pick or your hands to fully remove the bezel.

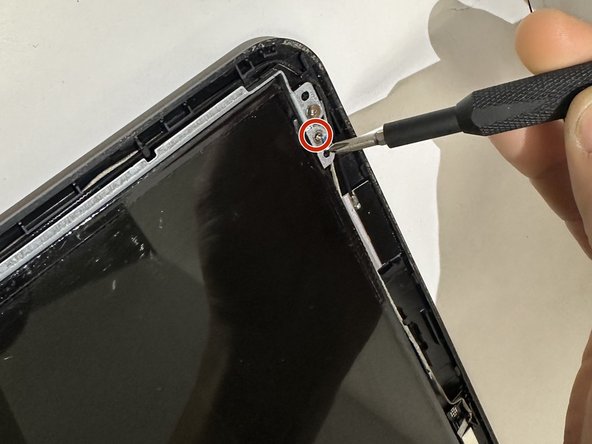
  8. HP 15-g029wm Screen Replacement: 手順 8、 2の画像 1 HP 15-g029wm Screen Replacement: 手順 8、 2の画像 2
    • Use a Phillips screwdriver to remove the four 4 mm screws that secure the LCD panel.

  9. HP 15-g029wm Screen Replacement: 手順 9、 1の画像 1
    • Use your hands to carefully remove/lift the panel away from the device.

    • The screen is connected to the device by a cord-do NOT pull it completely away or you risk damaging the device.

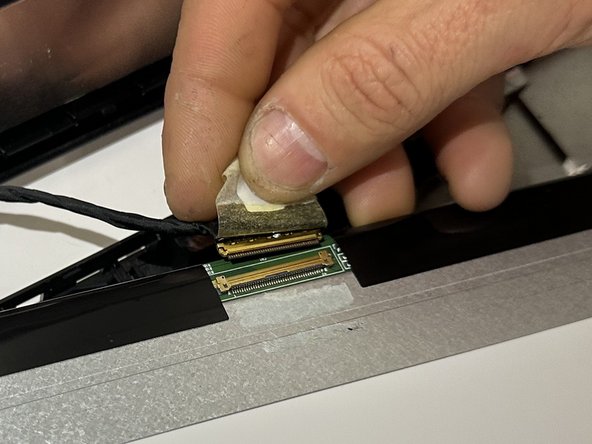
  10. HP 15-g029wm Screen Replacement: 手順 10、 2の画像 1 HP 15-g029wm Screen Replacement: 手順 10、 2の画像 2
    • Gently peel up the tape over the display cable.

    • If there is a hinge, flip it up.

    • Remove the display cable.

終わりに

To reassemble your device, follow these instructions in reverse order.

作成者

3人の作成者と共同で作成されました。

Lawrence Bailey

メンバー登録日: 01/29/24

205 ポイント

2のガイドは作成済み

チーム

Austin Community College, Team 18-2, Watkins Spring 2024 Austin Community College, Team 18-2, Watkins Spring 2024人のメンバー

AUSTINCC-WATKINS-S24S18G2

4 メンバー

6のガイドは作成済み

0 件のコメント

コメントを追加

統計データ:

過去 24時間: 0

過去 7 日: 1

過去 30 日: 13

今までの合計 74