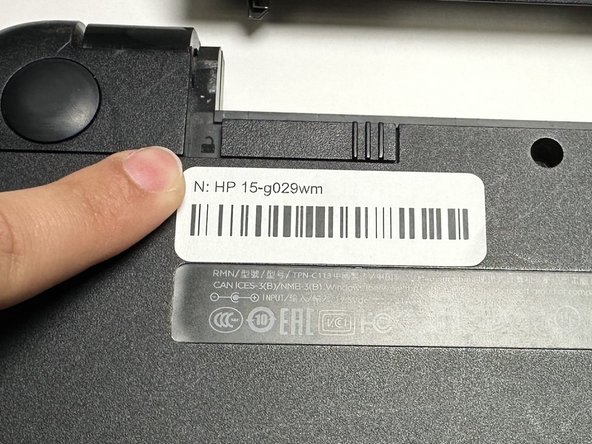
メインコンテンツにスキップ

HP 15-g029wm Motherboard Replacement

必要な工具と部品

  1. HP 15-g029wm Motherboard Replacement, Battery: 手順 1、 1の画像 1
    • Unplug any charging cord or accessories connected to the device before beginning.

  2. HP 15-g029wm Motherboard Replacement: 手順 2、 1の画像 1
    • Place the laptop bottom-side up on a secure, flat surface.

  3. HP 15-g029wm Motherboard Replacement: 手順 3、 3の画像 1 HP 15-g029wm Motherboard Replacement: 手順 3、 3の画像 2 HP 15-g029wm Motherboard Replacement: 手順 3、 3の画像 3
    • Slide each of the two switches that secure the battery to the left.

    • This will reveal an image of an unlocked lock.

  4. HP 15-g029wm Motherboard Replacement: 手順 4、 3の画像 1 HP 15-g029wm Motherboard Replacement: 手順 4、 3の画像 2 HP 15-g029wm Motherboard Replacement: 手順 4、 3の画像 3
    • Use your hands to gently pull the disconnected battery out of the device.

    • When inserting the new battery, pay special attention to align the battery connections correctly.

  5. HP 15-g029wm Motherboard Replacement, Upper Case: 手順 5、 2の画像 1 HP 15-g029wm Motherboard Replacement, Upper Case: 手順 5、 2の画像 2
    • Remove the following Phillips screws on the lower case:

    • Nine 5 mm

    • One 6 mm

    • This will allow the optical drive to separate from the chassis.

  6. HP 15-g029wm Motherboard Replacement: 手順 6、 1の画像 1
    • Slide the optical drive directly out of its slot.

  7. HP 15-g029wm Motherboard Replacement: 手順 7、 1の画像 1
    • Remove the two 2 mm Phillips screws on the lip of the optical drive slot.

  8. HP 15-g029wm Motherboard Replacement: 手順 8、 3の画像 1 HP 15-g029wm Motherboard Replacement: 手順 8、 3の画像 2 HP 15-g029wm Motherboard Replacement: 手順 8、 3の画像 3
    • Use an opening pick to remove the two circular rubber feet near the laptop hinges.

    • Remove both of the 8 mm Phillips screws.

    • The screws were hidden by the rubber feet.

  9. HP 15-g029wm Motherboard Replacement: 手順 9、 2の画像 1 HP 15-g029wm Motherboard Replacement: 手順 9、 2の画像 2
    • Use an opening pick to pry up and remove the left hinge cover.

    • Use an opening pick to pry up and remove the right hinge cover.

  10. HP 15-g029wm Motherboard Replacement: 手順 10、 3の画像 1 HP 15-g029wm Motherboard Replacement: 手順 10、 3の画像 2 HP 15-g029wm Motherboard Replacement: 手順 10、 3の画像 3
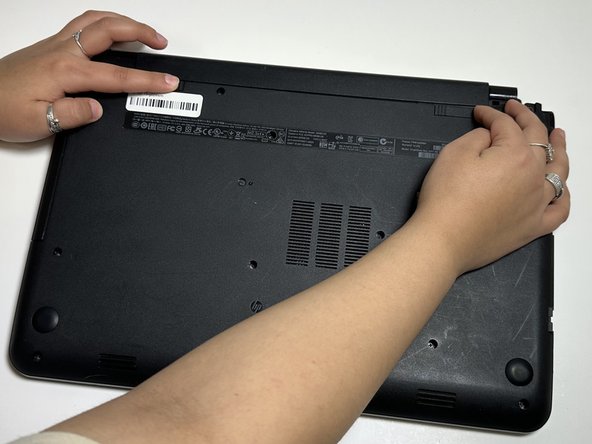
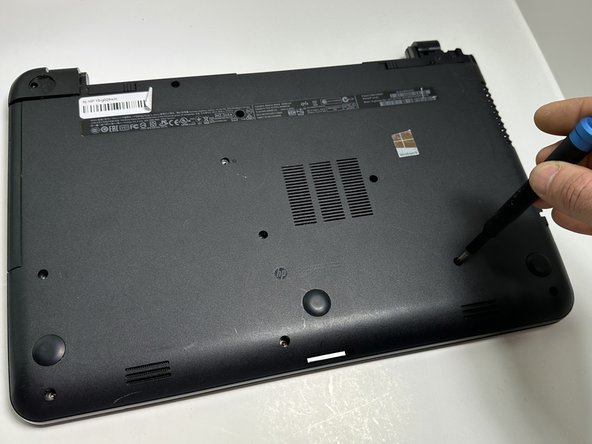
    • Flip the device face up and open the lid.

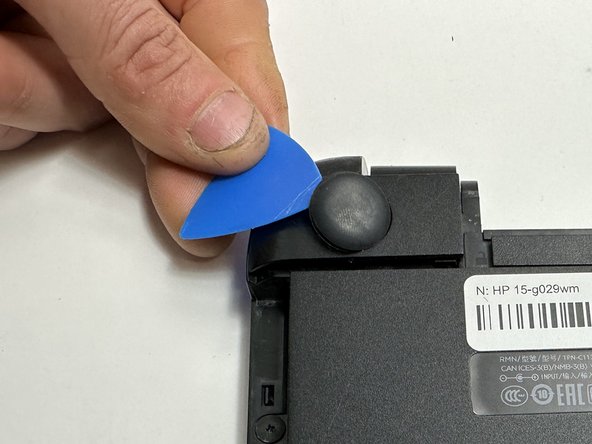
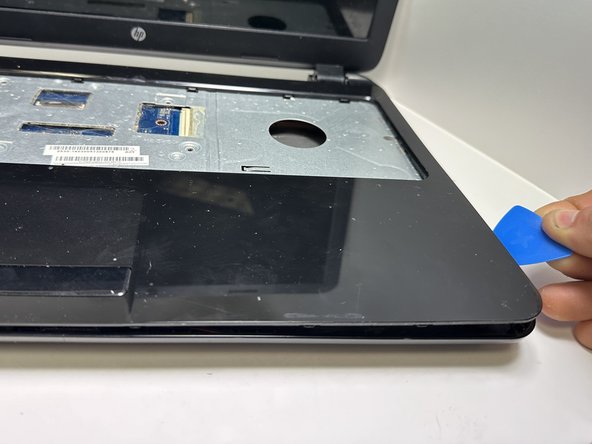
    • Insert an opening pick under the keyboard and pry around the perimeter of the keyboard until it fully releases.

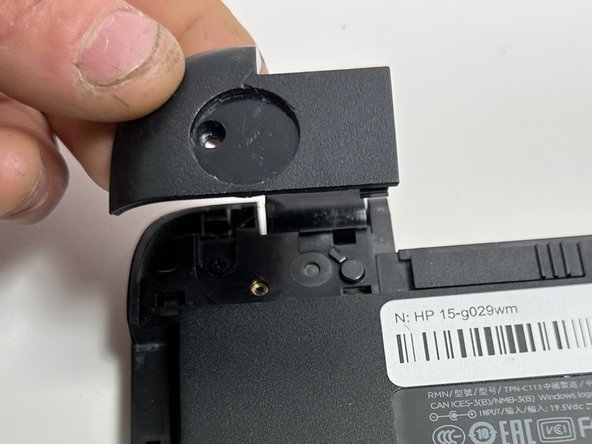
    • Lift the keyboard slightly.

    • There is a ribbon cable connecting the keyboard to the device on the underside. Do NOT pull it away or you risk ripping the ribbon cable and causing damage.

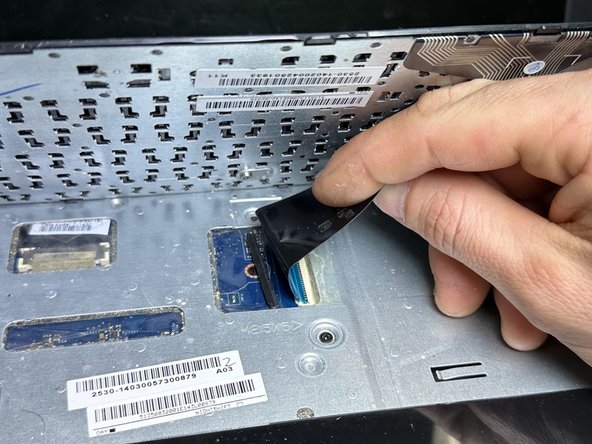
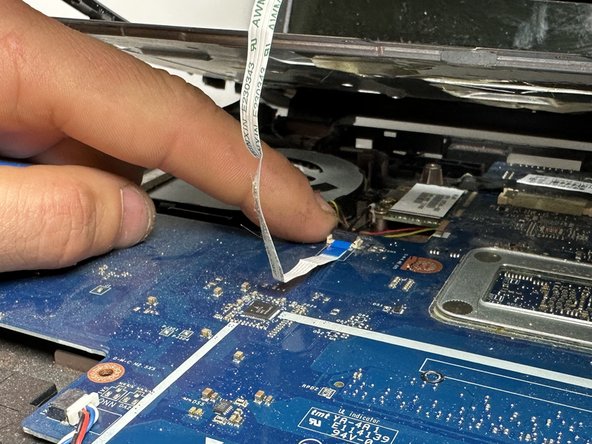
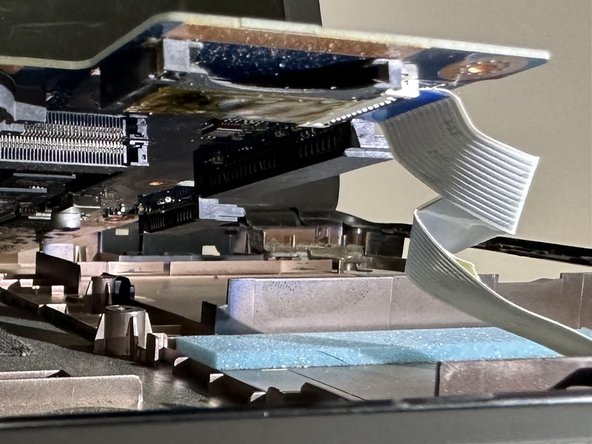
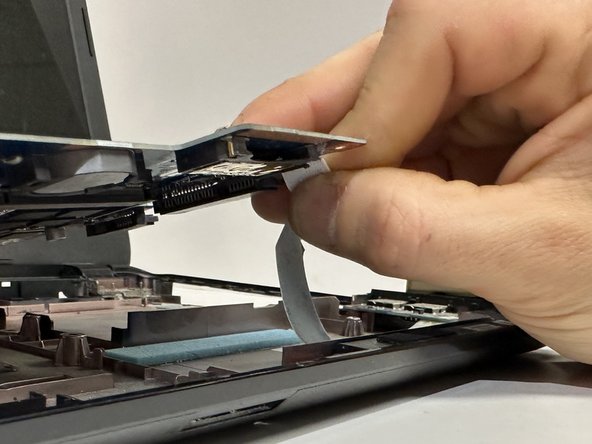
    • Use your fingers or an opening pick to unlock the ZIF locking flap that secures the keyboard ribbon cable.

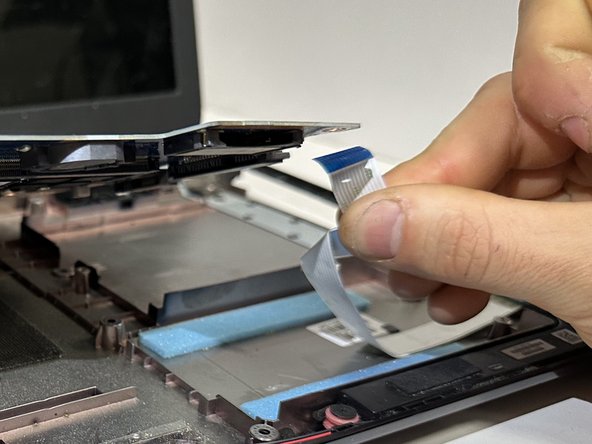
    • Disconnect the keyboard ribbon cable.

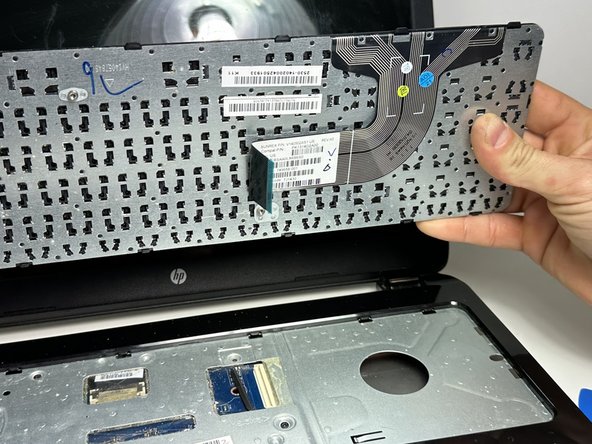
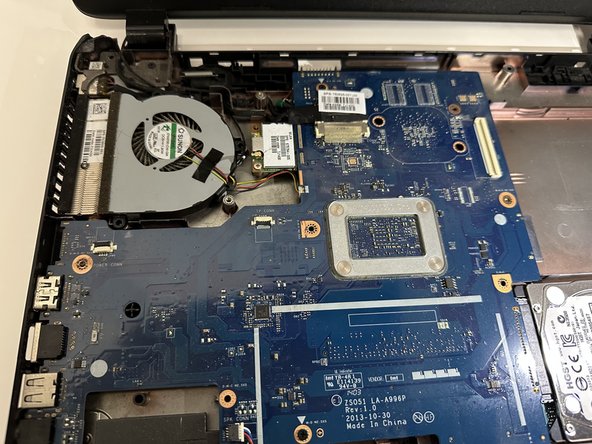
    • Lift the keyboard off.

  11. HP 15-g029wm Motherboard Replacement: 手順 11、 3の画像 1 HP 15-g029wm Motherboard Replacement: 手順 11、 3の画像 2 HP 15-g029wm Motherboard Replacement: 手順 11、 3の画像 3
    • Remove two 5 mm screws using a Phillips screwdriver.

    • Insert an opening pick in the seam between the top case and chassis.

    • Slide the opening pick around the edge of the device to separate the top case from the chassis.

    • Slightly lift the top case up and away from the chassis.

    • There is a ribbon cable connecting the top plate to the device. Handle with care, and do NOT yank on the ribbon cable to prevent damage.

  12. HP 15-g029wm Motherboard Replacement: 手順 12、 3の画像 1 HP 15-g029wm Motherboard Replacement: 手順 12、 3の画像 2 HP 15-g029wm Motherboard Replacement: 手順 12、 3の画像 3
    • Use your fingers or an opening pick to flip up the black ZIF locking flap.

    • Disconnect the ribbon cable.

    • Lift off the top case.

  13. HP 15-g029wm Motherboard Replacement, Fan: 手順 13、 2の画像 1 HP 15-g029wm Motherboard Replacement, Fan: 手順 13、 2の画像 2
    • Use a Phillips screwdriver to remove the three 5 mm screws that secure the fan.

  14. HP 15-g029wm Motherboard Replacement: 手順 14、 2の画像 1 HP 15-g029wm Motherboard Replacement: 手順 14、 2の画像 2
    • Gently "walk" the fan connector directly out of its motherboard socket.

    • Do not pull on the wires.

  15. HP 15-g029wm Motherboard Replacement: 手順 15、 1の画像 1
    • Lift the fan up and out of the chassis.

  16. HP 15-g029wm Motherboard Replacement, HDD: 手順 16、 2の画像 1 HP 15-g029wm Motherboard Replacement, HDD: 手順 16、 2の画像 2
    • Remove the two 5 mm Phillips screws that secure the HDD.

    • Pull the HDD slightly to the right to disconnect it, then lift it up and out of the chassis.

  17. HP 15-g029wm Motherboard Replacement, Wi-Fi Card: 手順 17、 2の画像 1 HP 15-g029wm Motherboard Replacement, Wi-Fi Card: 手順 17、 2の画像 2
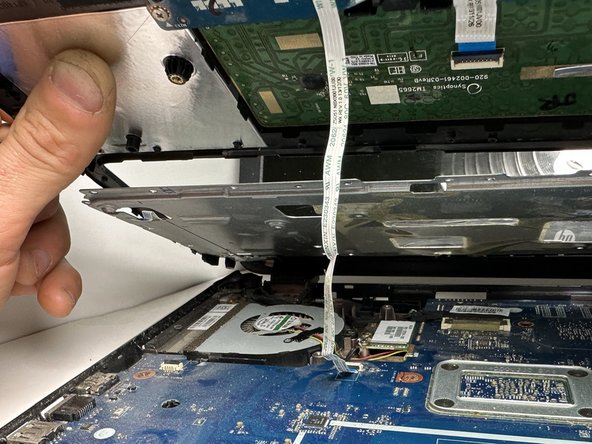
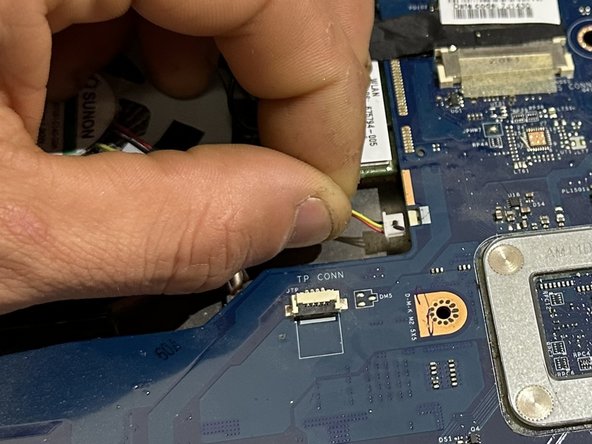
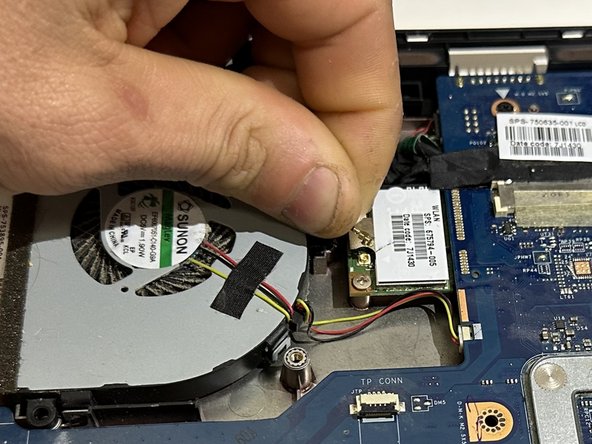
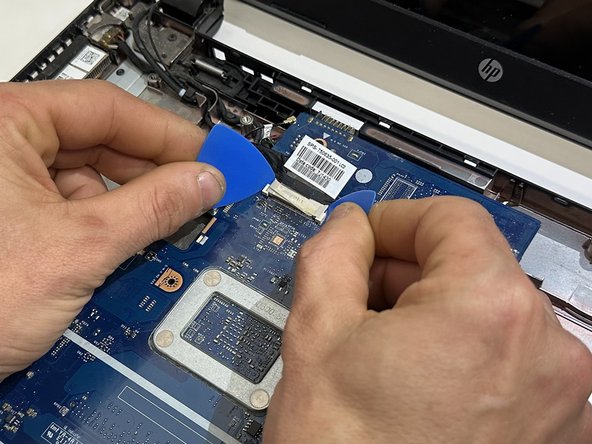
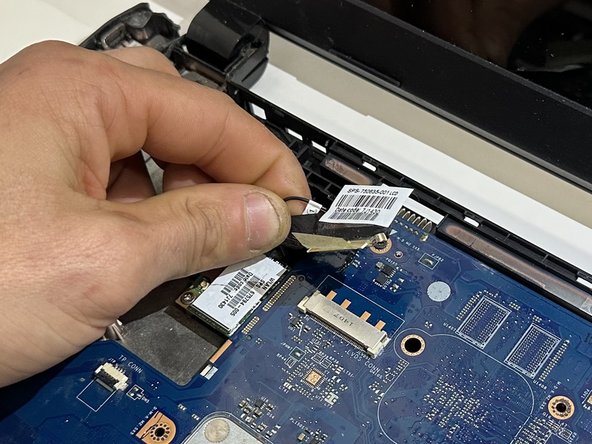
    • Use the tip of a spudger to pry up and disconnect the two antenna cables attached to the wireless card.

  18. HP 15-g029wm Motherboard Replacement: 手順 18、 3の画像 1 HP 15-g029wm Motherboard Replacement: 手順 18、 3の画像 2 HP 15-g029wm Motherboard Replacement: 手順 18、 3の画像 3
    • Remove the single 3 mm Phillips screw that secures the wireless card.

    • Pull the wireless card out of its socket.

  19. HP 15-g029wm Motherboard Replacement, Motherboard: 手順 19、 3の画像 1 HP 15-g029wm Motherboard Replacement, Motherboard: 手順 19、 3の画像 2 HP 15-g029wm Motherboard Replacement, Motherboard: 手順 19、 3の画像 3
    • Use two opening picks to disconnect the display cable.

  20. HP 15-g029wm Motherboard Replacement: 手順 20、 1の画像 1
    • Use an opening pick to gently "walk" the white speaker connector directly out of its port.

  21. HP 15-g029wm Motherboard Replacement: 手順 21、 3の画像 1 HP 15-g029wm Motherboard Replacement: 手順 21、 3の画像 2 HP 15-g029wm Motherboard Replacement: 手順 21、 3の画像 3
    • Remove the four 3 mm screws that secure the motherboard.

    • Lift the front edge of the motherboard slightly.

    • There is a ribbon cable connecting the motherboard to the device chassis. Do not yank it away.

  22. HP 15-g029wm Motherboard Replacement: 手順 22、 3の画像 1 HP 15-g029wm Motherboard Replacement: 手順 22、 3の画像 2 HP 15-g029wm Motherboard Replacement: 手順 22、 3の画像 3
    • Use an opening pick or your fingers to release the ZIF locking flap.

    • Pull the ribbon cable out of its port.

  23. HP 15-g029wm Motherboard Replacement: 手順 23、 1の画像 1
    • The motherboard is now fully disconnected and able to be removed from the chassis by lifting it out with your hands.

    • Remove the following components for your new motherboard: Heatsink, RAM, CMOS battery.

終わりに

To reassemble your device, follow these instructions in reverse order.

作成者

4人の作成者と共同で作成されました。

Syrinity/Ezyra/Ezra

メンバー登録日: 01/29/24

375 ポイント

3のガイドは作成済み

チーム

Austin Community College, Team 18-2, Watkins Spring 2024 Austin Community College, Team 18-2, Watkins Spring 2024人のメンバー

AUSTINCC-WATKINS-S24S18G2

4 メンバー

6のガイドは作成済み

0 件のコメント

コメントを追加

統計データ:

過去 24時間: 0

過去 7 日: 2

過去 30 日: 15

今までの合計 93