はじめに
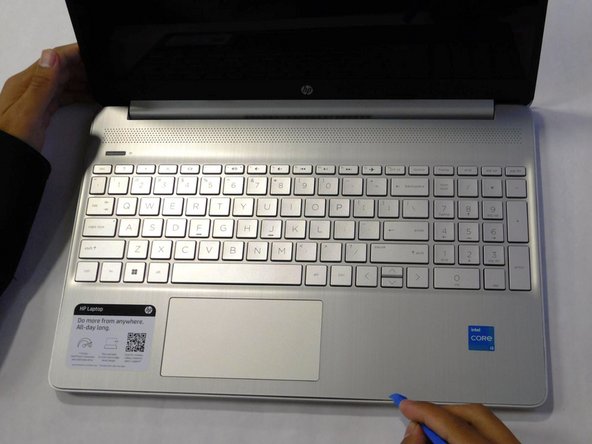
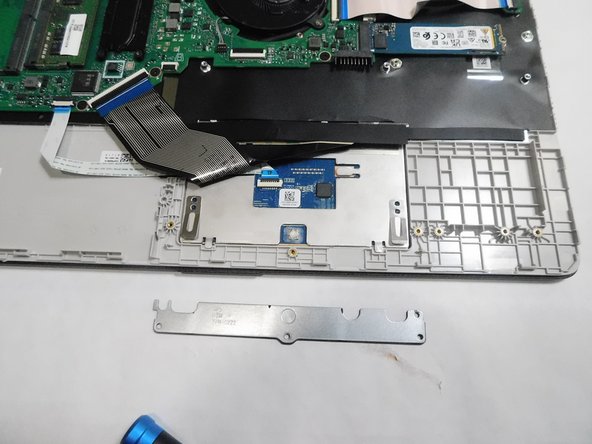
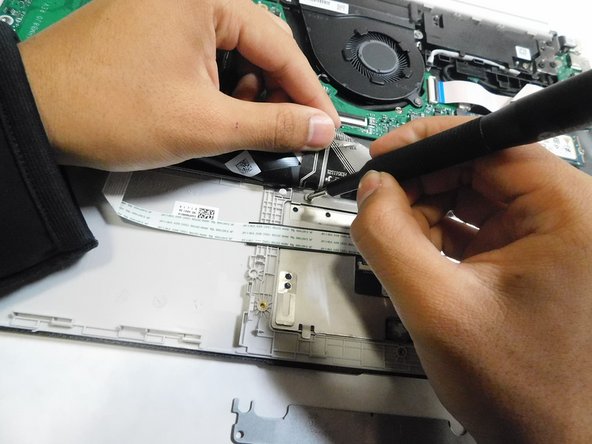
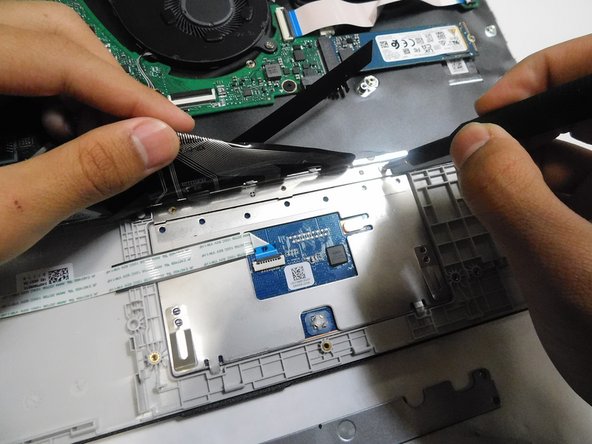
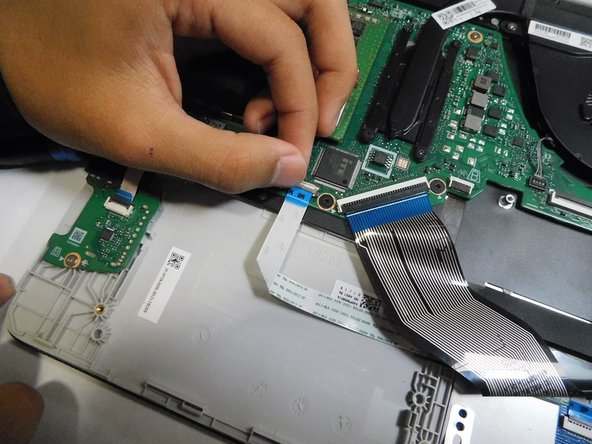
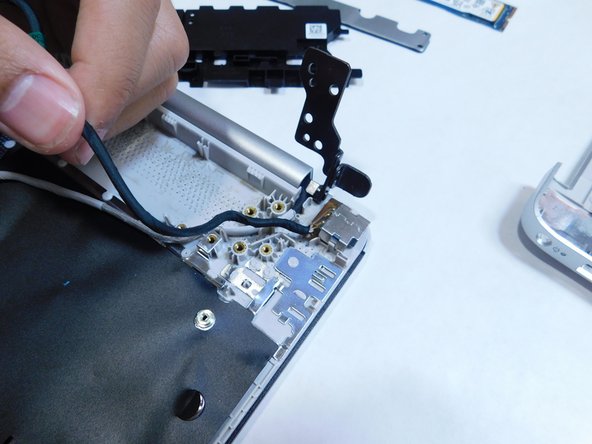
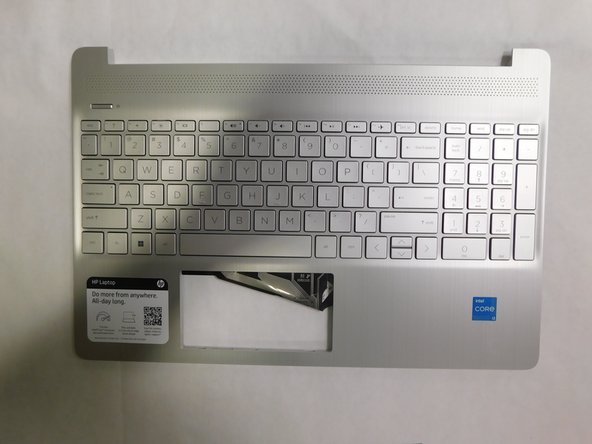
This guides explains how to replace the keyboard on your HP 15-dy2072dx. A replacement may be needed in cases the keyboard stops functioning. Before replacing the keyboard, make sure the problem cannot be solved by replacing a single key.
The keyboard allows the user to enter text, use specific functions, make use of shortcuts.
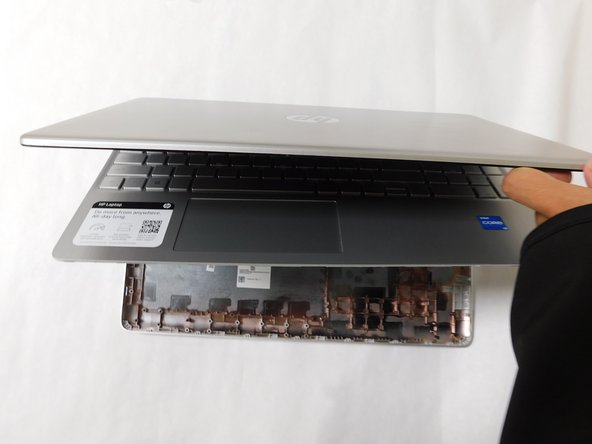
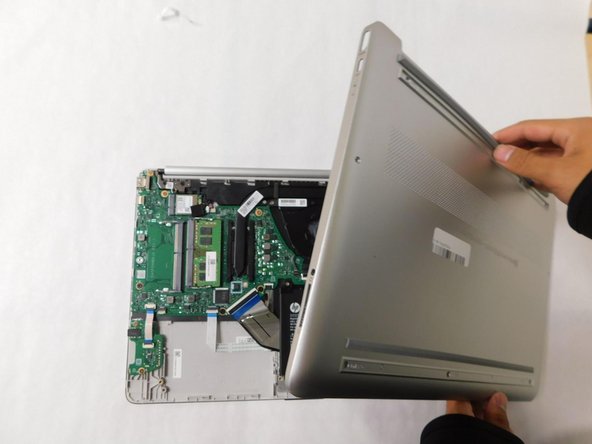
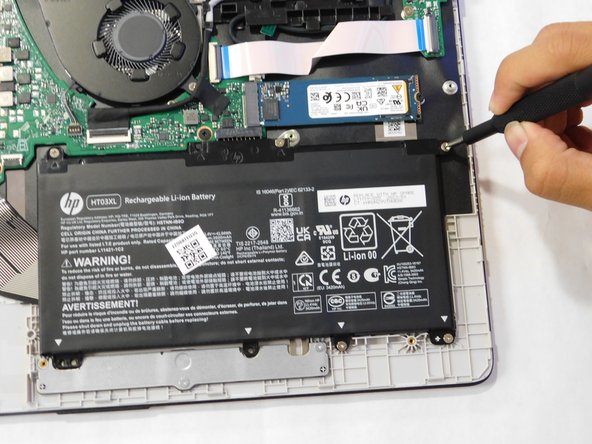
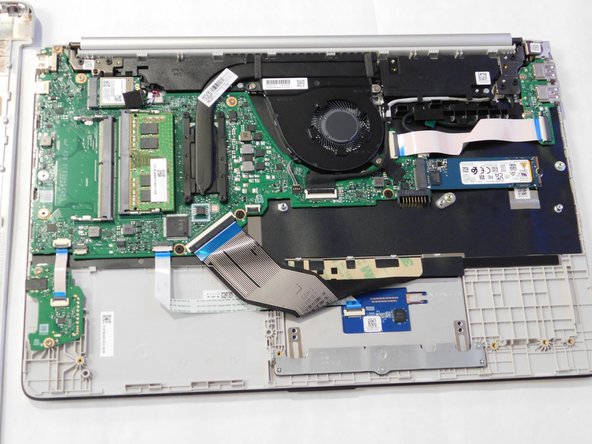
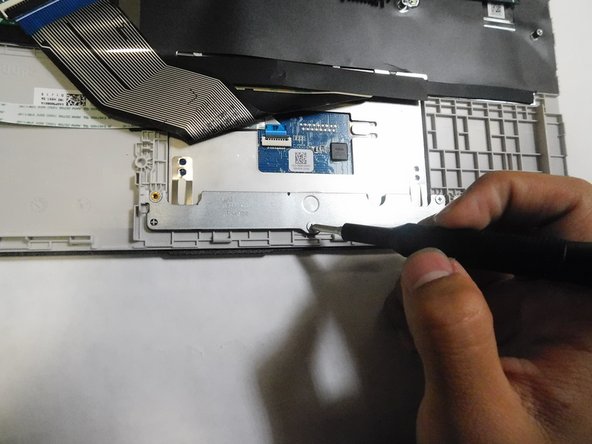
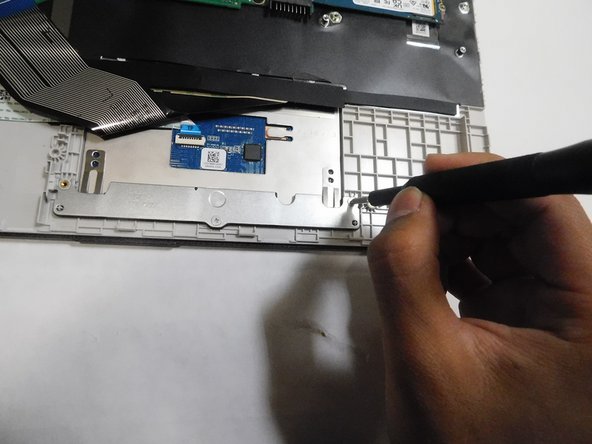
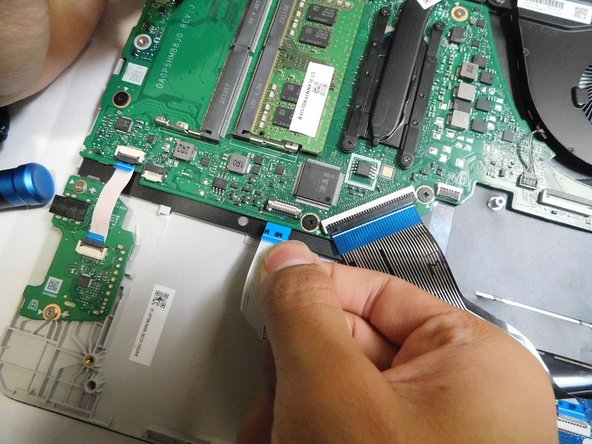
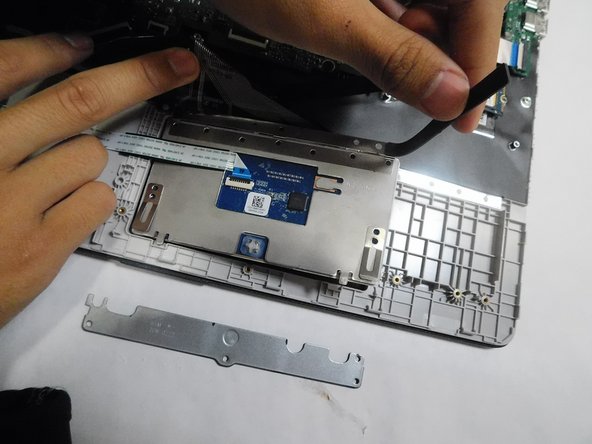
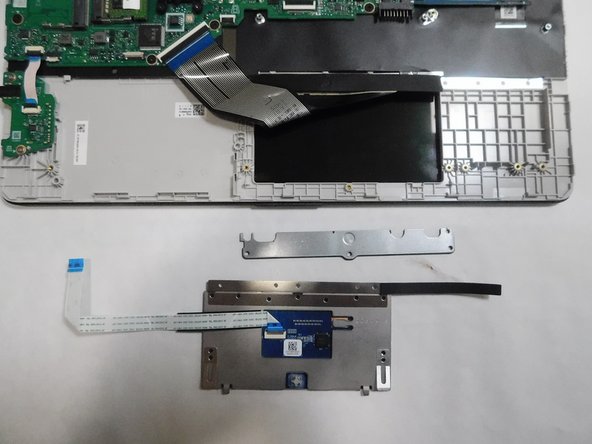
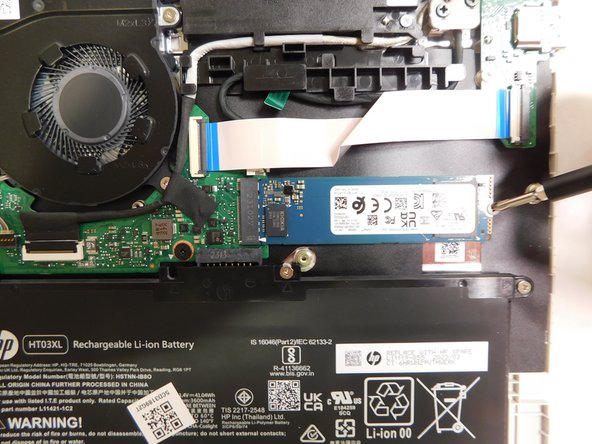
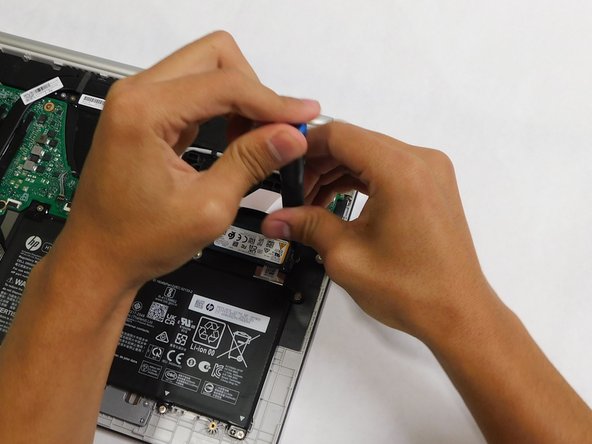
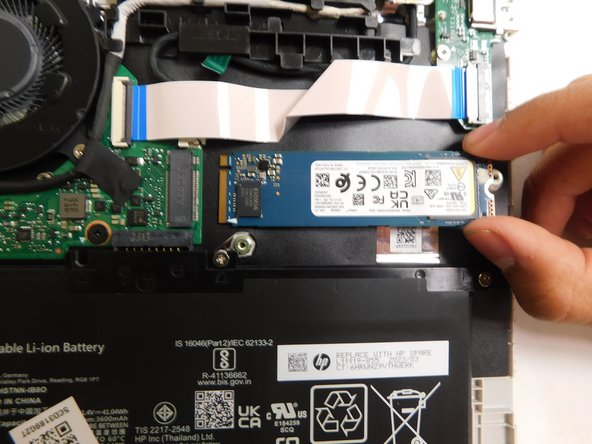
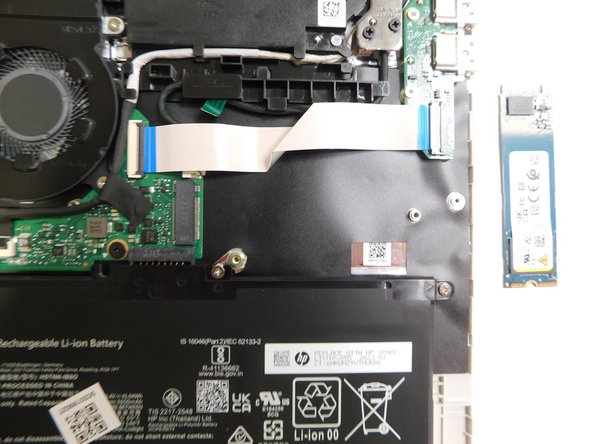
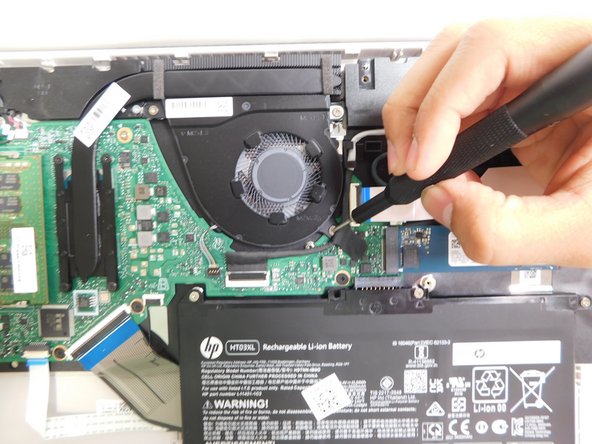
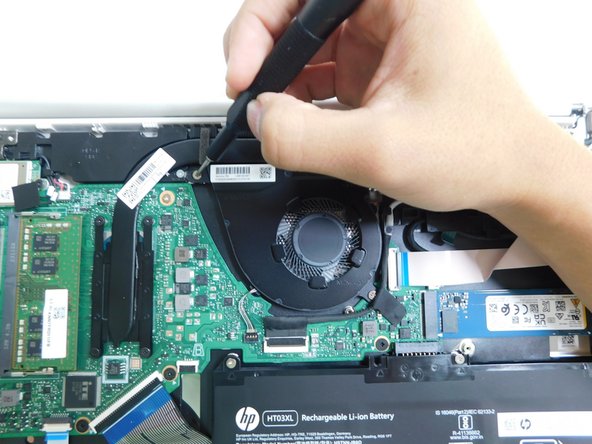
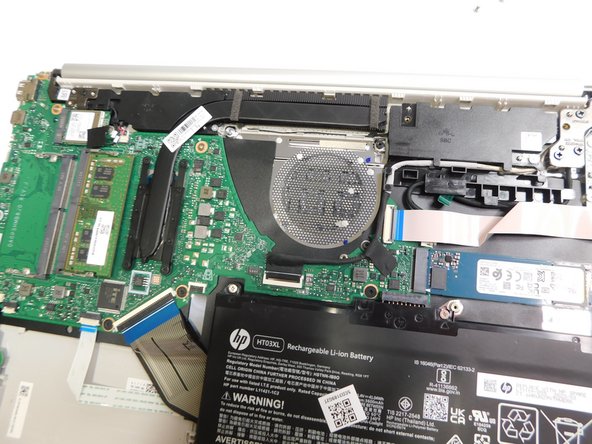
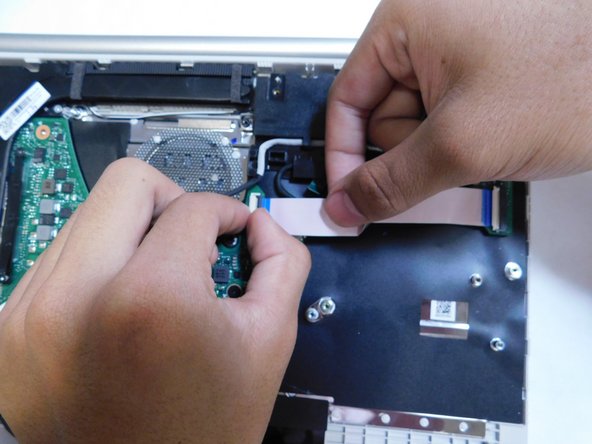
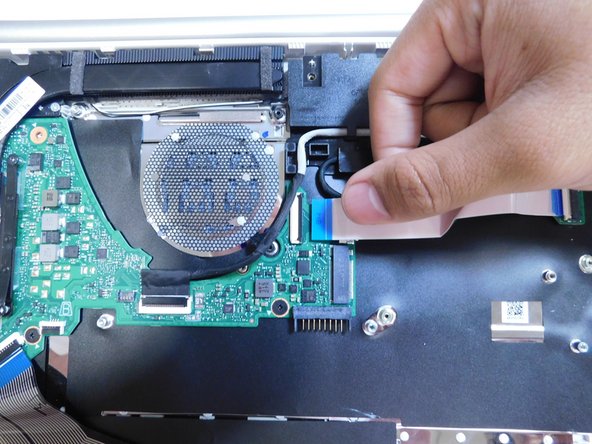
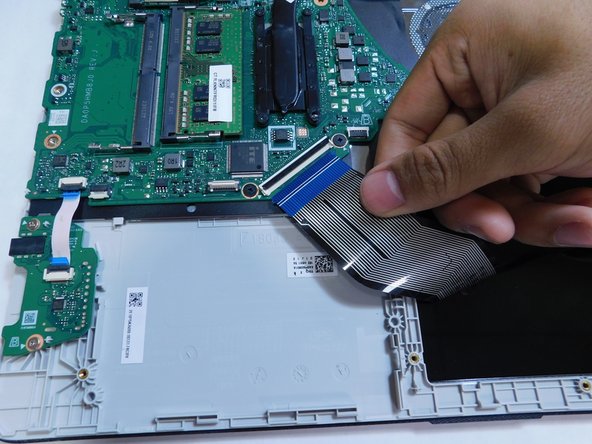
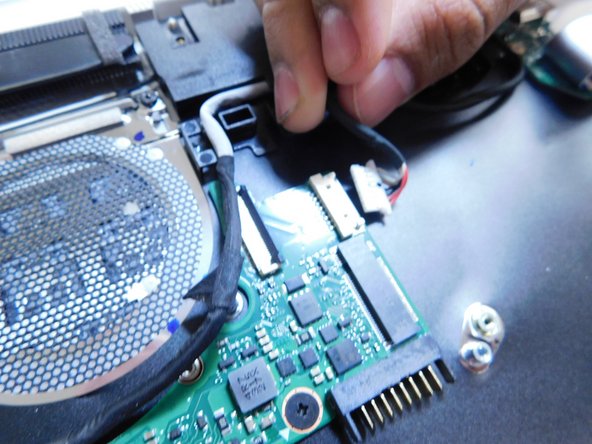
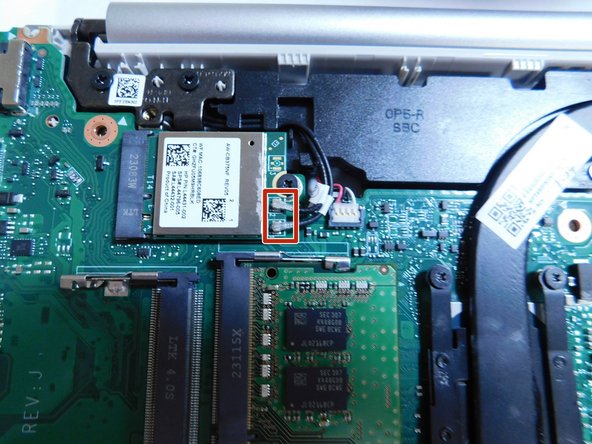
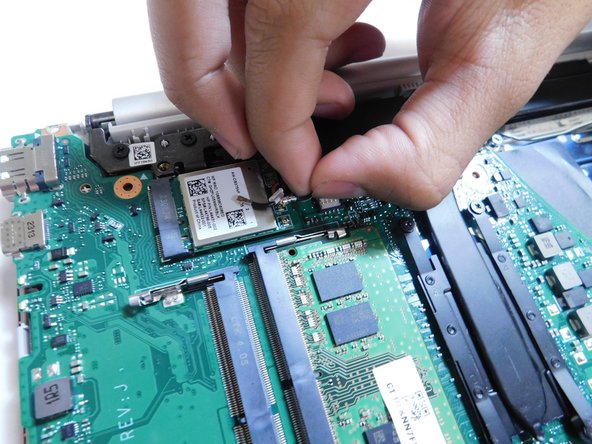
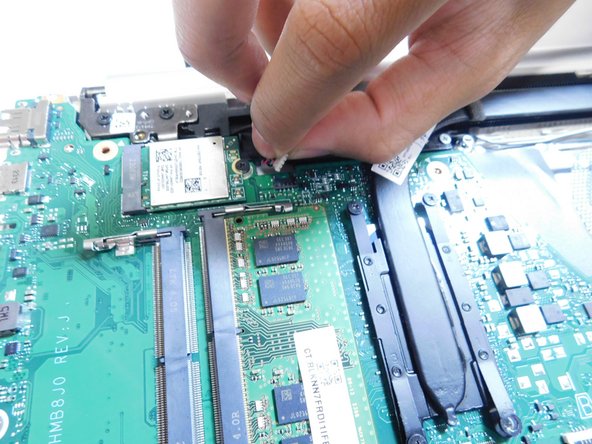
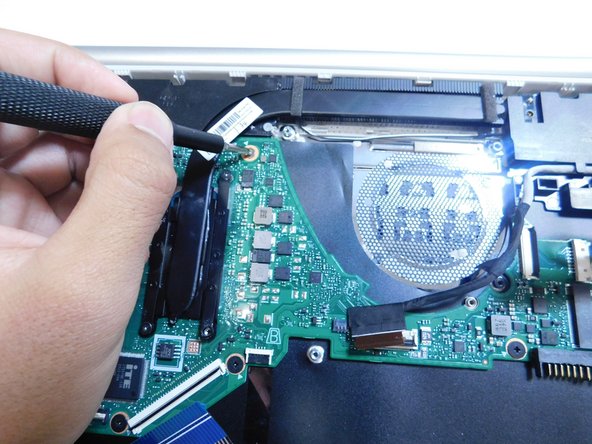
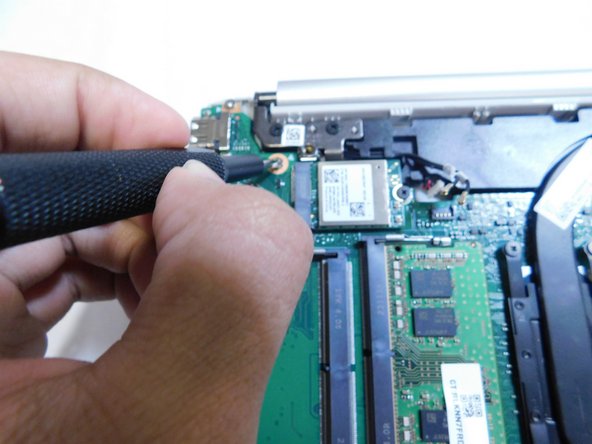
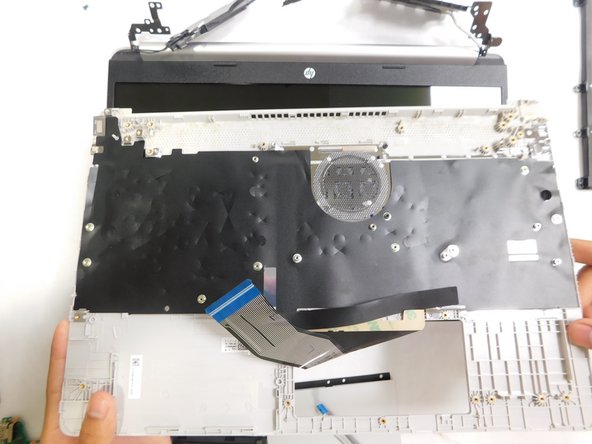
This guide uses prerequisite guides and each guide will show parts that may have been removed in previous steps still attached. Ignore the discrepancy and focus on each steps taken.
必要な工具と部品


To reassemble your device, follow these instructions in reverse order.
To reassemble your device, follow these instructions in reverse order.
チーム

Gateway, Team 1-4, Pee Fall 2023 Gateway, Team 1-4, Pee Fall 2023人のメンバー
GCC-PEE-F23S1G4
4 メンバー
8のガイドは作成済み