メインコンテンツにスキップ

HP 15-dy2024nr Display Assembly Replacement

必要な工具と部品

  1. HP 15-dy2024nr Display Assembly Replacement, Display Assembly: 手順 1、 2の画像 1 HP 15-dy2024nr Display Assembly Replacement, Display Assembly: 手順 1、 2の画像 2
    • Peel the inner edge of the bezel using an opening tool and gently snap both edges away from the glass.

    • Go around the perimeter and begin snapping the tabs underneath.

  2. HP 15-dy2024nr Display Assembly Replacement: 手順 2、 3の画像 1 HP 15-dy2024nr Display Assembly Replacement: 手順 2、 3の画像 2 HP 15-dy2024nr Display Assembly Replacement: 手順 2、 3の画像 3
    • Use the opening tool to unsnap the bezel along the hinge cover.

    • Close the laptop and turn it sideways.

    • Separate the bezel along the bottom edge using the opening tool.

    • Remove the bezel and place it aside.

  3. HP 15-dy2024nr Display Assembly Replacement: 手順 3、 3の画像 1 HP 15-dy2024nr Display Assembly Replacement: 手順 3、 3の画像 2 HP 15-dy2024nr Display Assembly Replacement: 手順 3、 3の画像 3
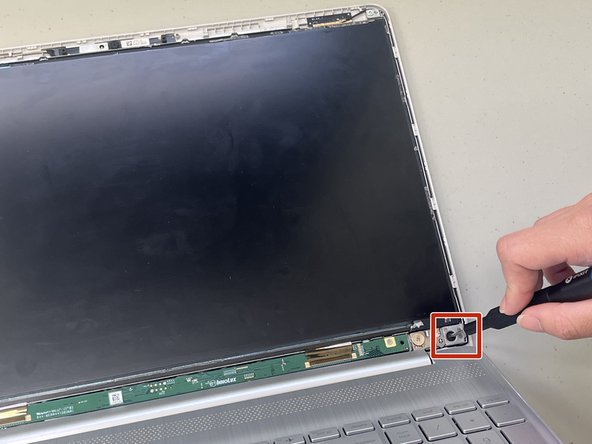
    • Remove the 1.8 mm screws from the top and bottom corners of the screen using a Phillips #1 screwdriver.

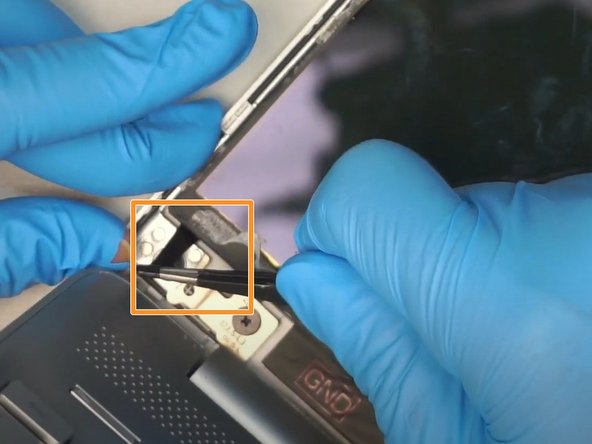
    • Use a pair of tweezers to pull out the adhesive tape from the bottom left and right corners of the screen.

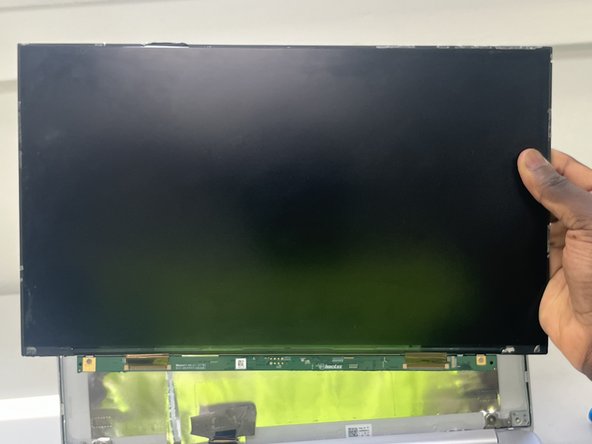
    • Remove the LCD and gently place it on the keyboard with both hands.

  4. HP 15-dy2024nr Display Assembly Replacement: 手順 4、 3の画像 1 HP 15-dy2024nr Display Assembly Replacement: 手順 4、 3の画像 2 HP 15-dy2024nr Display Assembly Replacement: 手順 4、 3の画像 3
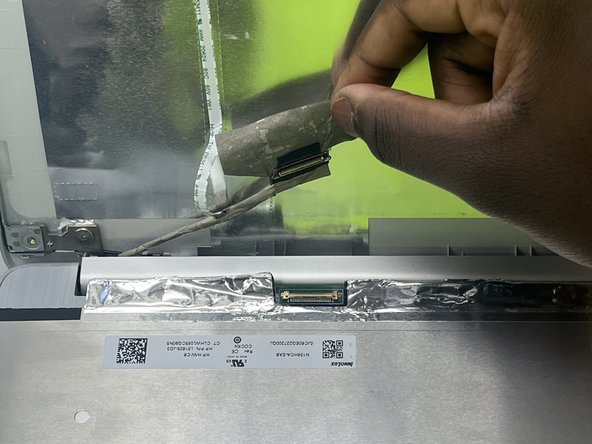
    • Gently peel off the tape securing the video connector.

    • Disconnect the video cable.

    • Remove the old screen.

終わりに

To reassemble your device, follow these instructions in reverse order.

2 の人々がこのガイドを完成させました。

作成者

1人の作成者と共同作成されました。

George O.C

メンバー登録日: 02/08/24

166 ポイント

1ガイドが承認済み

チーム

University of North Texas, Team 5-5, Coppersmith Spring 2024 University of North Texas, Team 5-5, Coppersmith Spring 2024人のメンバー

UNT-COPPERSMITH-S24S5G5

4 メンバー

4のガイドは作成済み

0 件のコメント

コメントを追加

統計データ:

過去 24時間: 1

過去 7 日: 17

過去 30 日: 50

今までの合計 121