はじめに
This guide provides a step-by-step process for the replacement of the RAM Card on the HP 15-ac121dx. This is a simplistic process that will require no background experience to perform. The steps in this guide are accompanied by images and color-coded bullet points that simplify the performance of all of the steps. RAM allows a computer to perform multiple tasks smoothly. A computer with big RAM can perform multiple tasks while avoiding any lags and freezes. The RAM card can be replaced to improve performance. Usually, the replacement of the RAM card is recommended if it is damaged or no longer able to function properly. This guide will demonstrate how to access the interior hardware of the laptop and how to locate and remove the RAM card.
必要な工具と部品
-
-
Remove all external devices from the computer.
-
Remove the charging cord from the computer.
-
-
-
-
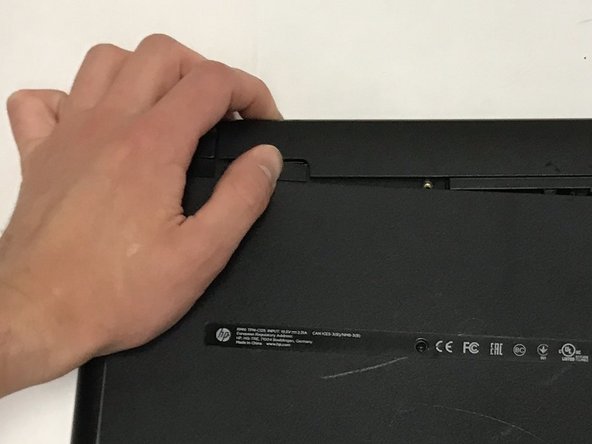
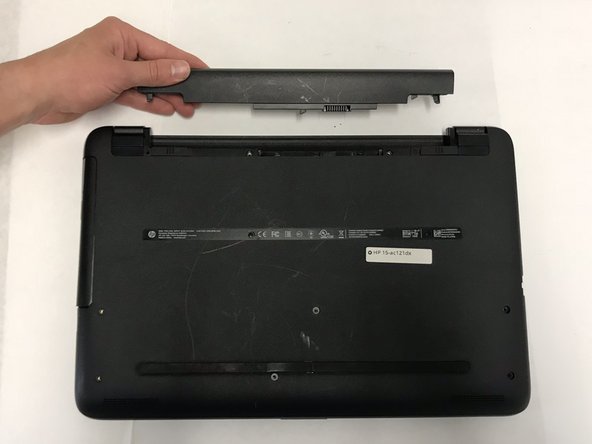
Place the laptop with the back panel facing up and the battery compartment facing away from you.
-
Using a spudger, carefully remove the rubber feet on both sides of the battery compartment.
-


To reassemble your device, follow these instructions in reverse order.
To reassemble your device, follow these instructions in reverse order.
ある他の人がこのガイドを完成しました。
チーム

The Citadel Military College of South Carolina, Team S3-G9, Eggleston Fall 2019 The Citadel Military College of South Carolina, Team S3-G9, Eggleston Fall 2019人のメンバー
CMCSC-EGGLESTON-F19S3G9
3 メンバー
4のガイドは作成済み