はじめに
This guide will teach you how to remove a HP 14-fq1025nr keyboard and replace it with a new one. The keyboard allows for input to be typed into the computer. A faulty keyboard may result in input being incorrect and/or not being processed by the computer. For additional information and help with troubleshooting the keyboard, refer to our troubleshooting page. This replacement may require the use of a razorblade in order to remove some small parts holding down the keyboard component itself.
NOTE: The screen will need to be removed first to have full access to the keyboard cover.
WARNING: The computer uses a lithium-ion battery which contains toxic substances / flammable substances. Handle with caution.
必要な工具と部品
-
-
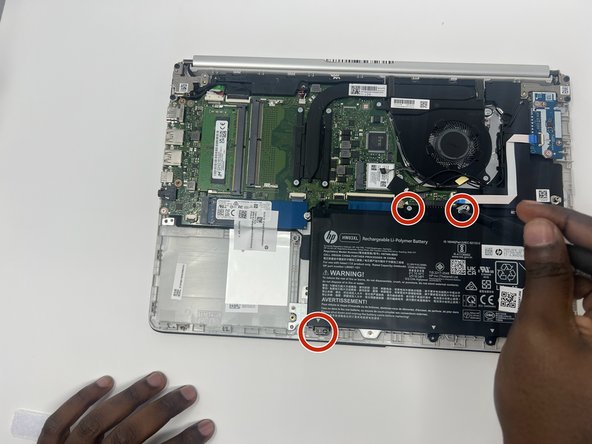
Remove the four gray 3 mm screws holding down the battery using a Phillips #0 screwdriver.
-
-
-
-
Remove the four gray 3 mm screws around the heat sink using a Phillips #0 screwdriver.
-
Remove the heat sink.
-
-
-
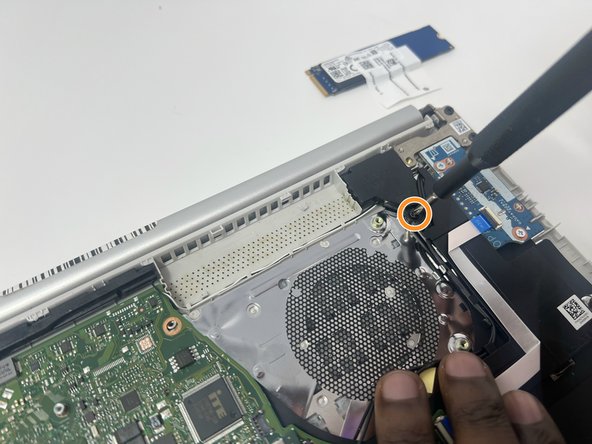
Using a Phillips #0 screwdriver, remove the three black 5 mm screws holding down the speaker:
-
Two screws on the left side
-
One screw on the right side
-
-
-
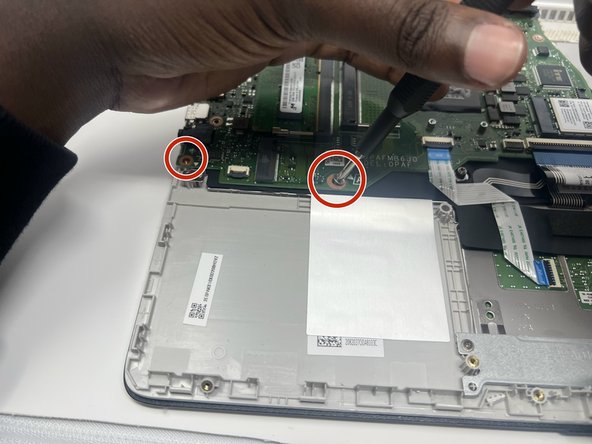
Remove the five 3 mm gray screws from around the motherboard using a Phillips #00 screwdriver.
-
-
-
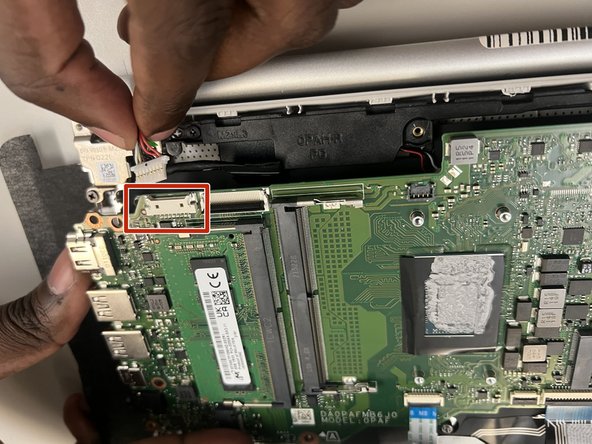
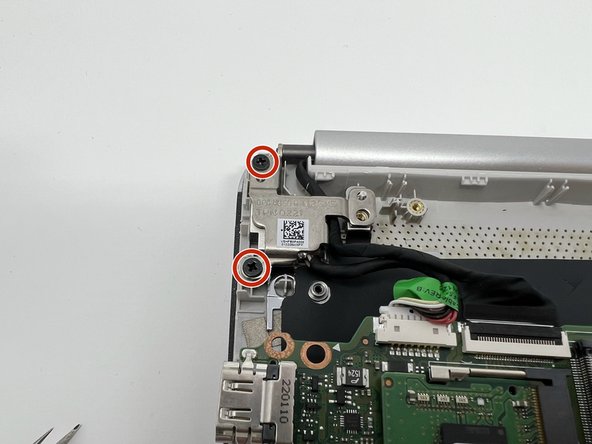
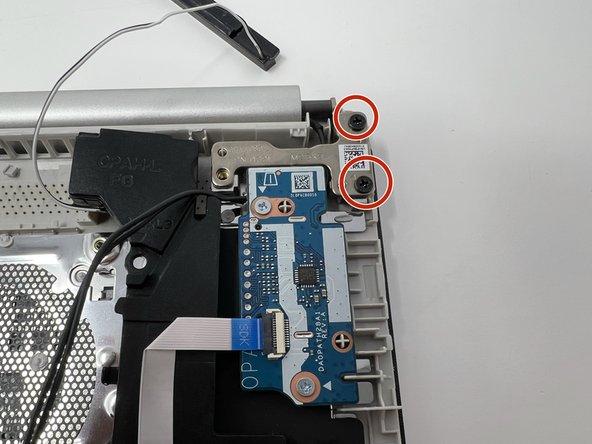
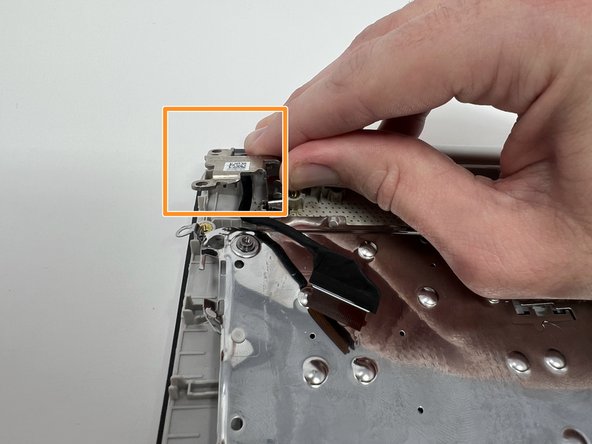
Remove the four black 5 mm screws holding down the two silver screen hinges using a Phillips #00 screwdriver.
-
-
-
Use an iFixit opening tool to remove all the plastic hold downs from the keyboard cover.
-


To reassemble your device, follow these instructions in reverse order.
To reassemble your device, follow these instructions in reverse order.

チーム

Utah Tech University, Team 1-6, McMurrin Fall 2022 Utah Tech University, Team 1-6, McMurrin Fall 2022人のメンバー
UTAHTECH-MCMURRIN-F22S1G6
3 メンバー
9のガイドは作成済み