はじめに
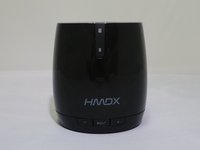
If your HMDX Chill is having any kind of issue this guide will show how to disassemble the device in order to begin the process of fixing your issues.
必要な工具と部品
-
-
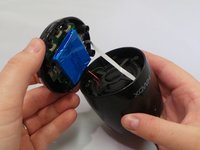
Insert a metal spudger under the rubber base.
-
Pry the rubber base off.
 FixBotに聞いてみる
-
-
-
-
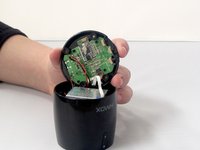
Use a Phillips #1 screwdriver to remove four 9 mm screws from the base of the device.
-


To reassemble your device, follow these instructions in reverse order.
ある他の人がこのガイドを完成しました。
チーム

1件のガイドコメント
I have jam zero chill. One year old. Very very little use. Maybe 3 to 4 hours total.
Plug in to charge red light comes on solid and goes out in couple of hours. Then light flashes red and zero chill will not connect.
Thank you
Lorne Janes - 返信 共有