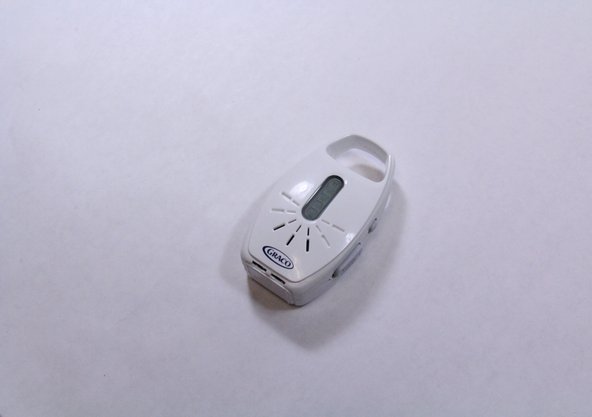
メインコンテンツにスキップ

Graco Secure Coverage LED Parent Unit Replacement

必要な工具と部品

  1. Graco Secure Coverage LED Parent Unit Replacement, Parent Unit Battery: 手順 1、 3の画像 1 Graco Secure Coverage LED Parent Unit Replacement, Parent Unit Battery: 手順 1、 3の画像 2 Graco Secure Coverage LED Parent Unit Replacement, Parent Unit Battery: 手順 1、 3の画像 3
    • Using plastic opening tool, pry and remove the battery lid.

  2. Graco Secure Coverage LED Parent Unit Replacement: 手順 2、 1の画像 1
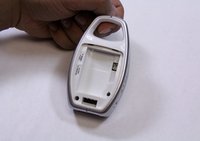
    • Remove the battery by holding the device with one hand and pulling the battery out with other hand carefully.

    • Make sure that you disconnect the battery's wire before you remove the battery.

  3. Graco Secure Coverage LED Parent Unit Replacement, LED Parent Unit: 手順 3、 2の画像 1 Graco Secure Coverage LED Parent Unit Replacement, LED Parent Unit: 手順 3、 2の画像 2
    • There are two screws on the rare case of the device. For the one shown in blue marker requires either an extended screwdriver or putting on a little pressure on a regular screwdriver.

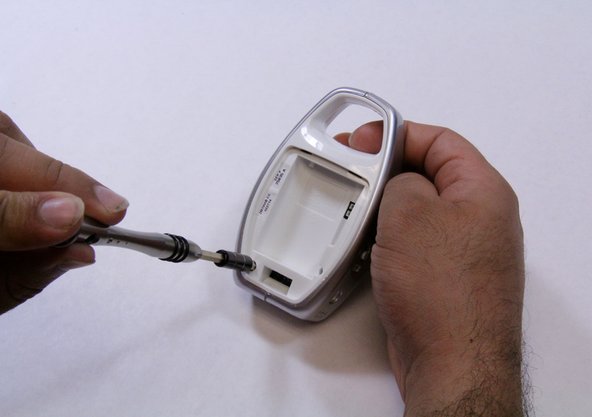
    • Remove the two 9mm Phillips #1 screws from the rare case of the device.

    • If you cannot remove the screw with low pressure, do not use high pressure to remove it. It may cause a damage on the device case. Use an extended screwdriver instead.

  4. Graco Secure Coverage LED Parent Unit Replacement: 手順 4、 2の画像 1 Graco Secure Coverage LED Parent Unit Replacement: 手順 4、 2の画像 2
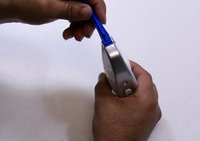
    • Using opening plastic tool, pry the two grey cases from both sides of the device.

    • Take your time and apply constant force to avoid breaking or damaging any other plastic parts.

    • While pry off the grey cases, hold the device with your other hand to remove the cases

  5. Graco Secure Coverage LED Parent Unit Replacement: 手順 5、 1の画像 1
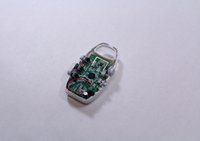
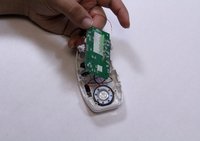
    • Pry the edges of the device to separate the front and rare cases.

    • While prying the edges, hold the device with one hand to pull out each case a part.

    • Make sure you use a constant force, and the pushbuttons are pried off completely.

  6. Graco Secure Coverage LED Parent Unit Replacement: 手順 6、 2の画像 1 Graco Secure Coverage LED Parent Unit Replacement: 手順 6、 2の画像 2
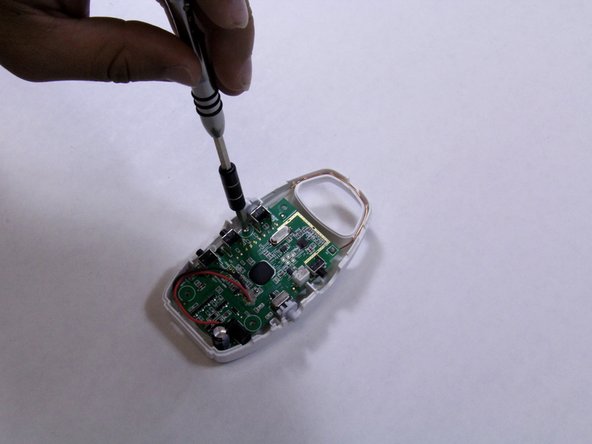
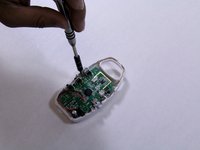
    • Remove the 7mm Phillips #1 screw from the mother board.

    • Place the screw in a secure place.

  7. Graco Secure Coverage LED Parent Unit Replacement: 手順 7、 2の画像 1 Graco Secure Coverage LED Parent Unit Replacement: 手順 7、 2の画像 2
    • Flip over the motherboard.

    • Solder off LED from motherboard.

    • There are many pins attached to the motherboard, make sure you solder off the proper pins that attached to the LED's.

    • Replace the LED's

終わりに

To reassemble your device, follow these instructions in reverse order.

作成者

2人の作成者と共同で作成されました。

Bryson Wolff

メンバー登録日: 08/31/15

237 ポイント

2のガイドは作成済み

チーム

USF Tampa, Team 6-5, Remmell Fall 2015 USF Tampa, Team 6-5, Remmell Fall 2015人のメンバー

USFT-REMMELL-F15S6G5

4 メンバー

8のガイドは作成済み

0 件のコメント

コメントを追加

統計データ:

過去 24時間: 1

過去 7 日: 3

過去 30 日: 4

今までの合計 88