この翻訳は、ソースガイドの最新の更新を反映していない可能性があります。 翻訳の更新に協力してください。 または ソースガイドを参照してください。
必要な工具と部品
-
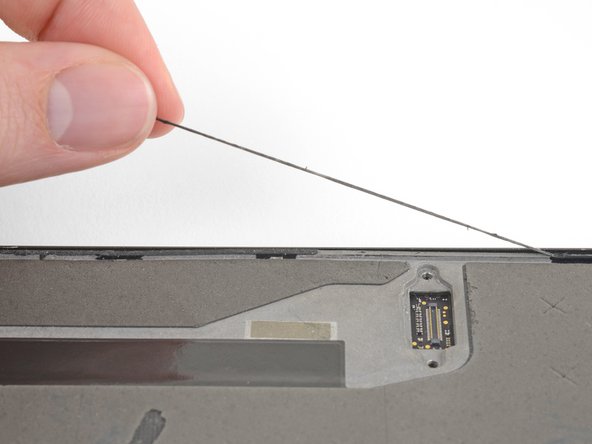
この手順は未翻訳です。 翻訳を手伝う。
-
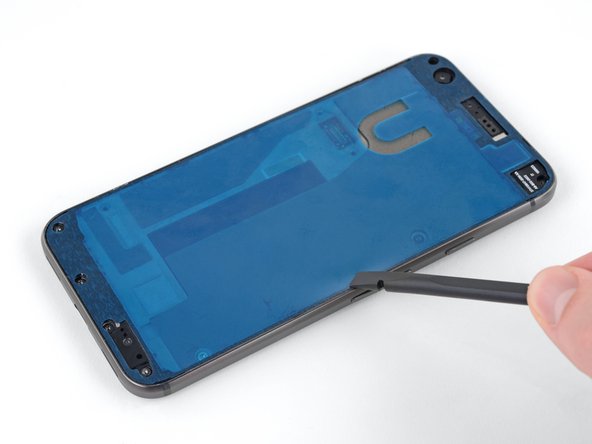
Peel away and remove all the old display adhesive from the body of your phone.
-
Use the point of your spudger to scour away and remove any lingering adhesive.
-
For best results, clean the area underneath the removed adhesive with 90% or greater isopropyl alcohol to prep the surface for the new adhesive.
-
-
この手順は未翻訳です。 翻訳を手伝う。
-
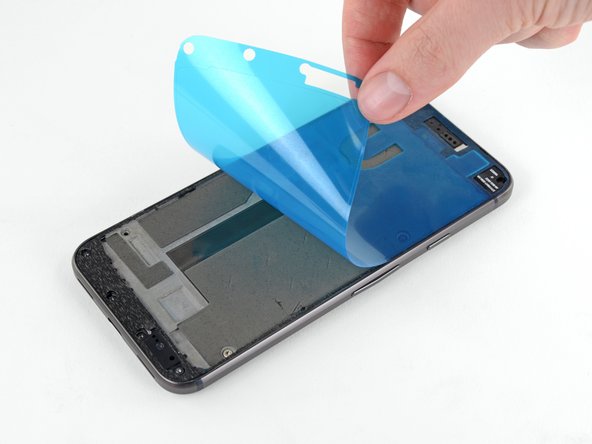
The replacement adhesive should only be applied to the edges of the frame, but may come with the center filled in.
-
To remove the unnecessary center section of the adhesive strip, carefully peel away the center portion of both the white (paper) and black (adhesive) layers, starting with the U-shaped cutout.
-
-


48 の人々がこのガイドを完成させました。
以下の翻訳者の皆さんにお礼を申し上げます:
8%

これらの翻訳者の方々は世界を修理する私たちのサポートをしてくれています。 あなたも貢献してみませんか?
翻訳を始める ›

2 件のコメント
What is the included tesa tape for?
The Tesa tape is to adhere the battery to the frame. You don't want anything moving around inside your phone--that can stress, damage, or disconnect ribbon connectors.