はじめに
この修理ガイドはiFixitのテックライティングスタッフによって執筆されたもので、Googleによって承認されたものではありません。iFixitの修理ガイドのクオリティーについては、 こちらを参照してしてください。
このガイドに従って、ダメージの入ったGoogle Pixel 3aのUSB-Cポートを取り出したり、交換します。 USB-Cポートは完全にモジュールで、交換が簡単です。
Pixel 3aの補強されていないディスプレイパネルは壊れやすいです。 スクリーンを再利用する場合は、開口方法に記載された注意書きに特別に注目してください。
この手順で一番難しいパートは近接センサーのコネクタを再装着する方法です。この作業には、忍耐と精密さが必要です。
必要な工具と部品
-
-
デバイス上の2つのシーム(継ぎ目)にご注目ください。
-
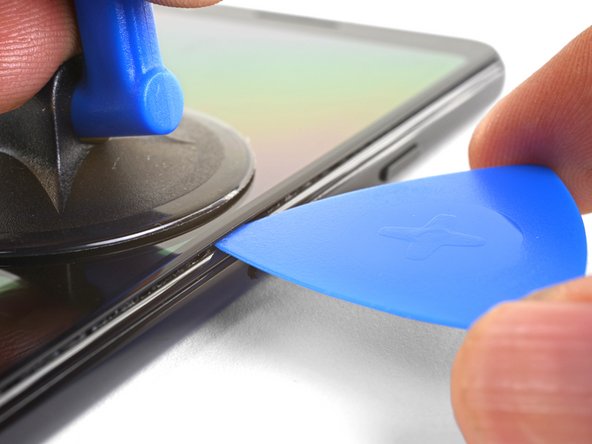
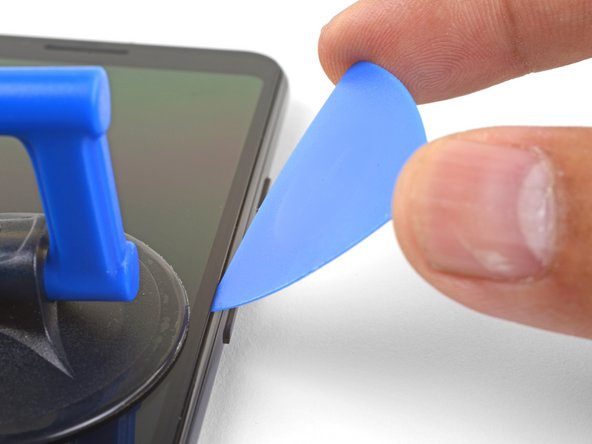
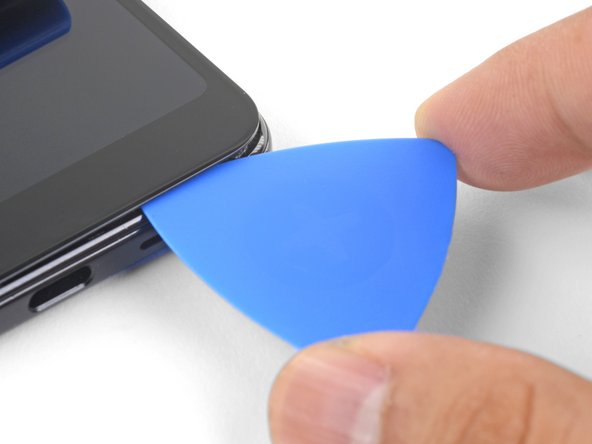
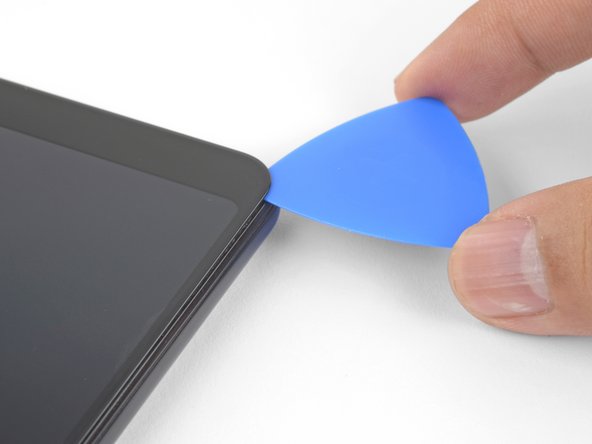
スクリーン上のシーム:このシームはスクリーンとデバイスの残り部分が繋がっています。ここをこじ開けます。
-
フレーム上のシーム:ここはプラスチックフレームが、バックカバーと繋がっている部分です。ネジで固定されています。このシームはこじ開けないでください。
-
シームをこじ開ける前に、スクリーン上の次のエリアにご注意ください。
-
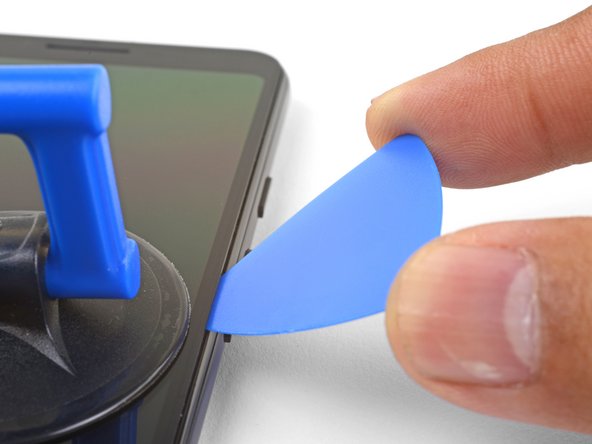
スクリーンのフレックスケーブル:指示された以上に深くこじ開けないでください。このケーブルのダメージに繋がります。
-
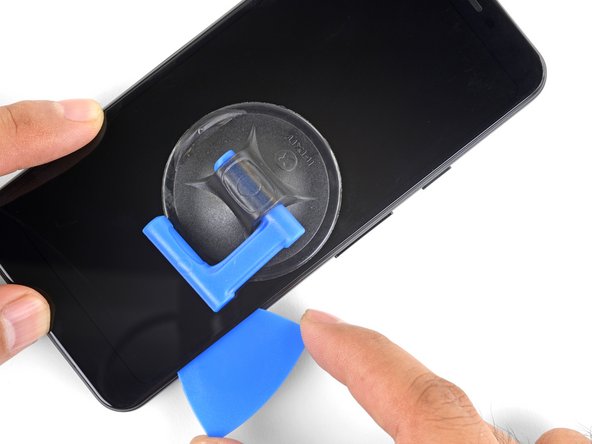
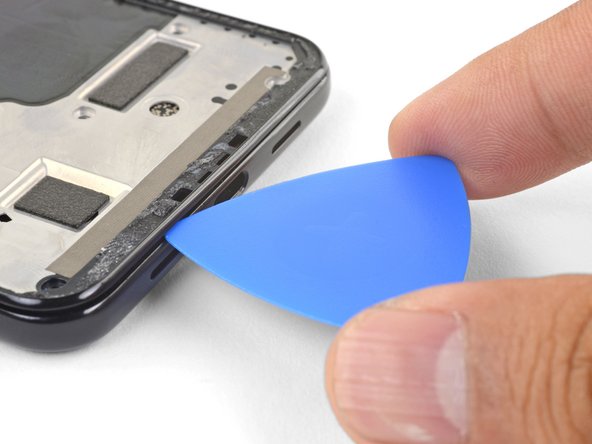
接着剤周辺: 開口ピックの角度を調節せずに狭い周囲以上をこじ開けてしまうと、ディスプレイパネルが損傷します。
-
-
-
-
プラスチック製ミッドフレームを固定している次の長さのT3ネジを14本外します。
-
4.3 mm シルバーT3ネジー12本
-
4.3 mm ブラック T3ネジー2本
-
この作業では外したねじを安全に保管してください。そして再組立の際は、正しい位置に装着するしてください。
-
-
-
プラスチックのミッドフレーム上部端とデバイス本体の位置を揃えます。
-
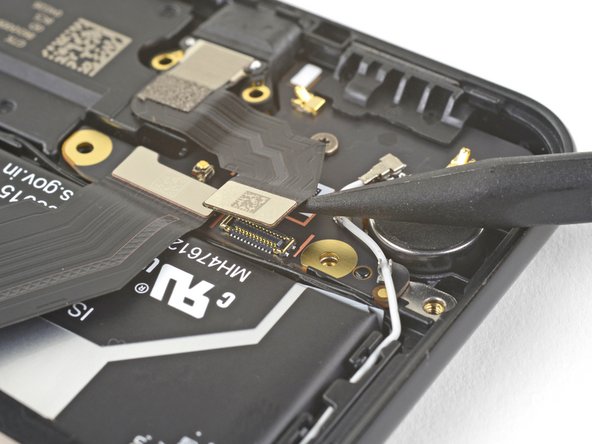
スパッジャーの先端を使って、近接センサーのコネクタをマザーボードのソケット上に、慎重に揃えて押さえます。
-
この作業には忍耐と正確さが必要です。コネクタの位置が確認できたら、指で慎重にコネクタをソケット上で押さえて装着します。
-
スパッジャーの先端を使用して、近接センサーをミッドフレームの凹部から慎重にこじ開けます。 センサーはミッドフレームに軽く接着されています。
-
ミッドフレームからセンサーを取り外します。 センサーのコネクタをマザーボードソケット上に装着します。
-
センサーケーブルをミッドフレームに通し、センサーを凹部に合わせて再装着します。 指で押し下げて、ミッドフレーム上にセンサーを装着し直します。
-
-
-
スパッジャーの先端を使って、バッテリーコネクタをマザーボードのソケットから持ち上げて、接続を外します。
-
バッテリーフレックスケーブルを若干折り曲げます。アクシデントでソケットと接触してしまわないよう、予防目的です。
-


デバイスを再組み立てする際は、これらの手順を逆の順番に従って作業を進めてください。
修理が上手く進みませんか?トラブルシュートのヘルプには、アンサーコミュニティを参照してください。
デバイスを再組み立てする際は、これらの手順を逆の順番に従って作業を進めてください。
修理が上手く進みませんか?トラブルシュートのヘルプには、アンサーコミュニティを参照してください。
19 の人々がこのガイドを完成させました。
以下の翻訳者の皆さんにお礼を申し上げます:
100%

Midori Doiさんは世界中で修理する私たちを助けてくれています! あなたも貢献してみませんか?
翻訳を始める ›


10 件のコメント
There was moister in the tip of my USB C cable when I plugged it into my phone to charge. A warning popped up on my screen to unplug. I did right away and the cord smoked…. My charging port is charged… the rest of the phone seems to work fine. The case did not feel hot afterward. Do you think my battery might be damaged too?
Hi Desmond,
It sounds like moisture may have shorted some contacts at the USB port. That normally shouldn’t damage the battery. It’s possible the charging circuitry may be damaged.
Where is the part for this? I can't find the USB C port for the 3a!
Just did this. A few notes:
* There’s a lot, like a lot, of adhesive up by the front camera. Lacking an iOpener, I used a washcloth soaked in hot water and sealed in a plastic bag to soften the adhesive.
* My ifixit kit is old and didn’t have a pick, but I used the knife to shave down the corner of an old gift card so it was thinner, and that worked fine. I found it easiest to get the screen off by placing several old gift cards under the edges to keep them from sticking down as I pried at other areas.
* I got my replacement port from an eBay listing entitled “Charging Port Flex Cable for Google Pixel 3a G020A G020E G020B 5.6” and it works fine.
* I forgot to buy extra tape for sticking the screen back on, so to keep it from falling off while the tape is in the mail, I’ve applied clear cellophane tape around the outside edges of the screen and back where there are no ports or buttons. It works ok.
* I found that the T4 bit worked better than the T3 for all of the screws involved in this process.
Fantastic guide. Really helpful. Yes, tons of adhesive up front and on the bottom. Dealing with adhesive (clearing it out while opening the case, completely removing it while the case is open, and re-applying tesa tape before finishing) is by far the most time consuming part of this process. Overall, it took me 1.5 hrs from start to finish.