はじめに
この修理ガイドはiFixitのテックライティングスタッフによって執筆されたもので、Googleによって承認されたものではありません。iFixitの修理ガイドのクオリティーについては、 こちらを参照してしてください。
このガイドに従って、Pixel 3の充電アセンブリを交換してください。充電アセンブリにはUSB-Cポートといくつかのアンテナコネクタが含まれており、スピーカーの下に重ねてあります。 これには、まずスピーカーを取り外す必要があります。この作業により、スピーカーの防水用ガスケットの性能を失ってしまいます。
必要な工具と部品
-
-
デバイス周辺のスライスができたら、バックカバーの左側端を慎重に持ち上げます。
-
リアカバーを長辺側に沿って裏返し、指紋センサーケーブルに圧力がかからないように置きます。
-
-
-
指紋センサーのコネクターブラケットを固定している、4.1 mm長プラスネジを2本外します。
-
-
-
スパッジャーの先端を使って、NFCコイル底側から指紋センサーのコネクタブラケットをスライドして外します。
-
指紋センサーのコネクタブラケットを取り出します。
-
-
-
-
次の4本のプラスネジを外します。
-
1.9 mmネジー1本
-
4.3 mmネジー1本
-
薄型シャンク付き4.3mmネジー2本
-
左側のネジ穴から小さな接地クリップを外します。紛失しないようにご注意ください。
-
USB-Cポートの右側から小さなプラスチックのインサートを取り出します。
-
-
-
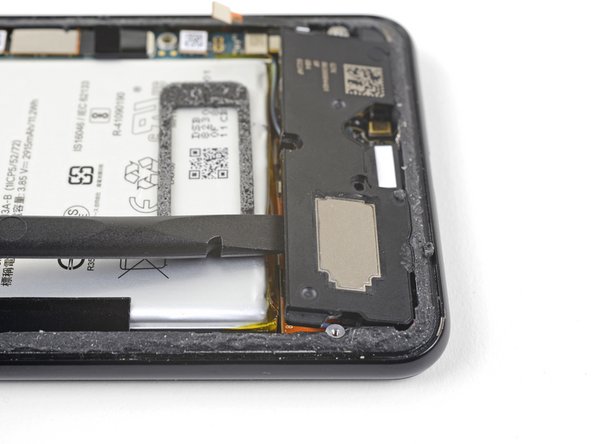
ラウドスピーカーを取り出します。
-
状態が良好であれば、ガスケットの再利用ができます。ガスケットが出口のホールを覆っていないか確認してください。
-
ガスケットが所定の位置から引き抜かれている場合は、ガスケットを取り外して、プレカットされた接着剤ストリップまたはTesaテープを装着します。
-
-
-
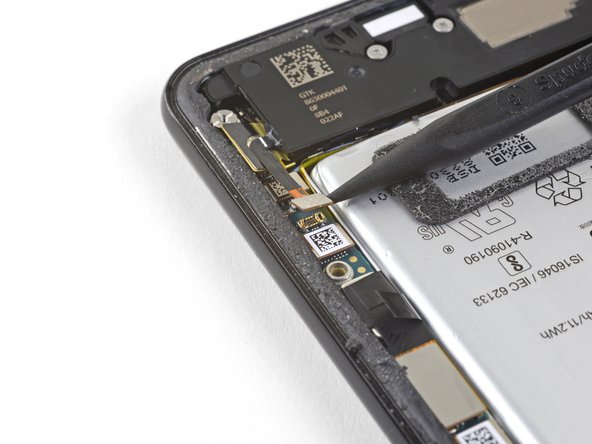
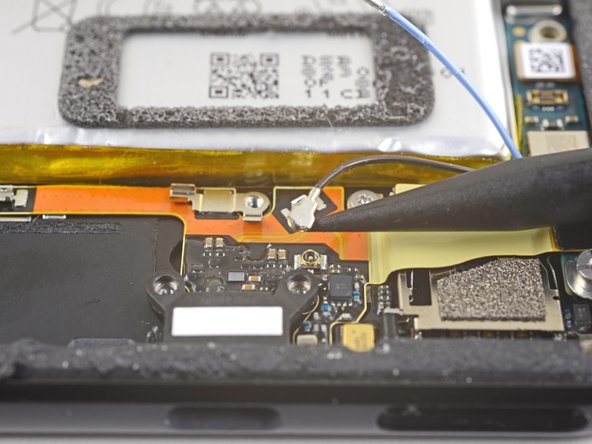
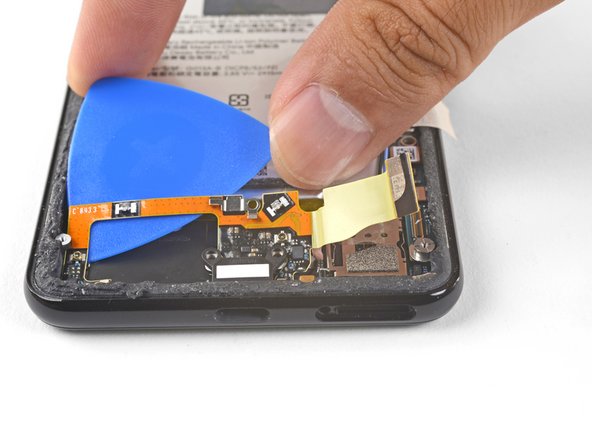
スパッジャーの先端を使って、デバイス右端付近のマザーボードソケットから、充電アセンブリのコネクタを外します。
-
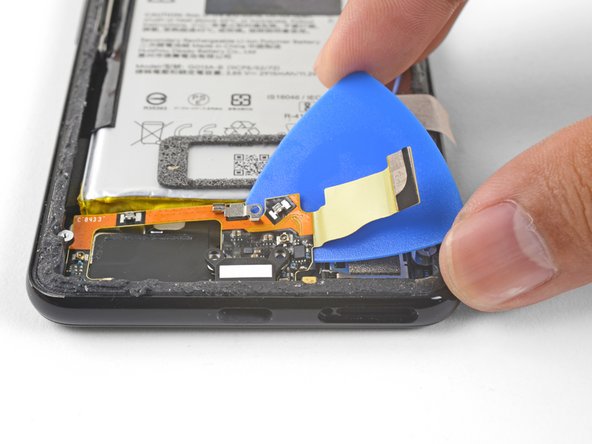
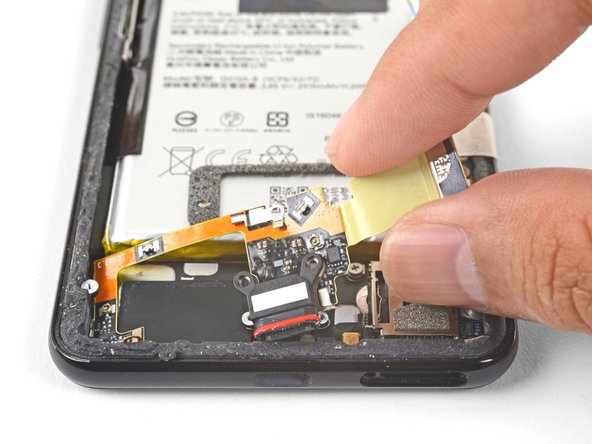
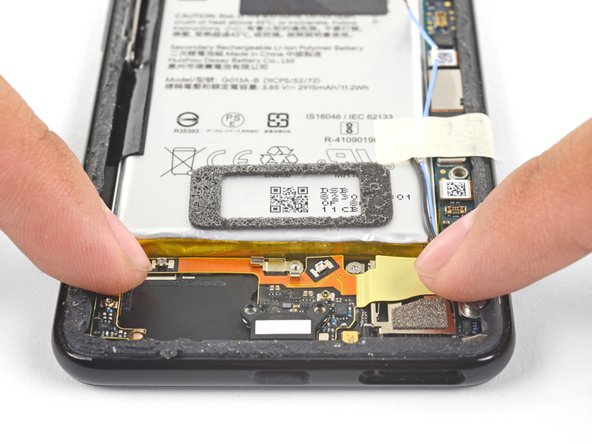
SIMカードリーダー上部から、フレックスケーブルを慎重に剥がします。
-


デバイスを再組み立てする際は、これらの手順を逆の順番に従って作業を進めてください。
修理が上手く進みませんか?Google Pixel 3のアンサーコミュニティからトラブルシューティングを見つけてみましょう。
デバイスを再組み立てする際は、これらの手順を逆の順番に従って作業を進めてください。
修理が上手く進みませんか?Google Pixel 3のアンサーコミュニティからトラブルシューティングを見つけてみましょう。
36 の人々がこのガイドを完成させました。
以下の翻訳者の皆さんにお礼を申し上げます:
100%

Midori Doiさんは世界中で修理する私たちを助けてくれています! あなたも貢献してみませんか?
翻訳を始める ›


11 件のコメント
is the adhesive for the back of the phone reusable, or do I need to buy a replacement adhesive for reassembly?
It depends on the age of your phone it seems - the older the phone, the less resuseable the existing adhesive. I used gasket maker to reseal my phone, in part because I did not want to heat my new battery up when trying to reseal the back cover. I would advise getting some additional adhesive if you want a water-tight assembly.
Best to order a new back phone lid, as my back lid shattered when trying to prise it off, despite repeated heating to uncomfortably hot. Also, if you’re replacing the charging logic board because of the ‘unrecognised analogue device’ messsage, I still got the same message AFTER having put everything back together having replaced the logic board. If you shatter the back lid of the phone and have to replace it, the finger print scanner and lens covers are all prisable off and reapplicable to the new cover (with a little heating). But this requires care. Make sure to replace the battery also - because of the ka-fafel of opening this barely user-repairable phone (Cheers Google!). I ended up using gasket maker silicone (yes the stuff I use for reassembling my motorbike engine) to seal everything. Seems to have worked a treat. Good luck - you’ll need it!
I swapped out the USB-C charging port and battery at the same time. Hopefully I can get another two years out of the phone now. If you are just changing this port, then I would recommend changing the battery too. The battery replacement kit comes with new adhesive to reseal the back panel.
can I do this with a heat gun instead of the iOpener? what do I set the temperature to?