はじめに
This is an outdated guide—the newest version is available here.
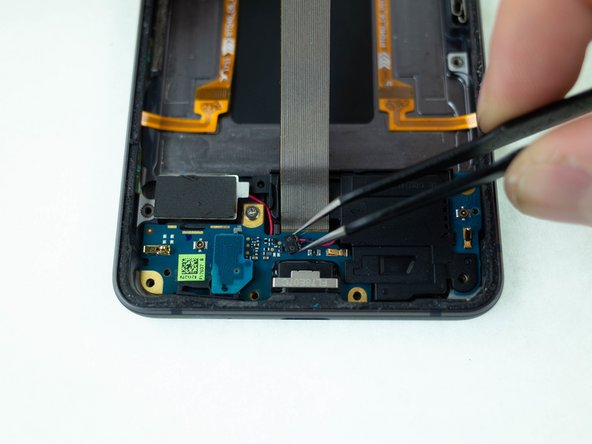
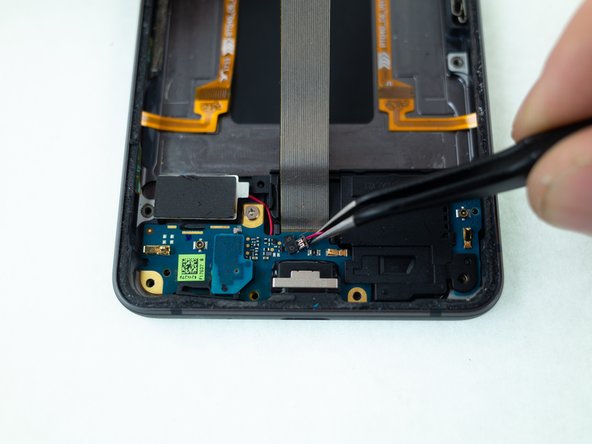
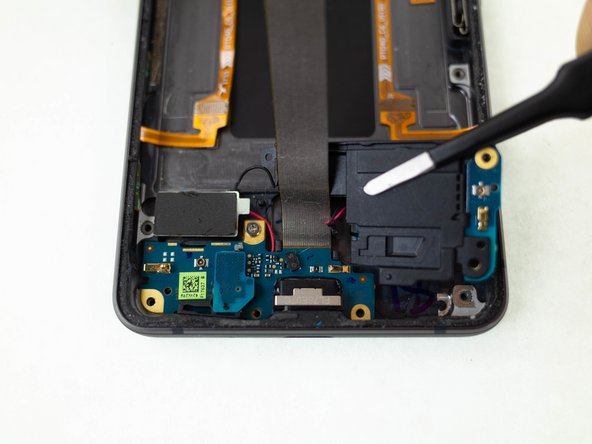
If your Google Pixel 2 loudspeaker is blown, or making a crackling noise, this replacement guide will show you how to replace it.
必要な工具と部品
-
-
If your display glass is cracked, keep further breakage contained and prevent bodily harm during your repair by taping the glass. This also makes a smooth surface allowing the suction cup to bond.
-
Apply a suction cup as close to the volume button edge of the phone as you can while avoiding the curved edge.
-
-
-
-
Apply a heated iOpener to the proximity sensor on the top edge of the midframe for two minutes to soften its adhesive.
-


To reassemble your device, follow these instructions in reverse order.
To reassemble your device, follow these instructions in reverse order.
