メインコンテンツにスキップ

Geneva XS Demontage

必要な工具と部品

  1. Geneva XS Demontage, Geneva XS Demontage: 手順 1、 2の画像 1 Geneva XS Demontage, Geneva XS Demontage: 手順 1、 2の画像 2
    • Disable any power supply:

    • Remove the battery by prying up the rear cover on the two slots

    • Disconnect charger (5.5V 2A)

  2. Geneva XS Demontage: 手順 2、 3の画像 1 Geneva XS Demontage: 手順 2、 3の画像 2 Geneva XS Demontage: 手順 2、 3の画像 3
    • The metal grille, in the front of the device by pry remove. Here is a thin plastic or metal object to use (in the picture is a letter opener to see), a coin is actually too thick. This can be a little hard!

    • It is almost impossible to damage the plastic body easily.

    • There may be a splice on the floor, but in my case it did not resist.

  3. Geneva XS Demontage: 手順 3、 3の画像 1 Geneva XS Demontage: 手順 3、 3の画像 2 Geneva XS Demontage: 手順 3、 3の画像 3
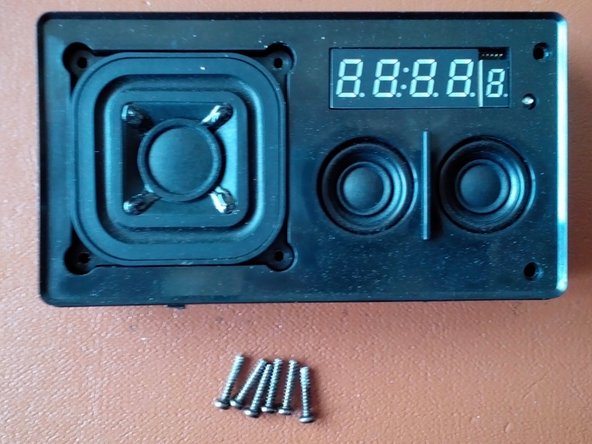
    • Remove the six screws with a PH2 screwdriver

  4. Geneva XS Demontage: 手順 4、 1の画像 1
    • Now the electronics can be removed from the carcass.

  5. Geneva XS Demontage: 手順 5、 3の画像 1 Geneva XS Demontage: 手順 5、 3の画像 2 Geneva XS Demontage: 手順 5、 3の画像 3
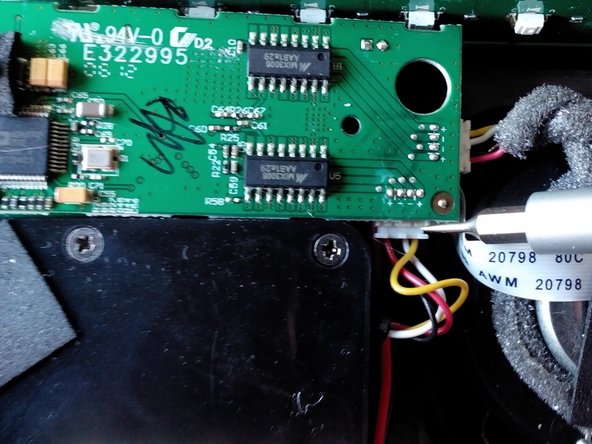
    • With a PH1 screwdriver, the two remaining screws which hold the two larger boards arranged above each other can be removed.

    • The flat white plugs can be removed with a screwdriver from the board.

    • The width on the left edge of the device is held in place with a brown clip that can be easily pulled out. Thereafter, the flat cable is directly loose.

  6. Geneva XS Demontage: 手順 6、 2の画像 1 Geneva XS Demontage: 手順 6、 2の画像 2
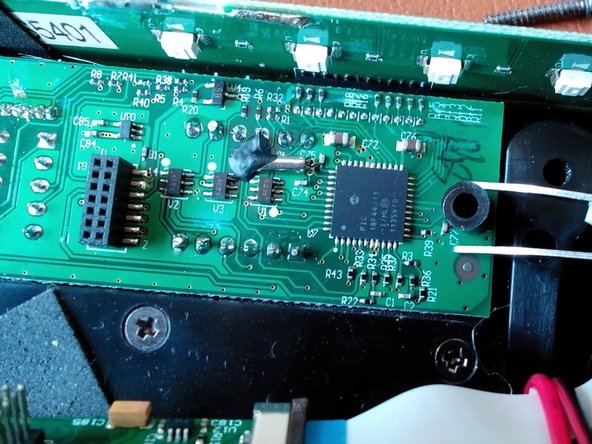
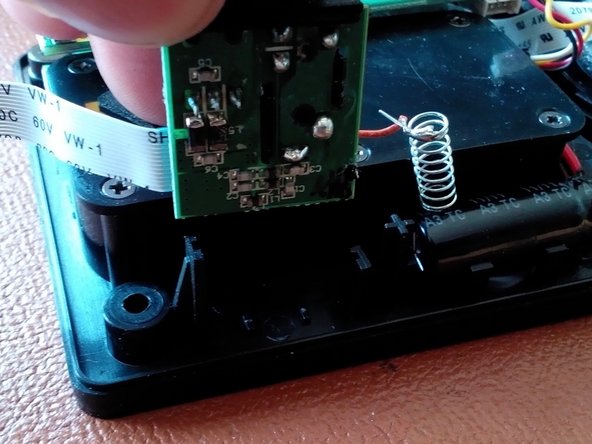
    • When removing the board, be sure to watch out for the soldered cables, which will not let you play too much.

    • Below are two black spacers (plastic) to light. Can be removed by hand or with tweezers.

  7. Geneva XS Demontage: 手順 7、 3の画像 1 Geneva XS Demontage: 手順 7、 3の画像 2 Geneva XS Demontage: 手順 7、 3の画像 3
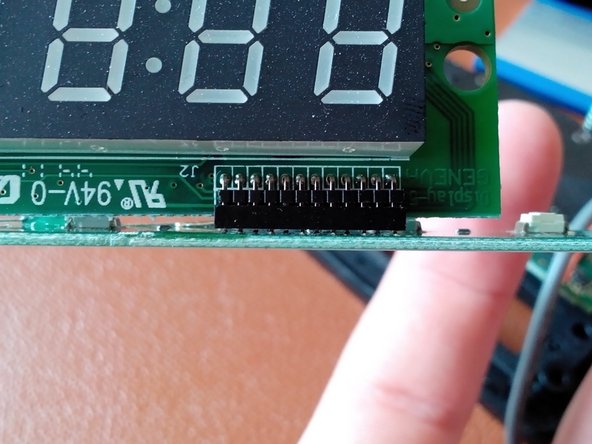
    • Now the media panel can be removed together with the bottom chip. It is essential to pay attention to the plug contacts between them. (see 2nd picture)

    • Next, the board is located on the charging socket sits. To do this, remove the adhesive pads.

  8. Geneva XS Demontage: 手順 8、 3の画像 1 Geneva XS Demontage: 手順 8、 3の画像 2 Geneva XS Demontage: 手順 8、 3の画像 3
    • This can then easily be deducted upwards.

  9. Geneva XS Demontage, Assembly: 手順 9、 1の画像 1
    • The assembly is actually the same backwards.

    • Clean the area around the controls THOROUGHLY because they are otherwise always "activated".

    • Be sure to pay attention to the flat cable on the left side of the device! This was the one that caused problems for me.

終わりに

Repeat the steps in order to reassemble your device.

ある他の人がこのガイドを完成しました。

以下の翻訳者の皆さんにお礼を申し上げます:

de en

100%

irlandaさんは世界中で修理する私たちを助けてくれています! あなたも貢献してみませんか?
翻訳を始める ›

作成者

1人の作成者と共同作成されました。

Leonard Kesting

メンバー登録日: 08/14/16

1,229 ポイント

9のガイドは作成済み

コメント 1 件

Very helpfull, tks!!

silvanaitibere - 返信

コメントを追加

統計データ:

過去 24時間: 0

過去 7 日: 9

過去 30 日: 47

今までの合計 2,751