メインコンテンツにスキップ

Gateway NE51006u RAM Replacement

必要な工具と部品

  1. Gateway NE51006u RAM Replacement, Hard Drive: 手順 1、 1の画像 1
    • Ensure device is powered off and unplugged from a power source. Place the device upside down.

  2. Gateway NE51006u RAM Replacement: 手順 2、 1の画像 1
    • Use a PH0 Phillips head screwdriver to remove the 9.0 mm screw on the rectangular panel underneath the device.

  3. Gateway NE51006u RAM Replacement: 手順 3、 1の画像 1
    • Use a plastic opening tool to pry open the rectangular panel the 9.0 mm screw was removed from.

  4. Gateway NE51006u RAM Replacement: 手順 4、 3の画像 1 Gateway NE51006u RAM Replacement: 手順 4、 3の画像 2 Gateway NE51006u RAM Replacement: 手順 4、 3の画像 3
    • Remove a single 9.0 mm screw on the silver box containing the hard drive. Pull the plastic flap at the side opposite to the side of the screw housing back in order to remove the silver box containing the hard drive.

  5. Gateway NE51006u RAM Replacement: 手順 5、 3の画像 1 Gateway NE51006u RAM Replacement: 手順 5、 3の画像 2 Gateway NE51006u RAM Replacement: 手順 5、 3の画像 3
    • Remove the two 9.0 mm screws on each side of the silver box to slide the hard drive from the silver box housing.

  6. Gateway NE51006u RAM Replacement, RAM: 手順 6、 3の画像 1 Gateway NE51006u RAM Replacement, RAM: 手順 6、 3の画像 2 Gateway NE51006u RAM Replacement, RAM: 手順 6、 3の画像 3
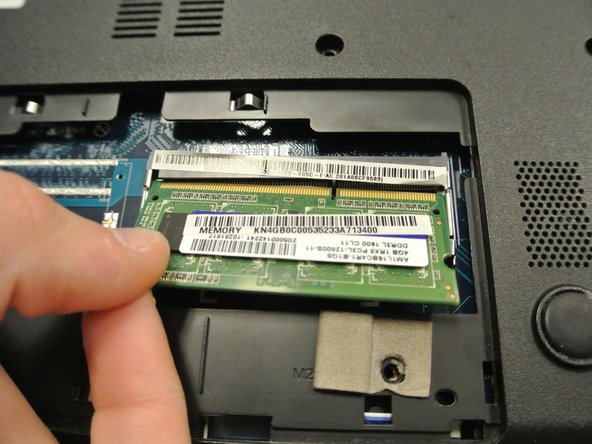
    • Use your fingers to pull the two metal hinges on either side of the RAM card.

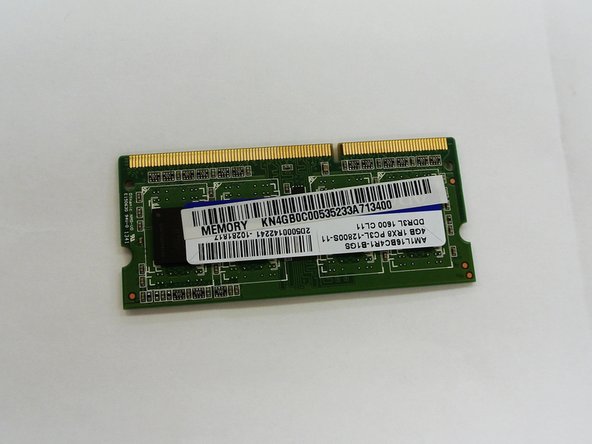
    • From here the card should lift upwards and pull off of the device easily.

終わりに

To reassemble your device, follow these instructions in reverse order.

作成者

2人の作成者と共同で作成されました。

Omer Tunagur

メンバー登録日: 01/29/18

423 ポイント

3のガイドは作成済み

チーム

University of Alabama, Team S2-G8, Bedsole Spring 2018 University of Alabama, Team S2-G8, Bedsole Spring 2018人のメンバー

UA-BEDSOLE-S18S2G8

4 メンバー

10のガイドは作成済み

0 件のコメント

コメントを追加

統計データ:

過去 24時間: 0

過去 7 日: 2

過去 30 日: 5

今までの合計 303