この修理ガイドは変更されています。最新の未承認バージョンに切り替えます。
はじめに
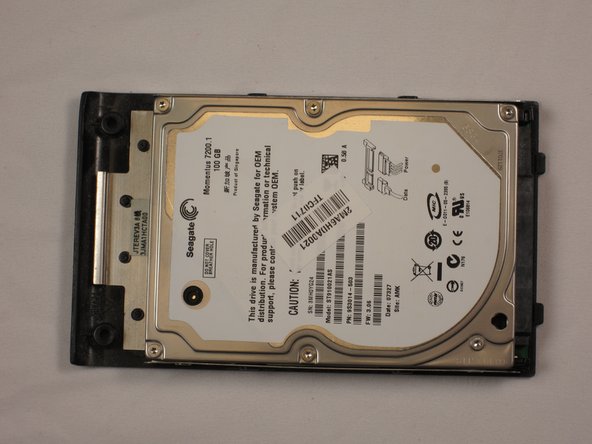
Your laptop hard drive stores all of your files, as well as your computer's operating system. A corrupt hard drive will need to be replaced for your computer to power on and run. It is common to upgrade to a larger hard drive with more storage space.
必要な工具と部品
-
-
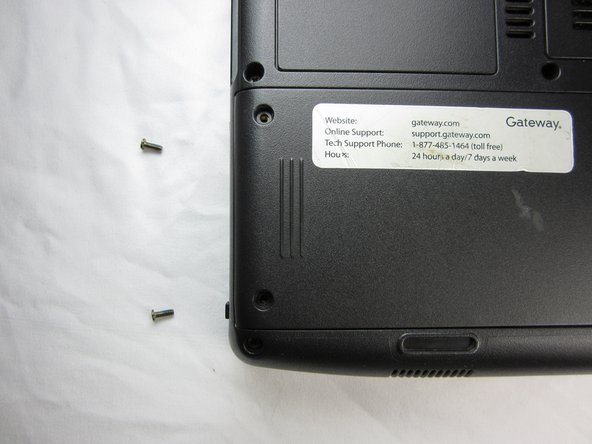
Make sure the switch in the upper right corner of the laptop is switched to the "unlock" position (toward the unlocked padlock icon).
-
-


To reassemble your device, follow these instructions in reverse order.
To reassemble your device, follow these instructions in reverse order.
3 の人々がこのガイドを完成させました。
チーム

Cal Poly, Team 6-2, Forte Spring 2014 Cal Poly, Team 6-2, Forte Spring 2014人のメンバー
CPSU-FORTE-S14S6G2
5 メンバー
20のガイドは作成済み