はじめに
In this guide, you will learn how to access the hard drive and remove it from the device. This allows you to replace it with a new one, clean the old hard drive, or examine it to make sure it is still functioning. The hard drive is very easy to remove once the back panel is separated.
必要な工具と部品
-
-
Place the laptop face down in front of you.
-
Locate the battery lock switches on the left and right top corners of the bottom of the device indicated by the red circles.
-
Pinch the switches and slide toward the edges of the computer to unlock.
-
-
-
Open the laptop so that the screen and keyboard are facing you.
-
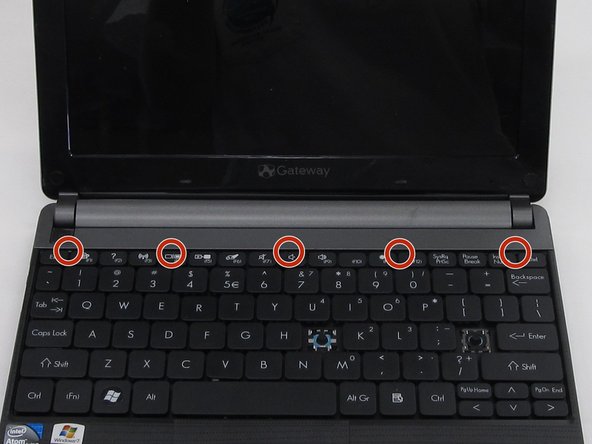
Identify the 5 tabs above the function keys in the crevice that attaches the keyboard to the main frame.
-
-
-
-
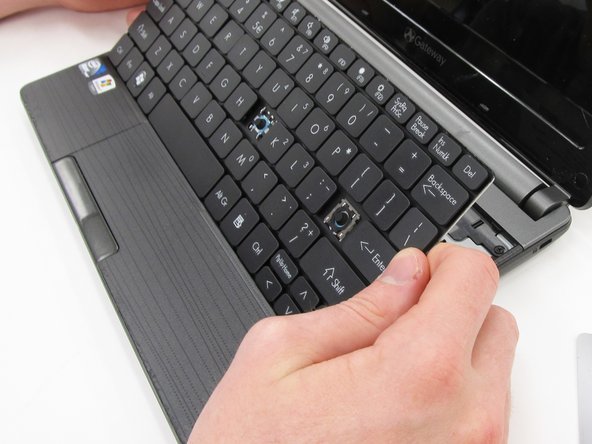
Begin to slide the plastic card under the top edge of the keyboard. You will hear popping sounds and the keyboard will eventually be released.
-
Carefully pry the keyboard from the main frame, starting at the top section.
-
-
-
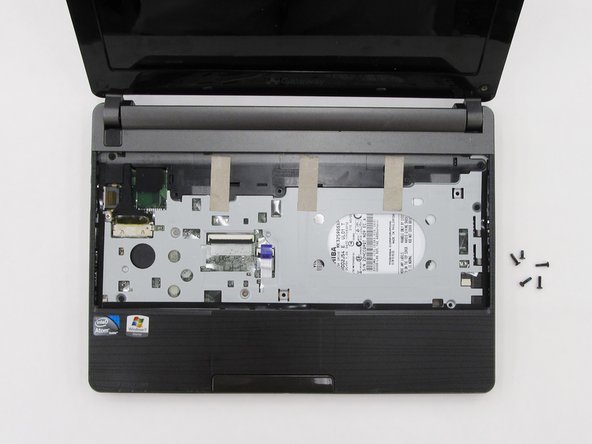
Locate and unscrew the five screws indicated by the red circles in the picture using a Phillip's #0 screwdriver. All of the screws are 8.0 mm, excluding the top right screw which is shorter. It should be 5.0mm.
-
Each screw should have the word "DOOR" engraved beside or above it.
-
-
-
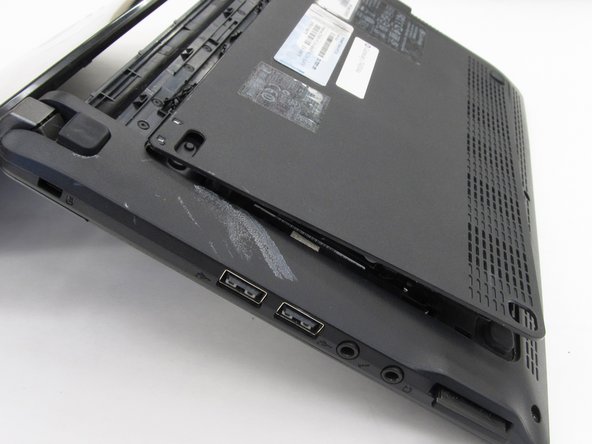
Hold the computer in your hands and use the tip of your screwdriver or a spudger to push through the bottom right hand hole left by the removed screw. This hole is shown in the picture within a red box.
-
The tip of the screwdriver will push against the bottom casing of the laptop and pop it away from the rest of the frame.
-
-
-
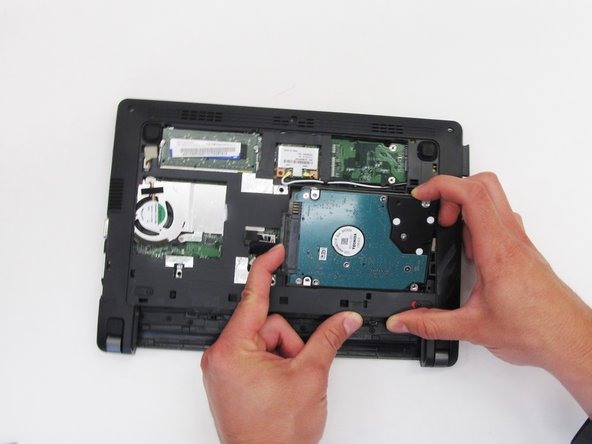
Locate the hard drive in the top left hand corner of the device. It is a teal blue-green color with the top right corner covered by a black piece of plastic.
-
Gently insert your fingernail or a spudger into the crevice on the right side of the hard drive in order to pry the hard drive from the bottom of the laptop.
-


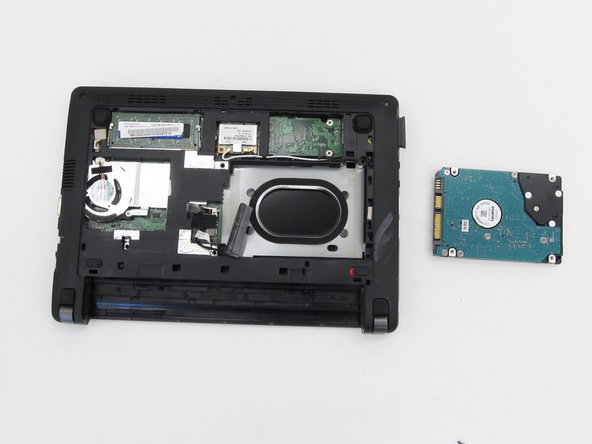
To reassemble your device, follow these instructions in reverse order.
To reassemble your device, follow these instructions in reverse order.
5 の人々がこのガイドを完成させました。
チーム

Clemson, Team 6-5, Benson Spring 2016 Clemson, Team 6-5, Benson Spring 2016人のメンバー
CLEM-BENSON-S16S6G5
4 メンバー
16のガイドは作成済み