はじめに
Here you will be removing several parts of the device to get to the USB port.
必要な工具と部品
-
-
-
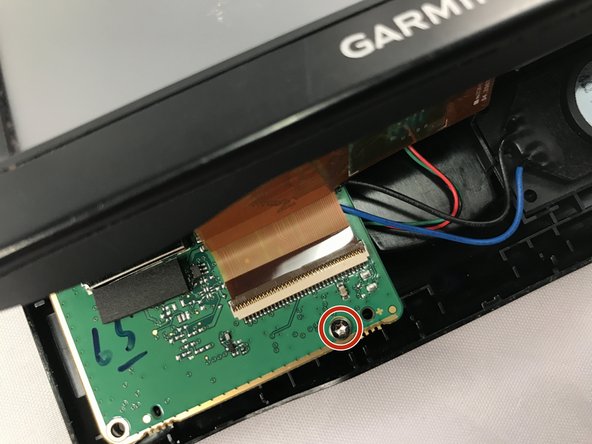
Using a soldering iron, desolder the USB port connected to the motherboard.
-
Check out this awesome guide on how to solder and desolder connections.
-


もう少しです!
To reassemble your device, follow these instructions in reverse order.
終わりに
To reassemble your device, follow these instructions in reverse order.
ある他の人がこのガイドを完成しました。

チーム

Eastern Washington University, Team 2-1, Crane Winter 2017 Eastern Washington University, Team 2-1, Crane Winter 2017人のメンバー
EWU-CRANE-W17S2G1
4 メンバー
6のガイドは作成済み