-
-
-
-
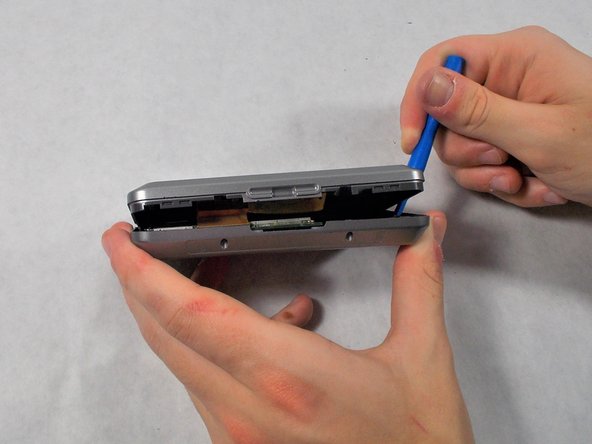
Carefully, using your plastic opening tools find the crease which separates the front and rear covers.
-
Once you have a little gap, work it around the whole device with the tool to get separation.
-
There is a ribbon cable between the two covers, be very careful when taking them apart to not damage the ribbon.
-
-
-
-
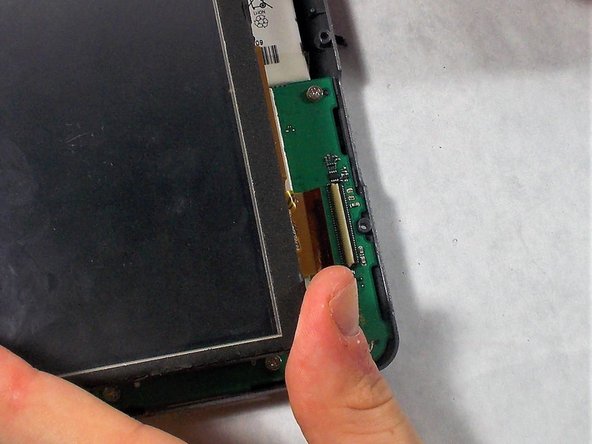
Carefully use the black spudger to lift the white retaining clamp on the display cable ZIF connector.
-
Make sure to lift up on the white retaining clamp and not the ZIF connector itself.
-
Slide the orange ribbon cable away from the ZIF connector.
-
-
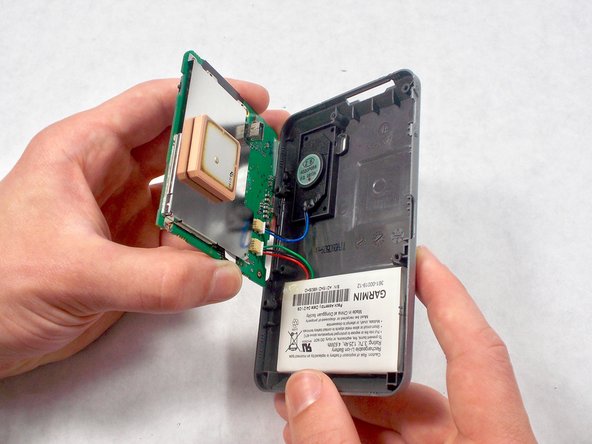
Using a screw driver, unscrew the four 2mm screws holding the motherboard in place.
-
Gently lift the motherboard away from the rear cover. Take care to not damage the wires or ports that link the motherboard to other components.
-
-
Using the black spudger, apply pressure to nudge the plug out of its port.
-
Repeat this process for both ports.
-
-
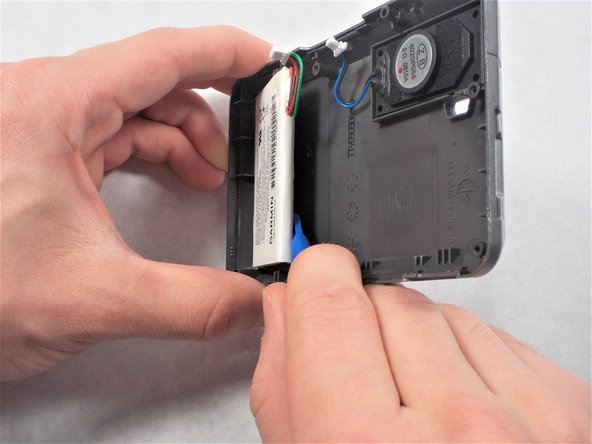
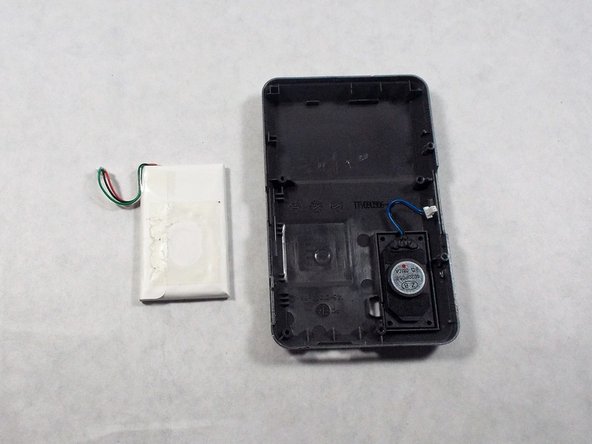
Using your opening tools, separate the battery from the top side. Very slowly push your tool down into the crevice.
-
Be careful because the battery is glued to the rear cover, so it does take some force to separate.
-
Once you have a gap big enough, pull the battery off the cover.
このガイドを埋め込む
サイズを選択し、以下のコードをコピーして、このガイドを小さなウィジェットとしてサイト/フォーラムに埋め込みます。
プレビュー