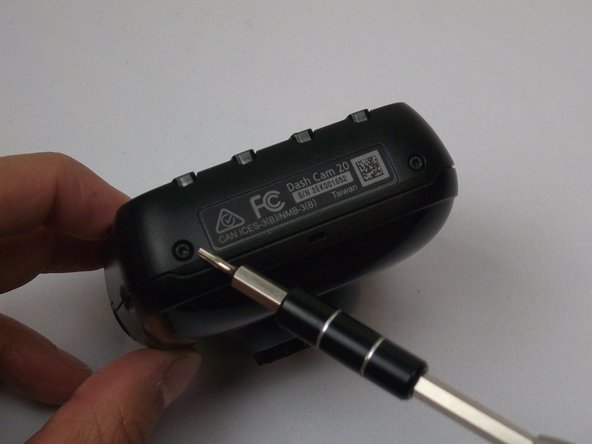
メインコンテンツにスキップ

Garmin Dash Cam 20 Internal Assembly

必要条件のみ
この修理ガイドは、他のガイドの前提条件として使用されます。それ自体は不完全で、単独で使用されることはありません。

必要な工具と部品

  1. Garmin Dash Cam 20 Internal Assembly, Internal Assembly: 手順 1、 2の画像 1 Garmin Dash Cam 20 Internal Assembly, Internal Assembly: 手順 1、 2の画像 2
    • Be sure to turn off the Dash Cam by pressing the power button.

  2. Garmin Dash Cam 20 Internal Assembly: 手順 2、 2の画像 1 Garmin Dash Cam 20 Internal Assembly: 手順 2、 2の画像 2
    • Rotate the Dash Cam to where the socket faces you.

    • Remove the 9 mm screw using the Torx T6 screwdriver.

  3. Garmin Dash Cam 20 Internal Assembly: 手順 3、 2の画像 1 Garmin Dash Cam 20 Internal Assembly: 手順 3、 2の画像 2
    • Remove the Dash Cam socket piece.

  4. Garmin Dash Cam 20 Internal Assembly: 手順 4、 2の画像 1 Garmin Dash Cam 20 Internal Assembly: 手順 4、 2の画像 2
    • Rotate the Dash Cam to where the product information faces you.

    • Remove the two 5 mm screws using the Torx T5 screwdriver.

  5. Garmin Dash Cam 20 Internal Assembly: 手順 5、 3の画像 1 Garmin Dash Cam 20 Internal Assembly: 手順 5、 3の画像 2 Garmin Dash Cam 20 Internal Assembly: 手順 5、 3の画像 3
    • Remove top case from the bottom case.

    • The compact nature of the casing requires use of the metal spudger for needed leverage.

  6. Garmin Dash Cam 20 Internal Assembly: 手順 6、 3の画像 1 Garmin Dash Cam 20 Internal Assembly: 手順 6、 3の画像 2 Garmin Dash Cam 20 Internal Assembly: 手順 6、 3の画像 3
    • Remove the two 5mm screws using the Torx T5 screwdriver

    • By removing the screws, the metal battery frame will now become free from the rest of the device.

終わりに

To reassemble your device, follow these instructions in reverse order.

ある他の人がこのガイドを完成しました。

作成者

1人の作成者と共同作成されました。

Jesse Hillman

メンバー登録日: 10/04/16

757 ポイント

5のガイドは作成済み

チーム

USF Tampa, Team 2-1, Cagle Fall 2016 USF Tampa, Team 2-1, Cagle Fall 2016人のメンバー

USFT-CAGLE-F16S2G1

4 メンバー

5のガイドは作成済み

0 件のコメント

コメントを追加

統計データ:

過去 24時間: 0

過去 7 日: 0

過去 30 日: 0

今までの合計 57